


Operation Instruction & Installation
11-6
Samsung Electronics
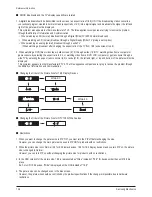
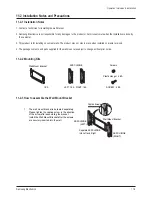
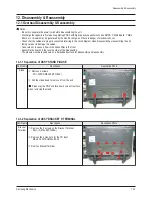
1
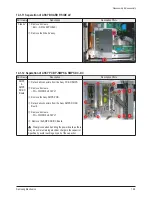
Remove the screws from the back of the PDP.
2
Use the screw and assemble the plastic hanger.
(Please refer to the following picture.)
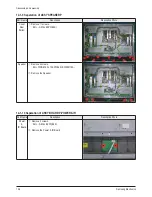
1 Please ask the installers to install the wall
mount bracket.
2 Please be sure to check if the plastic hanger is
completely secured on both the left and right
side after hanging the SET on the wall mount
bracket.
3 Please avoid catching your fingers while
installing and adjusting the angle.
4 Please tightly secure the wall mount bracket to
the wall to avoid injury from a falling SET.
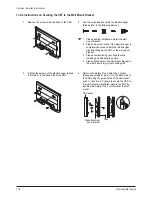
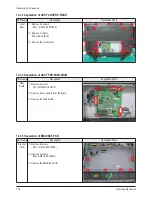
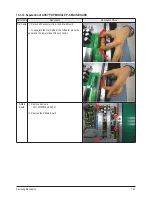
3
Tighten the screws of the plastic hanger (shown
in picture 2) to the back side of the PDP.
4
Remove the Safety Pins. Fasten the 4 plastic
latches assembled at step ( ) on the back side of
the PDP using the guide holes of the wall mount,
push ( ) and hook ( ) down to secure the PDP on
the wall mount as illustrated. Secure the PDP by
inserting the Safety Pins, not to fall from the wall
mount.
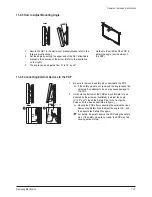
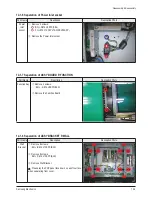
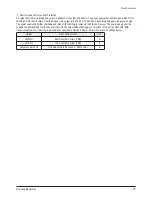
PDP panel
Wall attachment
panel bracket
Wall
11-2-4 Instructions on Securing the SET to the Wall Mount Bracket
Summary of Contents for PL42E7SX/RCL
Page 18: ...11 8 Samsung Electronics MEMO ...
Page 43: ...Circuit Description Samsung Electronics 13 15 Scan_l Even_Scan Y Sustain ...
Page 44: ...Circuit Description 13 16 Samsung Electronics Attachment 2 X Output Waveform X Sustain ...
Page 52: ...9 8 Samsung Electronics MEMO ...
Page 81: ...3 18 Samsung Electronics MEMO ...
Page 96: ...6 14 Samsung Electronics MEMO ...
Page 98: ...Samsung Electronics 5 2 MEMO ...


