English 15
Be
for
e y
ou s
tar
t
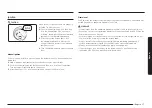
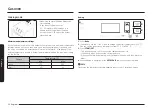
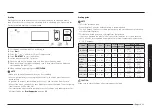
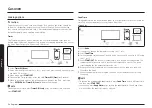
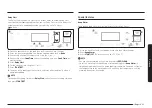
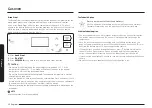
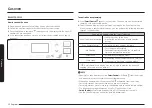
Control panel
03
01
12
04
02
13
05
06
07
08
10
09
11
01
Oven modes
: Activates each oven
mode (Bake or Broil).
02
Keep Warm
: Keep cooked food
warm at lower temperature at
175 °F (80 °C).
03
Bread Proof
: Activates the Bread
proof function.
04
Timer
: Activates or deactivates the
timer.
05
Cook Time
: Set the cooking time.
06
Delay Start
: Set the oven to start at
a certain time.
07
Smart Control
: Activates the Wi-Fi
connection.
08
Oven Light
: Turn on/Turn off the
oven light.
09
/
(Up/Down)
: Use to set the
times, or temperatures.
10
Clock
: Set the clock time.
11
Panel Lock
: Press and hold for 3
seconds to lock the control panel
to prevent accidents.
12
OFF/CLEAR
: Cancel the current
operation but not the timer.
13
START/SET
: Start a function or set
the time.
Before you start
You should know about the following features and components before you use
your range for the first time.
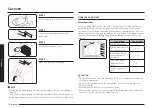
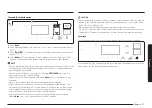
Clock
You must set the clock correctly to ensure the automatic features work properly.
To set the clock time
2
3
4
1
1.
Press
.
2.
Set the hours using
and
. Then, press
START/SET
to confirm the hours.
3.
Set the minutes using
and
.
4.
Press
START/SET
to confirm the settings.
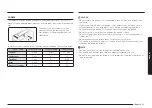
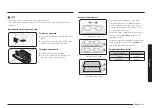
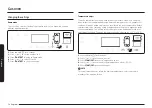
Oven vent/cooling vent
The oven vent is located under the oven
Control panel. Proper air circulation
prevents oven burner combustion problems
and ensures good performance.
•
Do not block the vent or its surroundings.
•
Use caution when placing items near
the vent. Hot steam can cause them to
overheat or melt.
Summary of Contents for NX60A6111SB
Page 1: ...GasFree StandingRange User manual NX60 61 S...
Page 49: ...Memo...


