


12
3. Disassembly and Reassembly
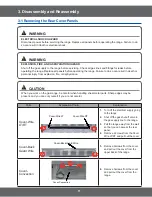
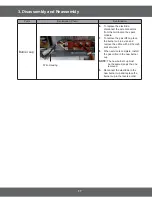
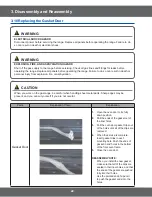
3-1 Removing the Rear Cover Panels
Parts
([SODQDWLRQ3KRWR
([SODQDWLRQ
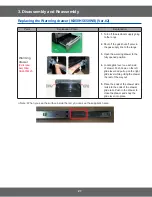
Cover-Back
Main Wire
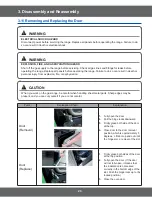
7.
Remove 9 screws and pull out the
cover from the middle back of the
range
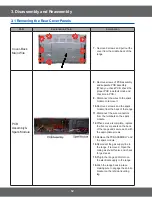
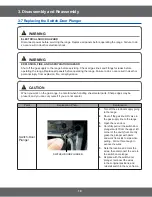
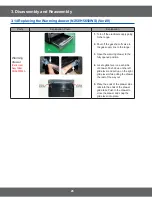
PCB
Assembly &
Spark Module
8.
Remove screws of PCB assembly
and separate PCB assembly.
(When you check PCB, check the
proper PCB in default mode and
check main PCB.)
9.
Disconnect the wires to the spark
module to remove it.
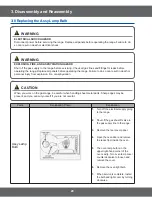
10.
Remove 2 screws and the spark
module from the back of the range.
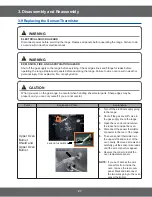
11.
Disconnect the wire connectors
from the terminals on the spark
module.
12.
When service is complete, replace
the
¿YH
cover panels on the back
of the range and secure each with
the appropriate screws
.
13.
Replace the PCB ASSEMBLY and
the spark module.
14.
Reconnect the gas supply line to
the range, if removed. Open the
main gas shut-off valve and check
for gas leaks.
15.
Plug in the range and/or turn on
the electrical supply to the range.
16.
Push the range back in place,
making sure to engage the anti-tip
bracket on the left-rear leveling
leg.


