


28
English
English
29
04
Basic Functions
`
Selecting DVD/CD or USB will automatically change to
TUNER if there is no disc or USB is inserted.
`
If the switch-on or -off time is the same as the timing
recording time, only the switch-on or -off time is
effective, and the timing recording time is not applied.
`
If the auto timer is turned on, the DVD/CD or USB function
may require an additional step to be activated depending on
the disc (or device). So it is better for you to select the tuner
function instead.
Cancelling the Timer
After having set the timer, it will start automatically as shown
by the TIMER indication on the display. If you no longer wish
to use the timer, you can cancel it.
1.
To cancel the timer, press and hold
the
TIMER ON/OFF
button once.
Result:
is no longer displayed.
2.
To resume the timer, press and hold
the
TIMER ON/OFF
button again.
Result:
is displayed again.
✎
NOTE
`
When you select the TIMER OFF mode, the
TIMER RECORDING and TIME function are not
available.
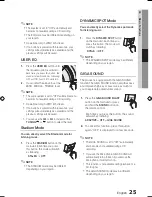
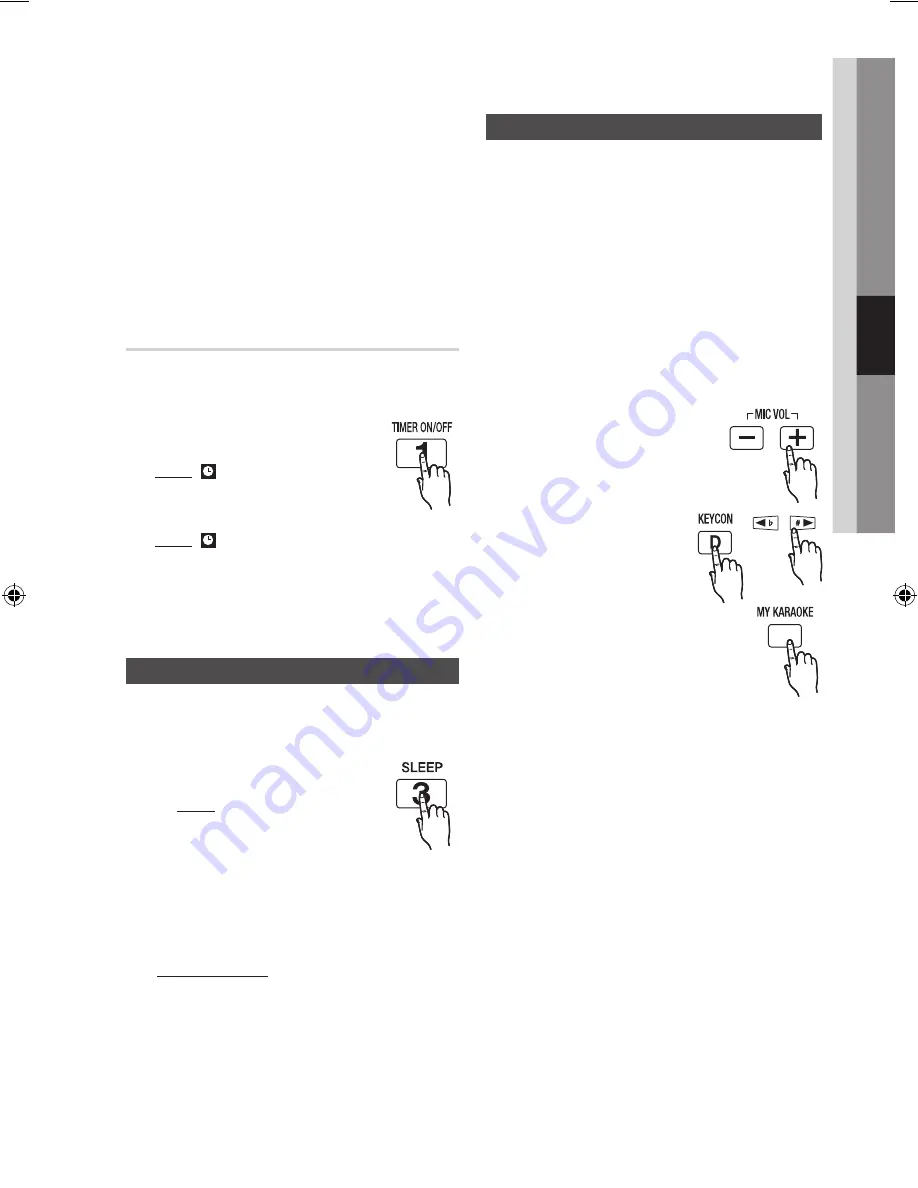
Sleep Timer Function
You can set the time that the DVD product will shut
itself off.
1.
Press and hold
SLEEP
button:
`
Result: Starts playback and the
following indication appears:
90MIN
2.
Press and hold the
SLEEP
button once or
more times to indicate how long the system
should continue playing before it switches off:
90MIN
60MIN
45MIN
30MIN
15MIN
OFF
At any time, you can:
`
check the remaining time by pressing and holding the
SLEEP
button.
`
Change the remaining time by repeating steps 1
and 2.
3.
To cancel the sleep timer, press and hold the
SLEEP
button until
OFF
appears on the display.
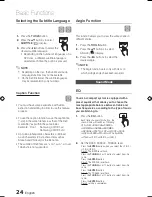
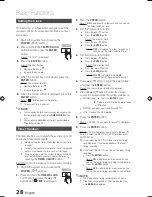
Connecting the Microphone
You can enjoy the feeling of a karaoke bar in the
comfort of your home.
Watch the video and sing along the lyrics displayed
on the TV screen against the accompaniment.
1.
Connect the microphone to the MIC jack on the
front of the product.
`
If your microphone with a larger jack than 3.5ø MIC
jack, you need a Connector-Adaptor(optional) to
complete the connection.
•
First, connect the Connector-Adaptor to the MIC
jack on the front of the product,
•
Second, connect the microphone (with larger
jack) to the Connector-Adaptor.
2.
Press the
MIC VOL-, +
button to
adjust the volume of the
microphone.
3.
During the playback, press the
KEYCON
button, then press the
(
#
/
b
) button.
Each time the (
#
) button is
pressed, the key is
increased, and each time
the (
b
) button is pressed, the
key is decreased.
4.
Press the
MY KARAOKE
button to
suppress the Vocal. Each time the
button is pressed, the selection is
changed as follows:
MIN
➞
MAX
➞
OFF.
✎
NOTE
`
If you hear strange noises (squealing or howling) while
using the Karaoke feature, move the microphone
away from the speakers. Turning down the
microphone's volume or the speaker volume is also
effective.
`
The microphone does not operate in the AUX and
TUNER mode.
`
After setting my karaoke or the keycon, EQ/GIGA
SOUND does not work.
`
MY KARAOKE function doesn't work in DIVX state.
`
KEYCON function doesn't work in DIVX/USB/MP3/
WMA state.
`
After the stop operation, the setting of my karaoke
and keycon will disappear.
`
Only when connected with a Microphone, the MY
KARAOKE and KEYCON functions are available.
MX-E750D-D760D-E770D-ENG-with AM-0417.indd 29
2012-5-4 13:14:39
Summary of Contents for MX-E750D
Page 36: ...Code No AH68 02454B Rev 0 0 ...


