


English - 11
1
Press the
HOME
button.
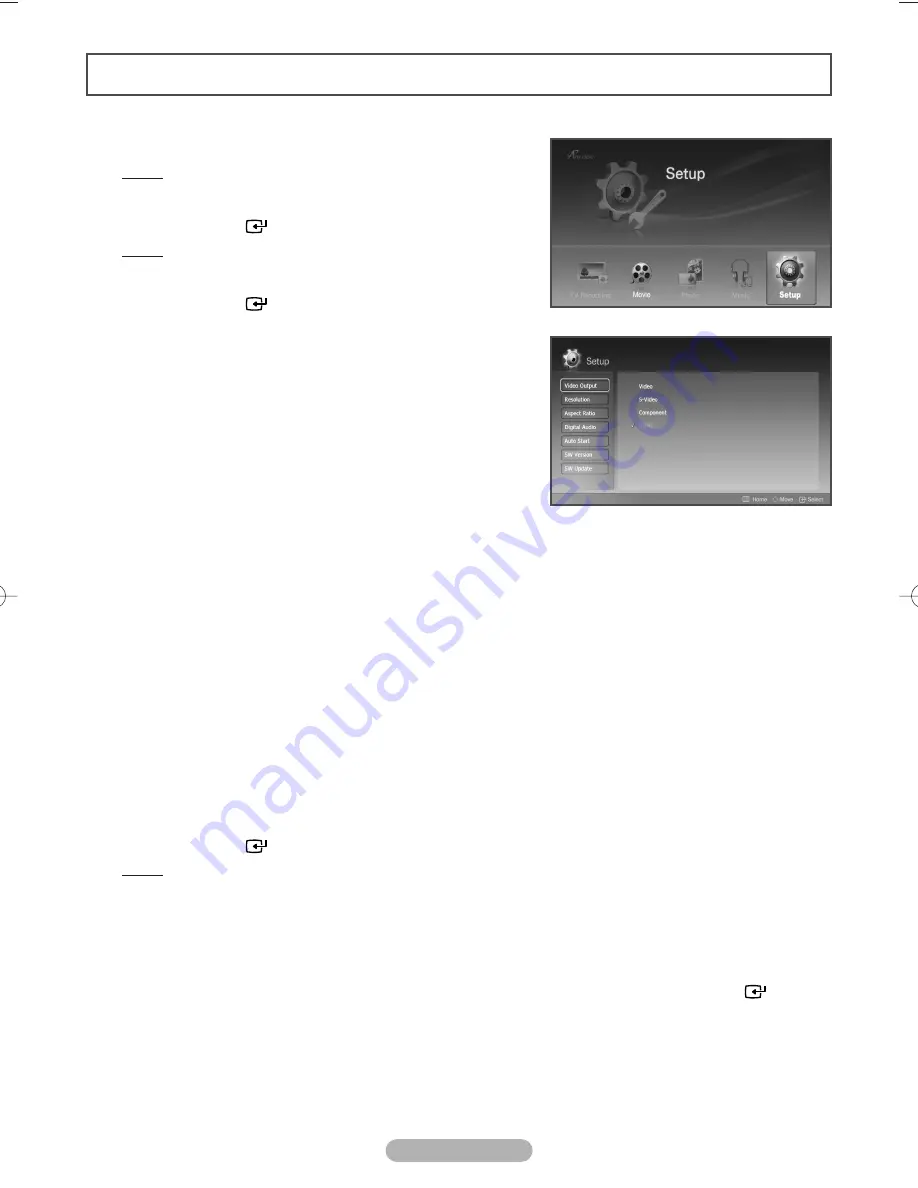
Result:
The main menu is displayed.
2
Press the
œ
or
√
button to select
Setup
.
Press the
ENTER
(
) button.
Result:
The
Setup
menu is displayed.
3
Press the
…
or
†
button to move to the desired menu item.
Press the
ENTER
(
) button.
1
1
Video Out: Video
/
S-Video
/
Component
/
HDMI
You can select video output.
2
2
Resolution: 480p
/
720p
/
1080i 50Hz
/
1080i 60Hz
This resolution is only available when connected to HDMI
and Component.
3
3
Aspect Ratio: Wide TV (16:9)
/
TV (4:3)
You can choose the screen size to match your TV screen
format.
4
4
Digital Audio: DOLBY/DTS:Connect HomeTheater
/
PCM:Connect TV
Select
DOLBY/DTS
to connect to a HomeTheater,
and
PCM
to connect to a TV.
You can turn on and off digital audio output. When it is on, the raw Dolby Digital signal will be sent
out on coaxial output.
5
5
Auto Start (On
/
Off)
If
Auto Start
option is set to
On
, the MR-16SA1 will automatically play the first video from the
programmed play list. If off, the main menu is displayed when the unit is turned on.
6
6
SW Version
You can see the current software version.
7
7
SW Update
You can update the software when it's available.
4
Press
œ
or
√
button to move between menu items and option items.
5
In option items, press the
…
or
†
button to move to the desired option setting.
6
Press the
ENTER
(
) button.
Result:
It is set to your requirement.
◆
For the
Video Out
, the change will apply right away.
If the TV cannot support the new setting, you may not see the proper menu. In that case, wait for
10 seconds, then it will return to the previous setting.
◆
You may see a message;
Output Setting is changed. Do you want to keep the
setting?
To change to your new setting, select
Yes
by using the
œ
or
√
button and press the
ENTER
(
)
button. If you select
No
or selection is not done in 20 seconds, it returns to the previous setting.
Setup
MD68-00297A-00Eng 8/24/06 5:52 PM Page 11


