12
English
English
12
English
13
PS
(Program Service)
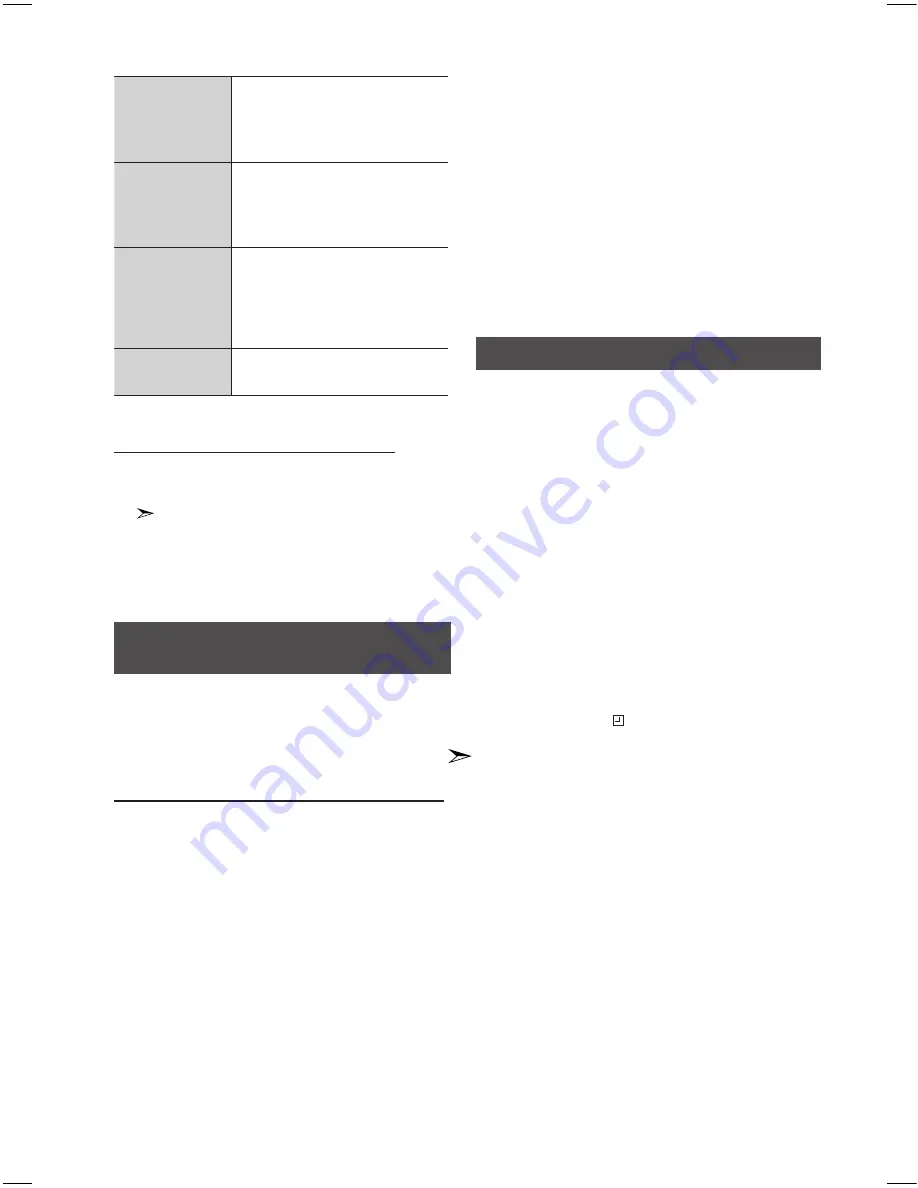
While searching, <PS> appears and
then the station names will be
displayed. <NO PS> appears if no
signal is sent.
RT(RadioText)
While searching, <RT> appears and
then text messages the station sends
will be displayed. <NO RT> appears if
no signal is sent.
CT (Clock Time)
Decodes the real time clock from the
FM frequency.
Some stations may not transmit PTY,
RT or CT information therefore this
may not be displayed in all cases.
Frequency
Station frequency (non-RDS
service).
About characters shown in the display
When the display shows PS,or RT signals,the
following characters are used.
•
The display window cannot differentiate upper
case and lower case letters and always uses upper
case letters.
•
The display window cannot show accented letters,
<A,> for instance, may stands for accented <A’s> like
<À, Â, Ä, Á, Å and Ã.>
PTY(Program Type) indication and
PTY-SEARCH function(Optional)
One of the advantages of the RDS service is that you
can locate a particular kind of program from the
preset channels by specifying the PTY codes.
To search for a program using the PTY codes
Before you start!
•
The PTY Search is only applicable to preset
stations.
•
To stop searching any time during the process,
press the STOP button while searching.
•
There is a time limit in doing the following steps.
If the setting is cancelled before you finish, start
from step 1 again.
•
When pressing the buttons on the primary remote
control, make sure that you have selected the FM
station using the primary remote control.
1.
Press the
RDS PTY
button while listening to an
FM station.
2.
Press the
TUNING/ALBUM
,
or
.
buttons
until the PTY code you want appears on the
display.
• The display gives you the PTY codes described
to the right.
3.
Press the
RDS PTY
button again, while the PTY
code selected in the previous step is still on the
display.
• The centre unit searches 30 preset FM stations,
stops when it finds the one you have selected,
and tunes in that station.
Setting the Clock
For each step, you have a few seconds to set the
required options. If you exceed this time, you must
start again.
1.
Switch the system on by pressing the
POWER
button.
2.
Press
TIMER SET
button and then press the
ENTER
button,
"CLOCK”
is displayed.
3.
Press
ENTER
button
.
The hour flashes.
• Increase the hours:
,
.
• Decrease the hours:
.
.
4.
When the correct hour is displayed, press
ENTER
button. The minutes flashes.
• Increase the minutes:
,
,
• Decrease the minutes:
.
.
5.
When the correct minute is displayed, press the
ENTER button. " TIMER" appears in the display.
• The current time is set now.
•
You can display the time, even when you are
using another function, by pressing the
TIMER
SET
button once.
•
You can also use the
[
or
]
on the top panel
instead of the
TUNING/ALBUM
,
or
.
buttons
in steps 3 and 4.


