8
ENGLISH
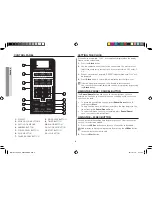
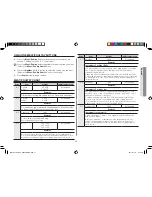
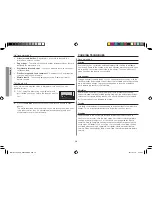
CoNTroL paNEL
1.
DISPLAY
2.
SENSOR COOK BUTTONS
3.
AUTO COOK MENUS
4.
NUMBER BUTTON
5.
POWER LEVEL BUTTON
6.
CLOCK BUTTON
7.
PAUSE/CANCEL BUTTON
8.
MORE/LESS BUTTON
9.
TIMER BUTTON
10.
SOUND BUTTON
11.
CLOCK OFF BUTTON
12.
START BUTTON
13.
+30s BUTTON
1
2
3
4
5
6
7
8
11
13
10
12
9
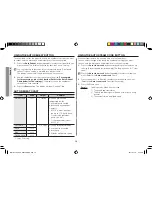
SETTING THE CLoCk
When power is supplied, “12:00” is automatically displayed on the display.
Please set the current time.
1.
Press the
Clock
button.
2.
Use the number buttons to enter the current time. You must press at
least three numbers to set the clock. If the current time is 5:00 enter, 5,
0, 0.
3.
When 5 seconds has elapsed, “ENTER” indicator flash and “Cloc” will
be displayed.
4.
Press
Clock
again. A color will blink, indicating that the time is set.
If there is a power interruption, you will need to reset the clock.
You can check the current time while cooking is in progress by pressing
the
Clock
button.
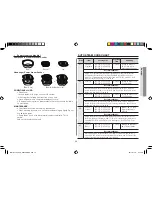
USING THE paUSE / CaNCEL bUTToN
The
pause/Cancel
button allows you to clear instructions you have
entered. It also allows you to pause the oven’s cooking cycle, so that you
can check the food.
•
To pause the oven during cooking: press
pause/Cancel
once. To
restart, press
Start
.
•
To stop cooking, erase instructions, and return the oven display to the
time of day: press
pause/Cancel
twice.
•
To correct a mistake you have just entered: press
pause/Cancel
once, then re-enter the instructions.
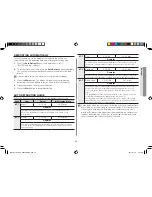
USING THE +30 SEC bUTToN
You can increase the cooking time by pressing the +30 s button once for
each 30 seconds to be added.
1.
Press the
+30 Sec
button once for each 30 seconds to be added.
Add minutes to a program in progress by pressing the
+30 Sec
button
for each minute you want to add
2.
Press the
Start
button.
ME1113TST_XSA_04026A-EN-F.indd 8
2011-07-18 8:14:55


