9
10
•
Make sure the colors of the speaker terminals
match the colors of the connecting jacks.
Connect the connecting jacks to
the back of the DVD player.
Back of the Main Unit
C
L
R
SL
SR
SW
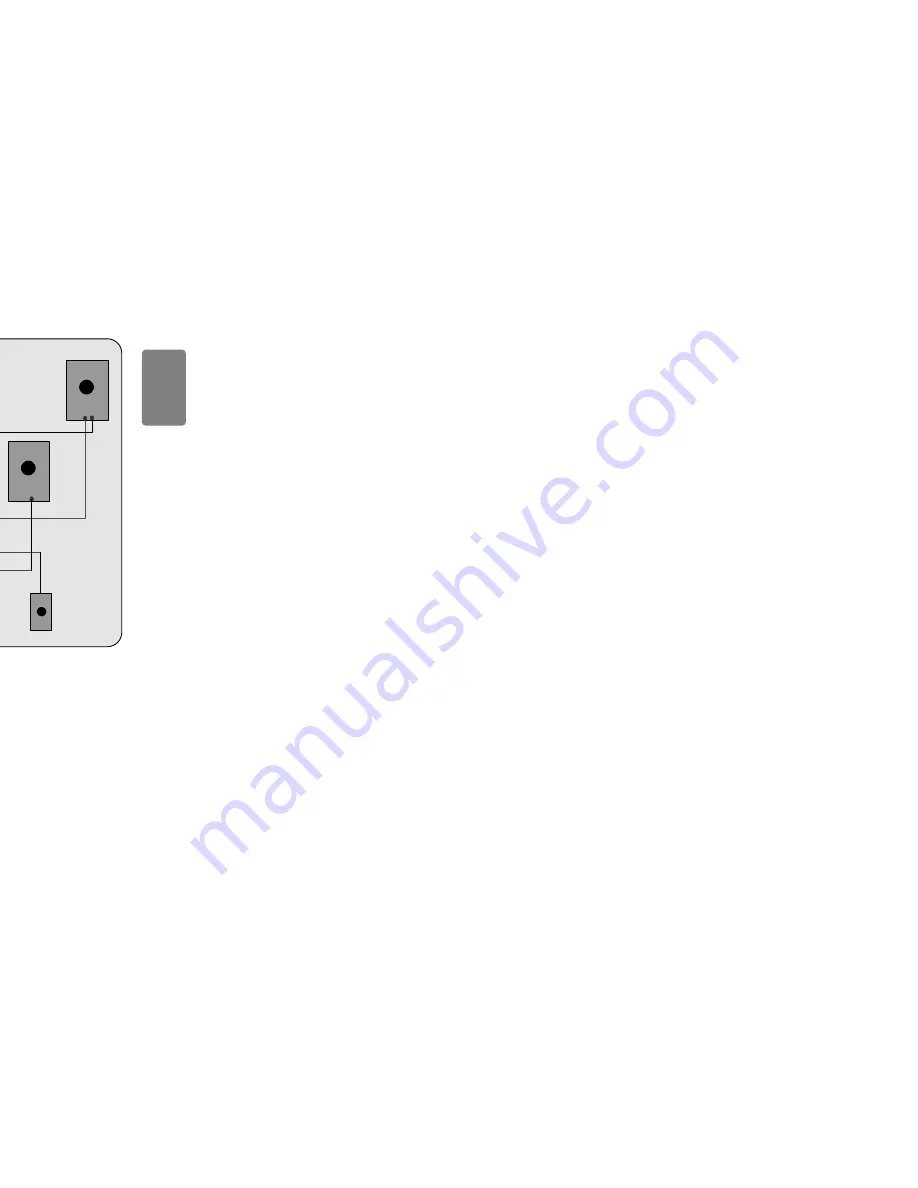
Rear Speaker (R)
Front Speaker (R)
Subwoofer
Center Speaker
Rear Speaker (L)
Front Speaker (L)
Blue
Gray
Violet
Red
Green
White
CONNECTIONS
Connecting the Speakers
Before moving or installing the product, be sure to turn off the power and disconnect the power cord.
C
L
R
SW
SL
SR
Rear Speakers
•
Place these speakers behind your listening position.
•
If there isn't enough room, place these speakers to face each other.
•
Place them about 60 to 90cm (2 to 3feet) above your ear, facing
slightly downward.
*
Unlike the front and center speakers, the rear speakers are used
to handle mainly sound effects and sound will not come from
them all the time.
Subwoofer
•
The position of the subwoofer is not so critical.
Place it anywhere you like.
•
Usually, it is placed by a corner near the front speakers.
Front Speakers
•
Place these speakers in front of your listening
position, facing inwards (about 45°) toward you.
•
Place the speakers so that their tweeters will be at
the same height as your ear.
•
Align the front face of the front speakers with the
front face of the center speaker or place them
slightly in front of the center speakers.
Center Speaker
•
It is best to install it at the same height as the front
speakers.
•
You can also install it directly over or under the TV.
Position of the DVD Player
•
Place it on a stand or cabinet shelf, or under
the TV stand.
Selecting the Listening Position
The listening position should be located about 2.5 to 3
times the distance of the TV's screen size away from the
TV. Example: For 32" TVs 2~2.4m (6~8feet)
For 55" TVs 3.5~4m (11~13feet)
R
L
C
SR
SL
SW
Summary of Contents for MAX-DC990
Page 1: ...NT SYSTEM HOST MP3 CD CD R RW 0 ual MONO ST ...
Page 5: ...8 Replace the battery cover 3 cells polarity to and to ar may differ in voltage PREPARATION ...
Page 6: ...10 L SL SW Subwoofer Rear Speaker L Front Speaker L CONNECTIONS ...
Page 23: ...SETUP 3 on Press Cursor button to move to LOGO and then press ENTER button e vel 44 ...
Page 31: ...60 TAPE DECK back modes which atically k Mode ...
Page 41: ...MISCELLANEOUS 80 ...


