background image

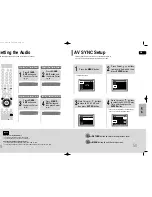
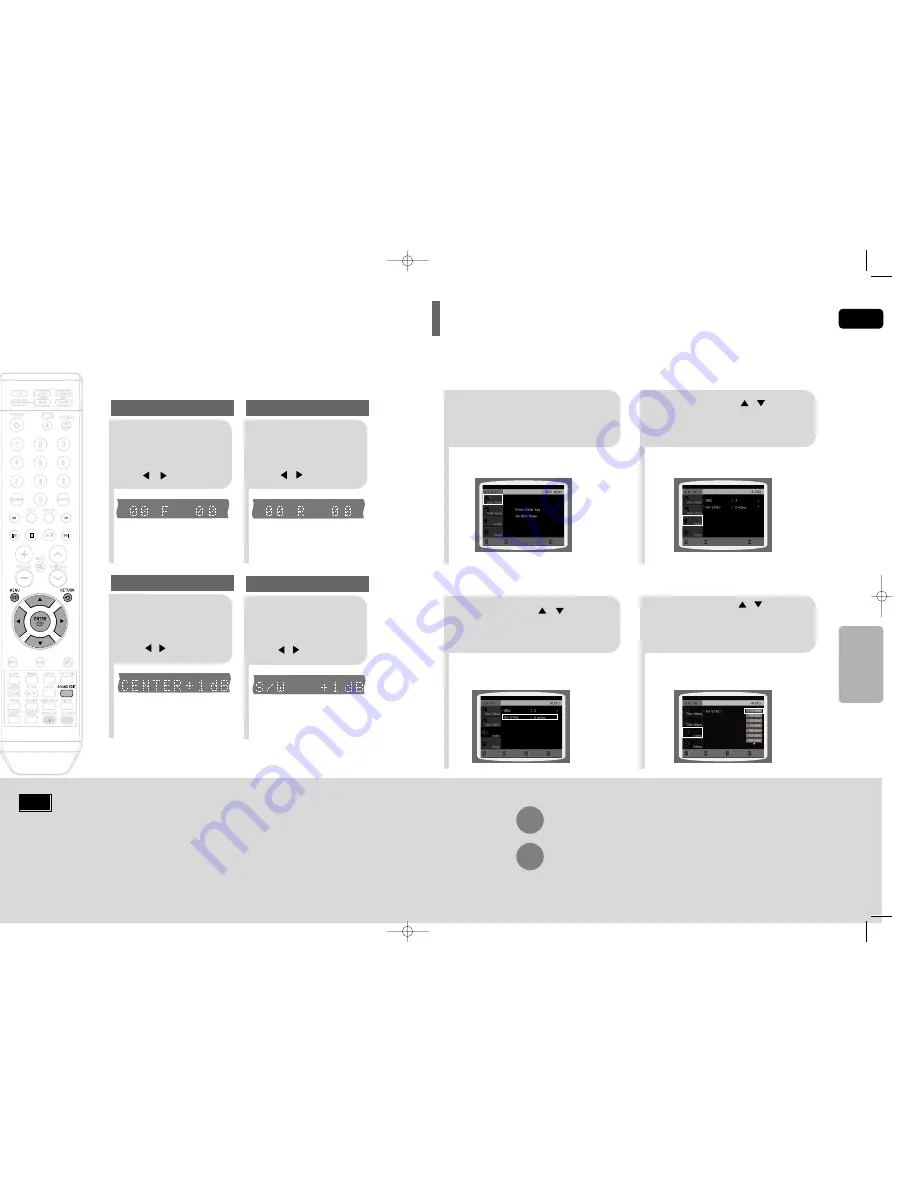
Video may look slower than the audio if it is connected to a digital TV. 
If this occurs, adjust the audio delay time to to match the video.

AV SYNC Setup

49

Press 

RETURN

button to return to the previous level.

Press 

MENU

button to exit the setup screen.

2

1

Setup menu appears.

3

Press Cursor     ,     buttons
to move to ‘Audio’ and then 
press 

ENTER

button.

Press Cursor     ,      buttons
to move to ‘AV-SYNC’ and
then press 

ENTER

button.

Press the 

MENU

button.

4

You can set the audio delay time between 0 ms
and 300 ms. Set it to the optimal status.

Press Cursor      ,     buttons
to select the AV-SYNC Delay
Time  and then press the

ENTER

button.

MOVE

ENTER

EXIT

MOVE

ENTER

RETURN

EXIT

MOVE

SELECT

RETURN

EXIT

MOVE

ENTER

EXIT

GB

SETUP

50

Adjusting Front Speaker Balance

You can select between 00 and –06 and OFF.

The volume decreases as you move closer to –6.

Adjusting Center/Subwoofer Speaker Level

The volume level can be adjusted in steps from +6dB to –6dB.

The sound gets louder as you move closer to +6dB and quieter as you get closer to -6dB.

2

1

Adjusting Front Speaker Balance

Adjusting Rear Speaker Balance

Press 

SOUND

EDIT

button and

then press Cursor    

,     .

3

Adjusting Center Speaker Level

4

Adjusting Subwoofer Speaker Level

Press 

SOUND

EDIT

button and

then press Cursor    

,    .

Press 

SOUND

EDIT

button and

then press Cursor   

,    .

Press 

SOUND

EDIT

button and

then press Cursor   

,    .

Note

You can adjust the balance and level for each speaker.

Setting the Audio

HT-DT79(GB)39-62  4/20/06 10:56 AM  Page 50

Summary of Contents for HT-DT79

Page 1: ...3 1CH COMPACT HOME CINEMA SYSTEM HT DT79 Instruction Manual AH68 01839B THIS APPLIANCE IS MANUFACTURED BY 1 38 4 20 06 10 55 AM Page 2 ...

Page 2: ...e peaks due to lightning could damage the unit Do not expose the unit to direct sunlight or other heat sources This could lead to overheating and malfunction of the unit The batteries used with this product contain chemicals that are harmful to the environment Do not dispose of batteries in the general household trash PREPARATION Use of controls adjustments or performance of procedures other than ...

Page 3: ... and AM Antenna 16 OPERATION Before Using Your Home Theater 17 Disc Playback 18 Selecting a Disc in the Disc changer 19 MP3 WMA CD Playback 20 Displaying Disc Information 21 JPEG File Playback 22 DivX Playback 24 Checking the Remaining Time 26 Fast Slow Playback 27 Repeat Playback 28 A B Repeat Playback 29 Step Function 30 Angle Function 30 Zoom Screen Enlarge Function 31 EZ VIEW Function 31 Selec...

Page 4: ...a DivX file created by the user might not be played Software update for unsupported formats is not supported Example QPEL GMC resolution higher than 720 x 480 pixels etc Sections with high frame rate might not be played while playing a DivX file For more information about the formats authorized by DivX Networks Inc visit www divxnetworks net Disc Recording Format 6 DVD Digital Versatile Disc offer...

Page 5: ...ol Tuning Up Skip buttons Tuning Down Skip buttons Disc selection button Disc change button Open Close button Function button REV MODE button CD SYNC button Cassette Deck Stop button Play Pause button Front Panel 8 Video Cable Remote Control FM Antenna AM Antenna User s Manual LBY DIGITAL indicator EAR PCM indicator MPEG indicator DSP indicator TITLE indicator PROGRAM indicator CHAPTER indicator D...

Page 6: ...tton MEMORY P SCAN button SLOW MO ST button OUNTER RESET button REMAIN button STEP button SEARCH buttons SUB TITLE button DIMMER button Remote Control Play Pause button Tuning Preset CD Skip button Stop button DVD button TUNER button USB AUX button TAPE button REVERSE MODE button Insert Remote Batteries Caution Remove the battery cover on the back of the remote by pressing down and sliding the cov...

Page 7: ... to turn off the power and disconnect the power cord CONNECTIONS R L C SW Connecting the Speakers C L SW R Connecting the Speakers Black Press down the terminal tab on the back of the speaker 1 Insert the black wire into the black terminal and the red wire into the red terminal and then release the tab 2 Connect the correct color speaker cable to the same color speaker output terminal on the rear ...

Page 8: ... as opposed to the interlaced scanning process by which a video image is drawn in a series of passes The progressive scanning method is desirable for dealing with moving objects Progressive Scan FULL FRAME What is Progressive or Non Interlaced Scanning This function works only on TVs equipped with component video inputs Y Pr Pb that support Progressive Video It does not work on TVs with convention...

Page 9: ...ignal components such as a VCR Connecting an External Analog Component Audio Cable not supplied If the external analog compo nent has only one Audio Out connect either left or right You can connect the Video Output jack on your VCR to the TV and connect the Audio Output jacks on the VCR to this product Note The cooling fan supplies cool air to the unit to prevent overheating Cooling Fan FM antenna...

Page 10: ...D CD MP3 WMA and JPEG discs Depending on the disc you are sing these instructions may vary slightly Read the instructions carefully before using Before Using Your Home Theater Operate your Samsung TV and the Home Theater with the HT DT79 s Remote Control Press TV VIDEO button to select VIDEO mode on your TV VIDEO Press TV button to set the remote to TV mode 17 2 Load a disc Place a disc gently int...

Page 11: ...n the screen 19 GB OPERATION To stop playback press STOP during playback If pressed once PRESS PLAY is displayed and the stop position will be stored in memory If PLAY PAUSE button or ENTER button is pressed playback resumes from the stop position This function works only with DVDs If pressed twice STOP is displayed and if PLAY PAUSE button is pressed playback starts from the beginning To temporar...

Page 12: ...e screen The information Display disap pears from the screen The information Display disap pears from the screen CD appears on the TV screen If this symbol appears on the TV screen while buttons are being operated that operation is not possible with the disc currently being played epending on the disc the disc informa n display may appear different epending on the disc you can also lect DTS DOLBY ...

Page 13: ...Minute Skip function During playback press the button Playback skips 5 minutes forward whenever you press button Playback skips 5 minutes back whenever you press button The functions on this page apply to DIVX disc playback GB Rotate Flip Function button Flip Vertically button Flip Horizontally button Rotate 90 Counterclockwise button Rotate 90 Clockwise Digest Function 2 Press Cursor buttons to s...

Page 14: ...time MPEG4 is used for video encoding and MP3 for audio encoding so that the users can watch a movie at near DVD quality video and audio 1 Supported Formats This product only supports the following media formats If both video and audio formats are not support ed the user may experience problems such as broken images or no sound 2 Caption Function You must have some experience with video extraction...

Page 15: ...ove to REPEAT PLAYBACK display 2 Press Cursor button to select the desired Repeat Playback mode 3 DVD VCD CD For MP3 and JPEG discs you cannot select Repeat Play from the information display screen Press ENTER button 4 Note GB 28 OPERATION DivX Fast Slow Playback Skipping Scenes Songs DVD Press Each time the button is pressed during playback the previous or next chapter track or directory file wil...

Page 16: ... Function 1 GB 30 The A B Repeat function does not operate with MP3 or JPEG discs 2 Press Cursor button to move to REPEAT PLAYBACK display For a VCD press INFO button once 1Press INFO button twice A A REPEAT A A B REPEAT A B The specified segment will be played repeatedly 4 Press ENTER button at the end of the desired segment When ENTER button is pressed the selected position will be stored in mem...

Page 17: ...EW button Each time the button is pressed the zoom function will switch between On and Off When a movie is played in Widescreen format black bars at the top and bottom of the TV screen can be removed by pressing the EZ VIEW button OPERATION EZ VIEW OFF EZ VIEW SELECT ZOOM POSITION his function allows you to enlarge a particular area of the displayed image Zoom Screen Enlarge Function EZ VIEW Funct...

Page 18: ...ures movies and music saved in an MP3 player USB memory or digital camera in high quality video with 3 1 channel home theater sound by connecting the storage device to the USB port of the home theater Safe USB Removal To prevent damage to the memory stored in the USB device perform safe removal before disconnecting the USB cable 1 Press the Stop button twice in a row The display will show REMOVE U...

Page 19: ...HDD and USB Flash Drive Devices that support USB2 0 or USB1 1 You may experience a difference in playback quality when you connect a USB1 1 device For a USB HDD make sure to connect an auxiliary power cord to the USB HDD for proper operation USB card Reader One slot USB card reader and Multi slot USB card reader Depending on the manufacturer the USB card reader may not be supported If you install ...

Page 20: ...ing multiple titles you can view the title of each movie Depending on the disc the availability of this feature may vary Using the Title Menu Title menu display may be different depending on the disc Note ENTER MOVE EXIT ENTER MOVE EXIT ENTER MOVE EXIT ENTER MOVE EXIT When playing a VCD version 2 this toggles between PBC ON and OFF PBC Playback Control Function When playing a VCD version 2 0 you c...

Page 21: ...ng the Disc Menu Language recorded on the disc Select Language and then press ENTER button 5 Press Cursor button to select OSD Language and then press ENTER button Press Cursor button to select the desired language and then press ENTER button Press RETURN button to return to the previous level Press MENU button to exit the setup screen To select another language select OTHER and enter the language...

Page 22: ...atio to fit your TV or monitor For a standard TV select either 4 3LB or 4 3PS option according to personal preference Select 16 9 if you have a widescreen TV Select this to view a 16 9 picture in the full screen mode on your widescreen TV You can enjoy the widescreen aspect Select this to play a 16 9 picture in the letter box mode on a conventional TV Black bars will appear at the top and bottom o...

Page 23: ...trols Rating Level 4 Enter the old password a new password and confirm new password The setting is complete 3 5 Press Cursor button to move to PASS WORD and then press ENTER button Press ENTER button Enter the password and then press ENTER button 2 1 Press MENU button Press Cursor button to move to Setup and then press ENTER button The password is set to 7890 by default Note If you have forgotten ...

Page 24: ...per Select this to set the desired image as your wallpaper COPY LOGO DATA FLASH COPY DONE will be displayed on the TV screen This selects one of the 3 wallpa per screens The selected wallpaper will be displayed You can select up to 3 wallpaper settings 2 1 3 During playback press PLAY PAUSE button when an image you like appears Press LOGO button The power will turn off and then back on PAUSE COPY ...

Page 25: ...e effect is smaller 3 4 Press Cursor button to move to DRC and then press ENTER button Press Cursor to adjust the DRC Press RETURN button to return to the previous level Press MENU button to exit the setup screen This feature balances the range between the loudest and quietist sounds You can use this function to enjoy Dolby Digital sound when watching movies at low volume at night Setting the DRC ...

Page 26: ...TER EXIT MOVE ENTER RETURN EXIT MOVE SELECT RETURN EXIT MOVE ENTER EXIT GB SETUP 50 Adjusting Front Speaker Balance You can select between 00 and 06 and OFF The volume decreases as you move closer to 6 Adjusting Center Subwoofer Speaker Level The volume level can be adjusted in steps from 6dB to 6dB The sound gets louder as you move closer to 6dB and quieter as you get closer to 6dB 2 1 Adjusting ...

Page 27: ...e the frequency incrementally AutomaticTuning1 Remote Control Unit Main Unit Listening to Radio GB 52 DSP appears on the display panel Each time the button is pressed the selection changes as follows POP JAZZ ROCK Depending on the genre of music you can select POP JAZZ and ROCK STUDIO Provides a sense of presence as if in a studio CLUB Simulates the sound of a dance club with a throbbing bass beat...

Page 28: ...15 presels Press the TUNER MEMORY button Press the TUNER MEMORY button again 6 To preset another station repeat steps 2 to 5 Press to select preset number Presetting Stations Listening to a Cassette The cassette starts playing 54 TAPE DECK GB 2 1 3 Select the TAPE function by pressing FUNCTION Switch the system on by pressing POWER Rewind the cassette button Fast forward the cassette button AM 15 ...

Page 29: ...ess stop Recording a Compact Disc You can record a compact disc on a cassette in two different ways This feature enables you to synchronize the start of the recording with the start of the disc or track of your choice Press the OPEN CLOSE button to open the CD door Insert a CD and press the OPEN CLOSE button to close the CD door Press the PUSH EJECT button to open the cassette door insert a casset...

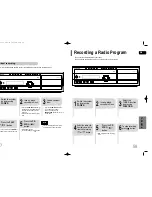
Page 30: ...election uttons to select the desired song Load a compact disc Press the CD SYNC button Press the PLAY button Direct recording The cassette tape you want to record on must have the safety tabs intact Note 57 TAPE DECK GB 58 Recording a Radio Program You can record a radio program of your choice You do not need to adjust the volume as it has no effect on the recording 2 1 3 Insert a blank cassette ...

Page 31: ...Each time the button is pressed the brightness changes as follows SLIGHTLY DARK DARK BRIGHT Adjusting Display Brightness You can adjust the brightness of the display on the main unit so it won t interfere with your movie viewing Press DIMMER button MUTE ON appears in the display To restore the sound press the button again to select MUTE OFF Mute Function This is useful when answering a doorbell or...

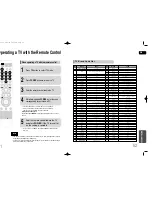
Page 32: ...chwood Teknika TMK Toshiba Vidtech Videch Wards Yamaha York Yupiteru Zenith Zonda Dongyang No Brand Code 18 18 19 20 40 59 60 03 03 03 06 07 08 09 54 66 67 73 74 18 03 15 17 18 48 54 59 62 69 90 15 17 18 40 48 54 62 72 63 66 80 91 15 18 59 40 06 66 67 17 48 56 60 61 75 18 59 67 76 77 78 92 93 94 03 19 40 00 15 16 17 40 43 46 47 48 49 59 60 98 19 61 65 03 40 60 61 15 18 19 15 57 64 57 58 50 51 52 5...

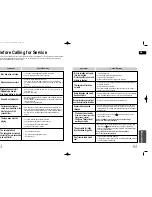
Page 33: ...tio only Refer to the DVD disc jacket and then select the appro priate function Aspect ratio cannot be changed Is the power cord plugged securely into the outlet Turn off the power and then turn it back on Check the region number of the DVD DVD discs purchased from abroad may not be playable CD ROMs and DVD ROMs cannot be played on this Home Theater Make sure that the rating level is correct Are y...

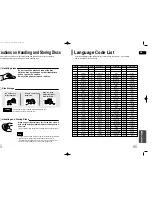
Page 34: ...9 Spanish 1301 Korean 1489 Russian 1572 Uzbek 1150 Estonian 1305 Kashmiri 1491 Kinyarwanda 1581 Vietnamese 1151 Basque 1307 Kurdish 1495 Sanskrit 1587 Volapuk 1157 Persian 1311 Kirghiz 1498 Sindhi 1613 Wolof 1165 Finnish 1313 Latin 1501 Sangro 1632 Xhosa 1166 Fiji 1326 Lingala 1502 Serbo Croatian 1665 Yoruba 1171 Faeroese 1327 Laothian 1503 Singhalese 1684 Chinese 1174 French 1332 Lithuanian 1505 ...

Page 35: ...pus Digital Camera 060 Olympus Digital Camera Olympus Digital Camera mini Olympus Digital Camera mix FZ20 Panasonic Digital Camera C FX7GD Panasonic Digital Camera mix LC33 Panasonic Digital Camera MIX DMC F1 Panasonic Digital Camera o S40 Pentax Digital Camera o S50 Pentax Digital Camera o 33LF Pentax Digital Camera o MX Pentax Digital Camera max 420 Samsung Digital Camera max 400 Samsung Digital...

Reviews: