background image

47

GB

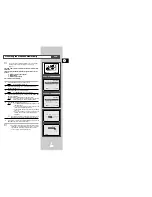
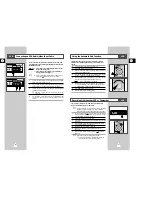
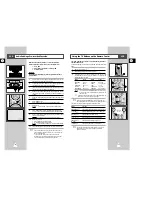
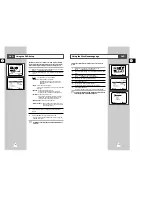
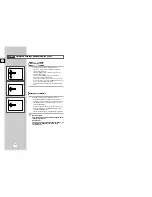
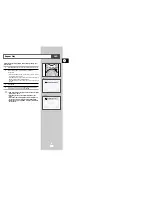
Using the Search & Skip Functions 

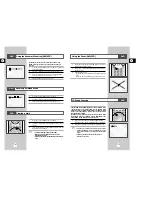
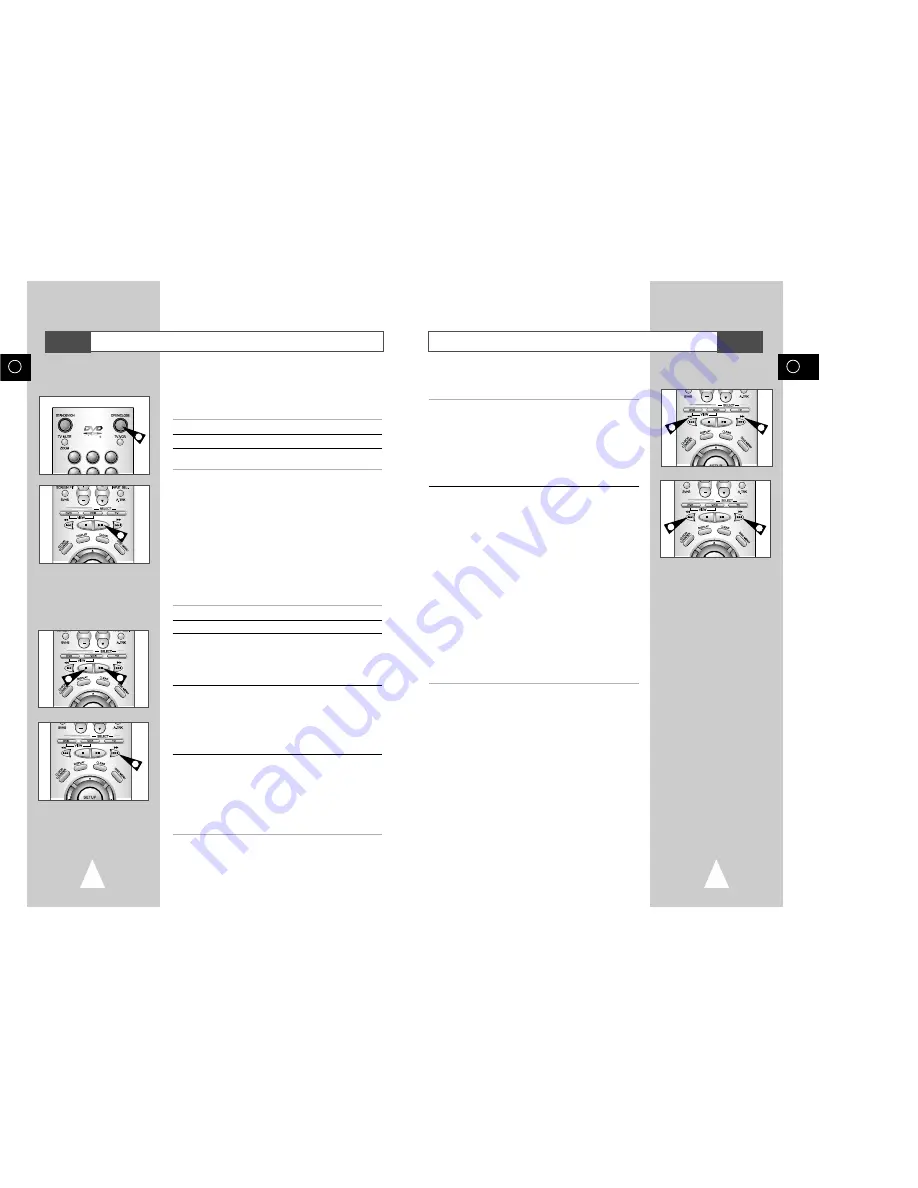
During playback, you can search quickly through a chapter or track
or use the skip function to jump to the next selection.

1

During playback, press the 

❿❿

or 

➛➛

button on the remote.

Press the 

❿❿

or 

➛➛

button on the remote and press again to

search at a faster speed(2X/4X/8X/16X/32X/128X/normal
speed, in order) on the DVD.

Press the 

❿❿

or 

➛➛

button on the remote and press again to

search at a faster speed(4X/8X/normal speed in order) on
VCD and CD.

To return to normal speed playback, press the 

ll

(PLAY/STILL) button.

2

During playback, press the 

❿❿

(NEXT SKIP) or I

➛➛

(BACK SKIP)

button.

When playing a DVD, if you press the 

❿❿

(NEXT SKIP)

button, it moves to next chapter. If you press the I

➛➛

(BACK

SKIP) button, it moves to the beginning of the chapter. One
more press makes it move to the beginning of the previous
chapter.

When playing a VCD 2.0 in MENU OFF mode, a VCD 1.1 or
a CD, if you press the 

❿❿

(NEXT SKIP) button, it moves to

next track. If you press the I

➛➛

(BACK SKIP) button, it moves

to the the beginning of the track. One more press makes it
move to the beginning of the previous track.

If a track exceeds 15 minutes when playing a VCD and you
press the 

❿❿

(NEXT SKIP) button, it moves forward 5

minutes. If you press the BACK SKIP button, it moves
backward 5 minutes.

When playing a VCD 2.0 in the MENU MODE or Track View
function, if you press the 

❿❿

(NEXT SKIP) button, it moves to

the next MENU or the next Track View display. If you press
the I

➛➛

(BACK SKIP) button, it moves to the previous MENU

or the previous Track View display. (See page 61.)

When in search mode (8X/16X/32X/128X) on a DVD
or high-speed playback on a VCD, no sound will be
heard.

Depending on the disc, audio may not be heard when 
a disc is in 2X playback mode.

1

1

2

2

DVD

46

GB

3

1

5

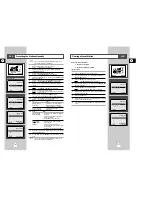
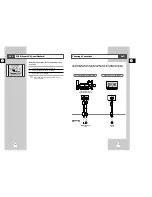
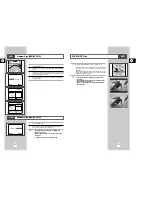
Playing a Disc

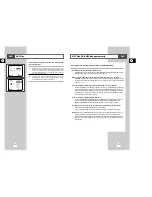
Before Playback :

Turn on a TV and press the TV/VIDEO button to select
video mode.

Turn on your Audio System and select AUX, CD or DVD.

Refer to your AUDIO User’s Manual.

1

Press the OPEN/CLOSE button. 

2

Place a disc gently into the tray with the disc’s label facing up.

3

Press the 

ll (PLAY/STILL) button or OPEN/CLOSE button to 

close the disc tray.

☛ 

RESUME function :
When you stop disc play, the player remembers where you
stopped, so when you press PLAY again, it will pick up 
where you left off (unless the disc is removed, the STOP 
button is pressed twice or the player is unplugged.).

If the player is left for 5 minutes in still mode, it will       

stop.

This icon indicates an invalid button press.

Before using the DVD operation, press the DVD button
on the remote control to watch and select DVD.

1

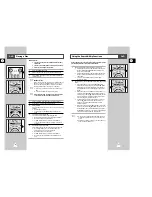
Stopping Playback. Press the STOP button during playback.

2

Removing Disc. Press the OPEN/CLOSE button.

3

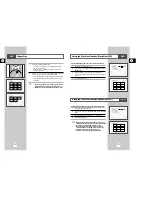
Stilling Playback.
Press the 

ll (PLAY/STILL) button on the remote during

playback.

Screen stops, no sound.

To resume again, press 

ll (PLAY/STILL) button once

again.

4

Step Motion Playback (Except CD)
Turn the JOG dial the remote during stilling playback.

Each time the button is pressed, a new frame will appear.

No sound is heard during STEP mode.

Press 

ll (PLAY/STILL) to resume normal playback.

(You can only perform step motion playback in the forward
direction.) 

5

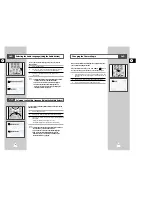
Slow Motion Playback (Except CD)
Press the 

❿❿

button on  the remote during STILL or STEP mode.

By pressing the 

❿❿

button, you can select slow motion

playback for 1/2, 1/4 or 1/8 of normal speed.

No sound is heard during slow mode.

Press 

ll (PLAY/STILL) to resume normal playback.

When playing, the reverse slow motion playback will not
work. 

2

3

1

5

6

4

1

3

DVD

Summary of Contents for DVD-V7500

Page 1: ...DVD VCR DVD V7500 Instruction Manual PAL www samsung com au EJECT SELECT COPY REC PROG VIDEO L AUDIO R OPEN CLOSE STANDBY ON LINE IN 2 2 3 1 5 6 4 8 0 9 7 ANGLE AUDIO ...

Page 2: ...era Angle 63 Using the Mark Function DVD VCD 64 Recalling a Marked Scene 64 Clearing a Mark 64 Using the Zoom DVD VCD 65 3D Sound Function 65 MP3 Play 66 MP3 Play CD R MP3 disc requirements 67 FOREWORD Disc Type and Characteristics 6 DVD VCR OVERVIEWS Front View of the DVD VCR 7 Rear View of the DVD VCR 7 Infrared Remote Control 8 Display Indicators 9 Accessories 9 CONNECTING YOUR DVD VCR Deciding...

Page 3: ...t ning unplug the DVD VCR from the mains socket and aerial If the remote control is not used for a long period of time remove the batteries and store it in a cool dry place Note Important Hold down Press push Symbols 1 1 1 Step number SOLVING PROBLEMS Technical Specifications 68 Problems and Solutions VCR 69 Troubleshooting Guide DVD 70 This product incorporates copyright protection technology tha...

Page 4: ...e codes do not match the disc will not play The Region Number for this player is described on the rear panel of the player Playback Region Number PAL 12 Cm 8 Cm Single sided 240 min Double sided 480 min Single sided 80 min Double sided 160 min Audio Video Audio Video Audio DVD contains excellent sound and video due to Dolby Digital and MPEG 2 system Various screen and audio functions can be easily...

Page 5: ...e VCR is in PAUSE mode 7 The VCR Deck is active 8 3D Sound is active 9 A DVD with a DTS soundtrack is loaded 10 The number to the right of the CHAP symbol is the current title number 11 The current TV show or video is broadcast in Stereo 12 A Timer Recording is programmed or in progress 13 DVD to VHS copy is in progress 2 3 1 5 6 4 8 0 9 7 ANGLE AUDIO 1 2 3 4 5 6 7 8 9 10 11 12 13 14 15 16 17 18 1...

Page 6: ...wise no picture will be visible on the screen when the DVD VCR is switched off Make sure that both the television and the DVD VCR are switched off before connecting the cables 1 Connect the coaxial cable as indicated in the above section 2 Connect one end of the RCA Audio Video cable to the Video output and Audio L R output socket on the rear of the DVD VCR 3 Plug the other end into the appropriat...

Page 7: ...cess takes a few minutes Your DVD VCR will then be ready for use 1 Connect the coaxial cable as indicated on page 11 Connecting Your DVD VCR to the TV Using the Coaxial Cable 2 Plug the DVD VCR into the mains Result The LANGUAGE SET menu is displayed 3 Select the required language by pressing the or buttons 4 Press ENTER to store the language selected Result A message appears 5 Press ENTER to star...

Page 8: ...N 1 2 1 1 EJECT SELECT COPY REC ROG VIDEO L AUDIO R LINE IN 2 2 3 4 You must tune your television for the DVD VCR only if you are not using a RCA cable To view pictures from your DVD VCR when a RCA cable is used the television must be set to the audio video mode AV 1 Switch on the television 2 Switch on the DVD VCR by pressing STANDBY ON on the front of the DVD VCR or STANDBY ON on the remote cont...

Page 9: ...automatically You can hold the or buttons down to scroll more quickly through the values 6 On completion press RETURN twice to exit the menu RETURN CLOCK SET 12 00 1 JAN 2002 TUE MAIN MENU CLOCK SET RETURN ENTER Program Clock Install Exit DVD VCR Option Language Clock Copying from DVD to VCR The DVD VCR allows you to copy the contents of a DVD to a VHS tape with a press of the COPY button If the D...

Page 10: ...tons move the selection arrow to Language set then press ENTER button 3 Set menu Language Move the selection bar to your desired Language then press ENTER button 1 LANGUAGE SET RETURN ENTER MAIN MENU LANGUAGE SET RETURN ENTER Program Clock Install Exit DVD VCR Option Language Language English Français Deutsch Español Italiano Nederlands ...

Page 11: ...ning Result The PLEASE WAIT indication flashes on the television screen The first frequency band is scanned and the first station found is displayed and stored The DVD VCR then searches for the second station and so on When the automatic scanning procedure has finished the DVD VCR switches automatically to programme 1 The number of stations automatically stored by the DVD VCR depends on the number...

Page 12: ...n Result The MANUAL TUNING menu is displayed 8 Press the or buttons to start scanning Result The frequency band is scanned and the first station found is displayed 9 Press the or buttons until the NAME is selected The station name is set automatically from the broadcast signal 10 To change the programme s name press the button Result The first letter of the name flashes 11 To Then Select a charact...

Page 13: ...et TV programme is selected Result The selected station is displayed at the same time on the television screen 7 To change the programme number assigned to a station press the ENTER button on the remote control For example To move a TV station in programme 1 to programme 3 8 Press the or buttons to select required position and the press ENTER again to swap the position 9 On completion press the RE...

Page 14: ... NTSC 4 43 compatible set NT4 43 and you can record NT4 43 1 Press SETUP on the remote control Result The MAIN MENU is displayed 2 Press the corresponding or buttons to select the USER SET option 3 Press the ENTER button to select this option Result The USER SET menu is displayed 4 Press the corresponding or buttons until the COLOUR SYSTEM option is selected 5 Press the button to select AUTO PAL M...

Page 15: ...ice to exit the menu Auto Repeat Play Auto Power Off The Auto Power Off feature automatically turns off your DVD VCR if no signal is received and you do not press any button for the selected time 1 Press SETUP on the remote control Result The MAIN MENU is displayed 2 Press the corresponding or buttons to select the USER SET option 3 Press the ENTER button to select this option Result The USER SET ...

Page 16: ... when you start recording check to make sure that the cassette s safety tab is intact or that the opening created by a broken safety tab is covered with adhesive tape If you reach the end of the tape while recording the cassette rewinds automatically 1 7 0 ANGLE AUDIO 6 4 4 5 Displaying Hiding On Screen Information Selecting the Recording Speed Your DVD VCR displays most information both on the DV...

Page 17: ...e date and time are correct Insert the cassette on which the programme is to be recorded safety tab intact Up to six programmes can be preset 1 Press the TIMER button Result The TIMER METHOD is displayed 2 Press the corresponding or buttons until the G CODE option is selected 3 Press the button to select G CODE Result A message is displayed to allow you to enter the G CODE code If all six programm...

Page 18: ...al recording time remaining on the tape loaded If there is insufficient tape to complete a timer recording in AUTO mode the DVD VCR automatically switches to LP mode to record the whole programme 2 3 1 5 6 4 16 1 JAN TUE 12 09 PR DAY START STOP 1 SA 9 12 00 12 50SP SET RETURN DELETE CLEAR VCR Modifying G CODE Programming VCR If you wish to correct the programme displayed or modify certain elements...

Page 19: ...ressing the PROG TRK or buttons until the picture is clear and stable Result The tracking bar appears The image is adjusted The tracking bar disappears when you release the button EJECT SELECT COPY REC LINE IN 2 3 2 3 0 ANGLE AUDIO 0 ANGLE AUDIO Checking a Preset Recording Cancelling a Preset Programme You can check your preset recordings When you have finished presetting the DVD VCR If you have f...

Page 20: ... Fi after five seconds of Mono To select the sound mode simply press the AUDIO button on the remote control until the required option is displayed You can play a cassette in slow motion No sound is heard when playing back a cassette in slow motion 1 Press ll to start playing the cassette ll button one more time to make STILL mode to start SLOW mode or button as many times as required to decrease o...

Page 21: ...To return to normal playback mode press the II button 4 Whilst in Picture Search mode if you press the button again the VCR will enter normal Fast Forward mode 5 Likewise whilst in Picture Search mode if you press the button again the VCR will enter normal Rewind mode 6 If when Rewinding or Fast Forwarding you press the or button the VCR will enter the Picture Search mode Each time you record a ca...

Page 22: ...cassette in the other video source VCR or camcorder 4 Press the INPUT SEL button to select the appropriate input on your DVD VCR LINE IN for the RCA input 5 Start playing back the cassette to be copied 6 Hold REC down for a while to start recording on your DVD VCR 7 When you have finished recording press on both VCR and DVD VCR If you wish to view the cassette being copied Your DVD VCR must be con...

Page 23: ...l remain on the Hi Fi sound track To hear the new sound and original sound mixed together press the Audio button on the remote control until the MIX option is displayed see page 36 4 5 6 10 A DUB A DUB VIDEO EDIT A DUB 0 05 23 7 SELECT COPY EC VIDEO L AUDIO R LINE IN 2 2 2 VCR VCR Your DVD VCR remote control will work with Samsung televisions and compatible brands To determine whether your televis...

Page 24: ...VHS format tapes only not for recording 1 Inset the SVHS format tape that you want to see 2 Press PLAY ll to start playing the cassette 3 Press SVHS button to start SQPB If the SQPB is on during normal playback the video output is distorted 44 GB VCR 0 ANGLE AUDIO 3 OPTICAL COAXIAL DIGITAL AUDIO OUT OPTICAL COAXIAL S VIDEO OUT DVD VCR or Television Dolby Digital Decoder Digital Audio Input Jack Di...

Page 25: ...sound will be heard Depending on the disc audio may not be heard when a disc is in 2X playback mode 1 1 2 2 DVD 46 GB 3 1 5 Playing a Disc Before Playback Turn on a TV and press the TV VIDEO button to select video mode Turn on your Audio System and select AUX CD or DVD Refer to your AUDIO User s Manual 1 Press the OPEN CLOSE button 2 Place a disc gently into the tray with the disc s label facing u...

Page 26: ...p mode press the SETUP button on the remote Result The MAIN MENU is displayed 2 Press the corresponding or buttons to select the DVD option 3 Press the ENTER button to select this option Result The DVD SETUP menu is displayed Disc Menu Setup of the Menu Language Use the Menu preference menu to select the language you want a DVD s disc menu to be displayed in Audio Setup of the Audio Language Use t...

Page 27: ...URN ENTER Setting Up the Audio Language Features Using the Audio Language 1 With the unit in Stop mode press the SETUP button on the remote Result The MAIN MENU is displayed 2 Press the corresponding or buttons to select the DVD option 3 Press the ENTER button to select this option Result The DVD SETUP menu is displayed 4 Press the or buttons to move to Audio 5 Press the ENTER button 6 Press the o...

Page 28: ...ion Language DVD RETURN ENTER DISPLAY OPTIONS TV Aspect 4 3 L Box Black Level Low Quasi PAL Off DVD Out Component DVD Setting Up the Audio Options 1 With the unit in Stop mode press the SETUP button on the remote Result The MAIN MENU is displayed 2 Press the corresponding or buttons to select the DVD option 3 Press the ENTER button to select this option Result The DVD SETUP menu is displayed 4 Use...

Page 29: ... ll Play Still button to Still the image Then use the Search Forward to play in slow motion at variable speeds Each press increases the slow motion speed playback to 1 8 1 4 or 1 2 normal speed Audio is muted during slow motion playback Front Panel Slow Motion Buttons Press and hold the Forward buttons on the front panel to activate slow motion playback Press the ll Play Still button to resume nor...

Page 30: ...tton on the remote Current track NUMBER and elapsed time will be displayed Use the or buttons to select a track Use the buttons or NUMBER buttons to enter a different track number then press the ENTER button To enter the time from which you want to start use the or buttons to select then use the NUMBER buttons to enter the time Press the ENTER button To make the screen disappear press the DISPLAY ...

Page 31: ...o start A The B is automatically highlighted Press ENTER at the point where you want the repeat play to stop B 3 Press ENTER 4 To return to normal play press REPEAT again then press the or buttons to select Off and press ENTER DVD repeats play by chapter or title CD and VCD repeat play by disc or track Depending on the disc the Repeat function may not work If the title or track is completed before...

Page 32: ...n 2 Use the or buttons to select PROGRAM Press the ENTER button 3 Use the or buttons to select the first chapter or track to add to the program Press the ENTER button The selection numbers appear in the Program Order box 4 Press the PLAY STILL button The disc will be played in programmed order 1 Press the MODE button 2 Use the or buttons to select RANDOM Press the ENTER button The disc will be pla...

Page 33: ...st two titles for the TITLE MENU function to work When pressing the TITLE button with a CD the unit enters the INTRO mode INTRO lets you listen to the beginning of each track for about 10 seconds You can also operate it using the DIGEST button DVD Using the Disc View Function Index View VCD DVD Digest Play 1 During play press the DIGEST button You ll see the 9 individual windows representing each ...

Page 34: ...Initially the subtitling will not appear on screen The subtitle languages are represented by abbreviations This function depends on what languages are encoded on the disc and may not work with all DVDs A DVD disc can contain up to 32 subtitle languages How to have the same subtitle language come up whenever you play a DVD Refer to Setting Up the Language Features on page 50 A A Selecting the Audio...

Page 35: ...or DOLBY DIGITAL However some of these discs do not contain rear channel sound signals Depending on the disc the Zoom and 3D Sound function may not work DVD 3D Sound Function DVD 2 3 1 5 6 4 8 9 7 1 1 Using the Bookmark Function DVD VCD The Bookmark function lets you select parts of a DVD or VCD MENU OFF mode so that you can quickly find the section at a later time 1 During play press the MARK but...

Page 36: ...rade mark of Microsoft Inc and SDMITM registered trade mark of The SDMI Foundation You cannot copy such files Your DVD player only accepts one level of file directory Consequently you must choose either to save all your MP3 recording files at the root of the disc and or create folders in the directory for each artist or music type e g classical rock jazz etc Important The above recommendations can...

Page 37: ...when found suffers from 2 Carry out the instructions Tuning Your Television for the DVD interference it may be due to the VCR see page 14 DVD VCR output channel clashing with 3 Carry out the instructions Setting the DVD VCR output the normal TV transmissions in your area Channel see page 23 move the channel number To prevent this you will need to change the several channels down from the original ...

Page 38: ... angles 3 The feature is not available at the moment 4 You ve requested a title or chapter number or search time that is out of range Some of the functions selected in the DVD SETUP may not work properly if the disc is not encoded with the corresponding function The Screen Ratio is fixed on your DVDs Make sure you have selected the correct Digital Output in the Audio Options Menu Press power on fr...

Reviews: