


Description
Description
4
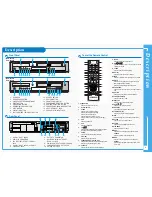
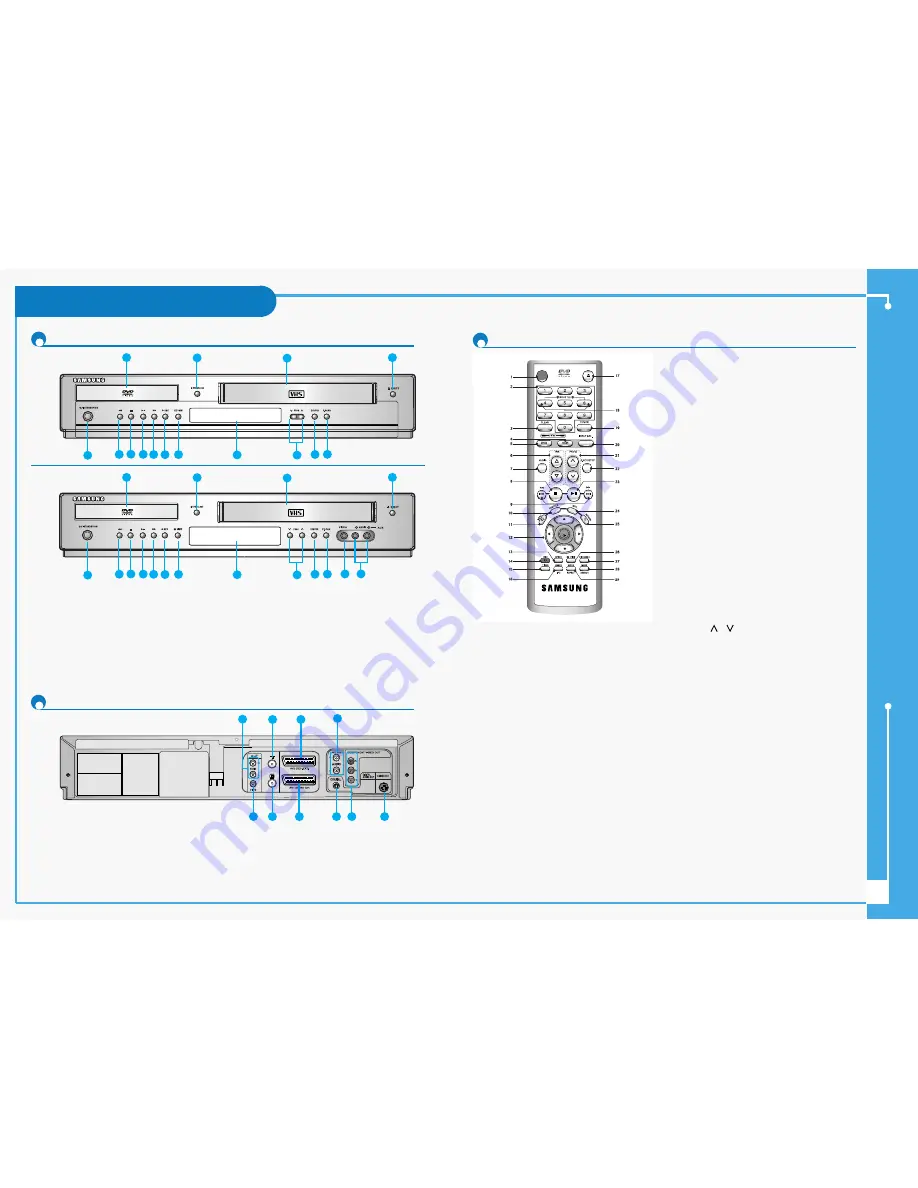
Front Panel
Rear Panel
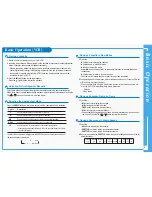
1.
DVD DECK
2.
OPEN/CLOSE BUTTON
3.
VIDEO CASSETE COMPARTMENT
4.
EJECT BUTTON
5.
STANDBY/ON BUTTON
6.
REWIND/SKIP BACK BUTTON
7.
STOP BUTTON
8.
PLAY/STILL BUTTON
9.
FAST FORWARD / SKIP NEXT BUTTON
10. RECORD BUTTON
11. EZ VIEW BUTTON
12. FRONT PANEL DISPLAY
13. PROGRAMME SELECTION BUTTON
14. DVD/VCR SELECTION BUTTON
15. PROGRESSIVE SCAN MODE BUTTON
16. AUX VIDEO INPUT JACK
17. AUX AUDIO L/R INPUT JACK
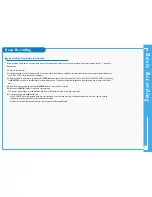
1.
AUDIO L, R OUT JACKS
2.
AERIAL IN CONNECTOR
3.
AV2 (DEC./EXT.) SCART (EURO-21)
JACK
4.
AUDIO L, R OUT JACKS (DVD ONLY)
5.
VIDEO OUT JACK
6.
OUT TO TV CONNECTOR
7.
AV1 (EURO AV) IN/OUT SCART
(EURO-21) JACK
8.
DIGITAL AUDIO OUT JACKS (COAXIAL)
9.
COMPONENT VIDEO OUT JACKS
10. S-VIDEO OUT JACK
Tour of the Remote Control
1. STANDBY/ON
Used to turn the power on or off.
2. Number
Buttons
3. CLEAR
Used to clear a preset TV station.
Used to cancel a preset recording.
Used to cancel a preset mark.
Used to set the tape counter to zero.
Used to resume normal play during repeat play.
4. VCR
Used to operate VCR.
5. DVD
Used to operate DVD.
6. TRK
…
…
/
†
†
Used to adjust picture alignment manually to obtain
the best possible picture during playback.
7. AUDIO
Used to access various audio functions.
8.
STOP (
■
)
Used to stop during playback.
9.
SEARCH/SKIP (
œœ
/
√√
, l
œœ
/
√√
l)
Used to search forward or backward through a disc.
Used to skip the title, chapter, or track.
10. SUBTITLE
Used to change the DVD’s subtitle language.
11. MENU
Used to display the on-screen menu.
12. OK
œ
œ
/
√
√
,
…
…
/
†
†
Used to control the cursor in the on-screen menu and
confirm your choice.
13. SPEED
Used to select the recording speed.
14. REC (
●
)
Used to make a recording on cassette.
15. TIMER
Used to activate the timer recording of a programme.
16. ANGLE
Used to access various camera angles on a DVD.
IPC (I
ntelligent
P
icture
C
ontrol
)
Used to adjust the sharpness of the picture.
17. OPEN/CLOSE
Used to open and close the disc and video cassette
tray.
18. SHUTTLE
Used to play a sequence at variable speeds.
19. TV/VCR (DVD-V6500)
Used to select TV or VCR.
20. INPUT SEL.
Used to select a external input signal.
21. PROG
/
Used to select a TV programme.
22. F.ADV/STEP
Used to advance a sequence frame by frame.
23. PLAY/PAUSE (
√
ll )
Used to play or pause during playback.
24. INFO.
Used to display the current setting or disc status.
25. RETURN
Used to return to a previous menu.
26. EZ VIEW
Used to adjust the aspect ratio on a disc.
27. DISC MENU
Used to display a disc menu.
28. MARK
Used to mark a position during playback a disc.
SEARCH
Used to search for a specific sequence.
29. MODE
Used to select the programme or random play.
REPEAT
Used to allow the repeat play a title, chapter, track,
disc or A-B.
5
1
2
6
7
8 9 10 11
12
13
14 15
16
17
3
4
5
1
2
6
7
8 9 10 11
12
13
14 15
3
4
1
4
2
3
5
6
7
8
9
10
OPEN/CLOSE
STANDBY/ON
OK
*(DVD-V5450/
DVD-V6400)
*(DVD-V5500/
DVD-V6500)


