background image

ENG-10

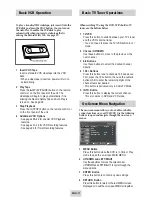
Basic DVD Operation

Deck Control Buttons

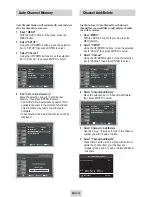
Follow the instructions below to playback a DVD.

1

Open the Disc Tray

Press the OPEN/CLOSE button on your remote 
control or on the front panel of the unit to turn on 
the power and open the disc tray.

2

Insert a Disc

Put a disc in the center of the tray, with the label-
printed side facing up.

3

Close the Disc Tray

Press the OPEN/CLOSE button on your remote 
control or on the front panel of the unit to close the 
disc tray. 

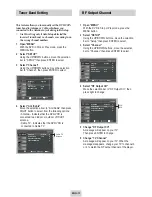
4

Play a DVD

Press the 

Š

ll

(PLAY/PAUSE) button on your remote

control or on the front panel of the unit.
• Most discs will start to playback as soon as the 

tray closes.

• If a DVD has a MENU, the menu may pop up on 

TV screen.

5

Additional DVD Options

• See pages 16 ~ 21 for advanced DVD Setup options.
• See pages 22 ~ 28 for special DVD Playback 

features.

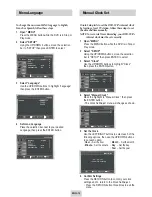
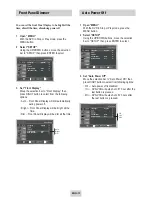
The DVD-VCR uses one set of controls to operate both

decks. The following buttons are helpful in successfully

controlling each deck.

1

POWER Button

Press the POWER button on the remote control or 
front panel to turn on the DVD-VCR.

2

DVD Button

Press the DVD button on the remote control or front
panel when you want to control the DVD deck.
• The DVD indicator will light on the Front Panel 

Display to show that the DVD deck is selected.

3

VCR Button

Press the VCR button on the remote control or front
panel when you want to control the VCR deck.
• The VCR indicator will light on the Front Panel 

Display to show that the VHS deck is selected.

4

INPUT SEL. Button

Press the INPUT SEL. button repeatedly to cycle 
through all of your input sources, including the  
Tuner(Ch##), Line 1 (rear AV input), and Line 2 
(front AV input).
• Input selection is only available when the VCR 

deck is selected.

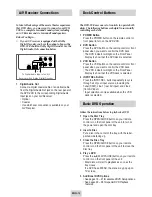
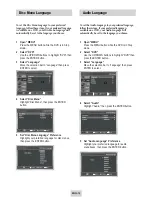
A/V Receiver Connections

To take full advantage of the movie theater experience

that DVD offers, you may want to connect your DVD-

VCR to a complete Surround Sound system, including

an A/V Receiver and six Surround Sound speakers.
Before You Begin...
•  If your A/V receiver is equipped with a Dolby 

Digital Decoder, you have the option to bypass the 

DVD-VCR’s built-in Dolby Digital Decoder. Use the 

Digital Audio Out connection below.

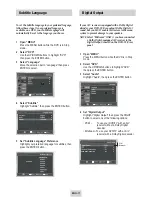
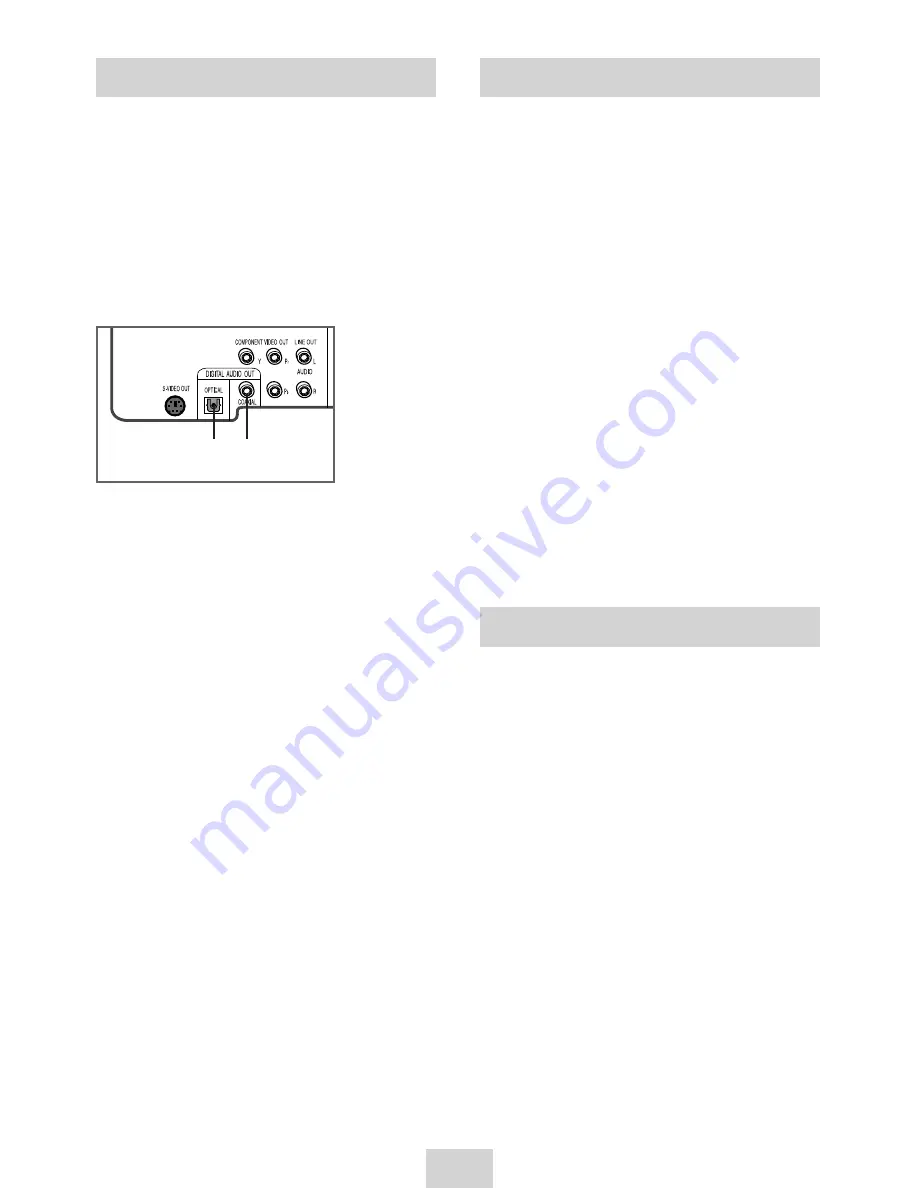
1

Digital Audio Out

Connect a digital coaxial cable or an optical cable 
from the Digital Audio Out jack on the rear panel of 
the DVD-VCR to the corresponding Digital Audio 
Input jack on your A/V Receiver:
•  Optical
•  Coaxial
•  Use whichever connection is available on your 

A/V Receiver.

To Digital Audio Input of an A/V

Receiver with a Dolby Digital Decoder

or

Summary of Contents for DVD-V4700

Page 1: ...Instruction Manual Mode d emploi DVD V4700 INPUT SEL F ADV SKIP AUDIO www samsung ca ...

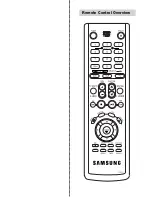
Page 2: ...Remote Control Overview INPUT SEL F ADV SKIP AUDIO ...

Page 3: ...uce heat 9 Do not defeat the safety purpose of the polarized or grounding type plug A polarized plug has two blades with one wider than the other A grounding type plug has two blades and a third grounding prong The wide blade or the third prong are provided for your safety If the provided plug does not fit into your outlet consult an electrician for replacement of the obsolete outlet 10 Protect th...

Page 4: ...ner Band Setting 13 RF Output Channel 13 Auto Channel Memory 14 Channel Add Delete 14 Front Panel Dimmer 15 Auto Power Off 15 7 DVD Setup Disc Menu Language 16 Audio Language 16 Subtitle Language 17 Digital Output 17 DTS 18 Dynamic Compression 18 PCM Down Sampling 19 TV Aspect Ratio 19 Black Level 20 Alt Video Out 20 Parental 21 8 DVD Operations Special Playback Features 22 Disc Menu Navigation 22...

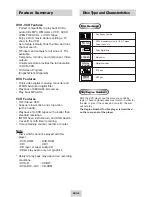
Page 5: ...s Playback of S VHS tapes with a better than standard resolution INTRO Scan Zero Return and END Search 7 event 1 month timer recording Time remaining counter real time counter Note Discs which cannot be played with this player DVD ROM DVD RAM CDI CDV HD layer of super Audio CD CDGs play audio only not graphics Ability to play back may depend on recording conditions DVD R CD RW DVD RW RW CD ROM Dis...

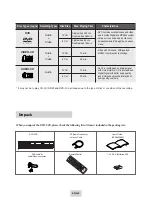
Page 6: ...easily selected through the on screen menu 12 Cm 8 Cm 74 min 20 min 74 min 20 min Audio Video Video with CD sound VHS quality MPEG 1 compression technology 12 Cm 8 Cm Audio An LP is recorded as an analog signal with more distortion CD is recorded as a Digital Signal with better audio quality less distortion and less deterioration of audio quality over time When you unpack the DVD VCR please check ...

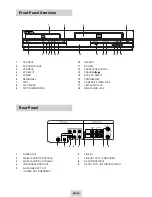
Page 7: ... 10 RECORD 11 EZ VIEW 12 FRONT PANEL DISPLAY 13 CHANNEL 14 DVD VCR SELECT 15 PROGRESSIVE 16 COMPOSITE VIDEO JACK 17 LEFT AUDIO JACK 18 RIGHT AUDIO JACK 1 2 3 4 5 6 7 8 9 1 S VIDEO OUT 2 DIGITAL AUDIO OUT OPTICAL 3 DIGITAL AUDIO OUT COAXIAL 4 COMPONENT VIDEO OUT 5 AUDIO LINE OUT TO TV S VIDEO OR COMPONENT 6 LINE IN 1 7 LINE OUT TO TV COMPOSITE 8 RF ANTENNA INPUT 9 RF OUT TO TV RF THROUGH ONLY ...

Page 8: ...p menu even if you connect S Video or Component Video Output for a better picture quality 1 Connect the RF Antenna Cable to your DVD VCR Connect an external indoor outdoor antenna or wall outlet antenna cable to the Ant In jack on the rear panel 3 2 Connect your DVD VCR to a TV RF Connection Using the RF antenna cable connect the OUT jack TO TV on the rear panel of your DVD VCR to your TV s Antenn...

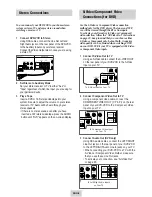
Page 9: ...FT RIGHT Audio Line In jacks on your TV When connecting your DVD VCR to a TV with the S Video or Component Video Output make sure that you use these Line Out jacks To activate your connection see Alt Video Out on page 20 Stereo Connections You can connect your DVD VCR to your home stereo system or stereo TV and enjoy stereo sound when watching a movie or TV 1 Connect DVD VCR to Stereo Using RCA ca...

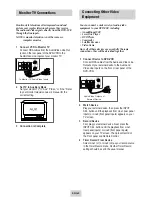
Page 10: ...ne1 rear panel inputs or Line2 front panel inputs appears on your TV screen Then press Record on the Front panel and Remote Control 4 Timer Record From Device Select Line1 L1 or Line2 L2 as your record source in the Timer Record menu All other Timer Record settings should be set in the usual manner Monitor TV Connections Monitor style televisions offer improved sound and picture over regular telev...

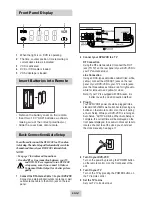
Page 11: ...trol the DVD deck The DVD indicator will light on the Front Panel Display to show that the DVD deck is selected 3 VCR Button Press the VCR button on the remote control or front panel when you want to control the VCR deck The VCR indicator will light on the Front Panel Display to show that the VHS deck is selected 4 INPUT SEL Button Press the INPUT SEL button repeatedly to cycle through all of your...

Page 12: ...owing buttons to open and navigate through the on screen menus 1 MENU Button Press this button while the DVD is in Stop or Play mode to open the on screen MAIN MENU 2 UP DOWN and LEFT RIGHT Use these buttons to move the selection bar UP DOWN and LEFT RIGHT to cycle through the menu options 3 ENTER Button Press this button to confirm any new settings 4 RETURN Button Press this button to return to t...

Page 13: ...NU button while the DVD is in Stop or Play mode 2 Select SETUP Using the UP DOWN buttons move the selection bar to SETUP then press ENTER to select 3 Select Clock Use the UP DOWN buttons to highlight Clock then press the ENTER button 4 Select Manual Clock Move the highlight to Manual Clock then press the ENTER button The Clock Set Adjust menu will change as shown 5 Set the Clock Use the LEFT RIGHT...

Page 14: ...HF antenna Cable TV Indicates that the DVD VCR is connected to Cable TV Language English Front Display Auto Auto Power Off Off Ant Cable Antenna RF Output CH 3CH Auto Channel Memory Channel Add Delete Cable TV Antenna RF Output Channel 1 Open MENU With the DVD in Stop or Play mode press the MENU button 2 Select SETUP Using the UP DOWN buttons move the selection bar to Setup then press ENTER to sel...

Page 15: ...ble Antenna RF Output CH 3CH Auto Channel Memory Channel Add Delete CHANNEL ADD DELETE Select channel 02 and press to ADD press to DELETE RETURN CH Language English Front Display Auto Auto Power Off Off Auto Channel Memory Auto Channel Memory will automatically seek and store all active channels in your area 1 Open MENU With the DVD in Stop or Play mode press the MENU button 2 Select SETUP Using t...

Page 16: ...splay will be dim all the time Language English Front Display Auto Auto Power Off Off Auto Bright Dim Front Display Auto Auto Power Off Off Language English Auto Power Off 1 Open MENU With the DVD in Stop or Play mode press the MENU button 2 Select SETUP Using the UP DOWN buttons move the selection bar to SETUP then press ENTER to select 3 Set Auto Power Off Move the selection bar to Auto Power Of...

Page 17: ... Preference Highlight your preferred language for audio soundtracks then press the ENTER button Disc Menu Language To set the Disc Menu Language to your preferred language follow these steps If your preferred language is available on a DVD your Disc Menu Language will automatically be set to the language you choose 1 Open MENU Press the MENU button while the DVD is in Stop mode 2 Select DVD Use th...

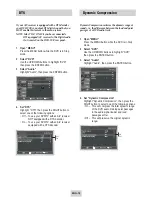
Page 18: ...c Digital Output If your A V receiver is equipped with a Dolby Digital decoder your DVD VCR can output Dolby Digital 5 1 sound but you MUST enable this feature in the menu system to prevent damage to your speakers NOTE Select Bitstream ONLY if you have connected a Dolby Digital equipped A V receiver to the Digital Output coaxial on the DVD VCR rear panel 1 Open MENU Press the MENU button while the...

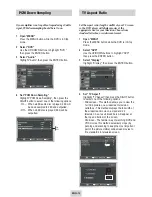
Page 19: ...his will preserve the original dynamic range PCM Down Sampling On Off On On On Off DTS If your A V receiver is equipped with a DTS decoder your DVD VCR can output DTS digital sound but you MUST enable this feature in the menu system NOTE Select On ONLY if you have connected a DTS equipped A V receiver to the Digital audio Out coaxial on the DVD VCR rear panel 1 Open MENU Press the MENU button whil...

Page 20: ...ovies at the appropriate size for your television Choose from standard letterbox or widescreen format 1 Open MENU Press the MENU button while the DVD is in Stop mode 2 Select DVD Use the UP DOWN buttons to highlight DVD then press the ENTER button 3 Select Display Highlight Display then press the ENTER button 4 Set TV Aspect Highlight TV Aspect then press the RIGHT button to select one of the foll...

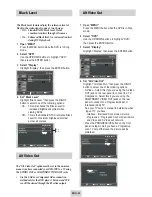
Page 21: ... Out On Display Setup Black Level The Black Level feature adjusts the reference level of black in the video signal to one of two choices Off Standard NTSC black level Yields consistent contrast through all sources On Enhanced black level for increased contrast during DVD playback 1 Open MENU Press the MENU button while the DVD is in Stop mode 2 Select DVD Use the UP DOWN buttons to highlight DVD t...

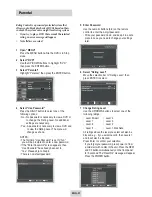
Page 22: ...to No you will be prompted to enter a new password If the Enter Password screen appears then Use Password has already been set to Yes Please skip to Step 6 There is no default password No 5 Enter Password Use the numeric buttons 0 9 on the remote control to enter the 4 digit password Write your password down and keep it in a safe place in case you need to change your settings later 6 Select Rating...

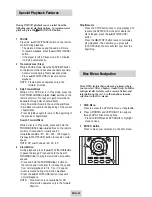
Page 23: ...ally search forward backward at 2X 8X 32X 128X speed Press ll PLAY PAUSE button to resume normal speed NOTE CD search speed 2X 4X 8X 4 Slow Motion During playback press the ll PLAY PAUSE button to pause the image Press and hold the Search FORWARD to play in slow motion at variable speeds Press and hold the FORWARD button on the remote and front panel to increase the speed from normal playback to 1...

Page 24: ...Fit When a 4 3 DVD is viewed on a 16 9 TV black bars will appear at the left and right of the screen in order to prevent the picture from looking horizontally stretched 3 If you are using a 4 3 TV For 16 9 aspect ratio discs 4 3 Letter Box Displays the content of the DVD title in 16 9 aspect ratio The black bars will appear at the top and bottom of the screen 4 3 Pan Scan The left and right of the...

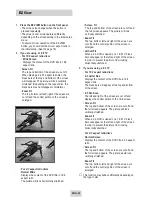
Page 25: ...ttons 0 9 to enter the desired counter position in the format H MM SS H Hours M Minutes S Seconds Then press the ENTER button to enter the desired counter position ENG ENG MOVE ENG ENG MOVE ENG ENG 0 9 To make the screen disappear press the INFO button again To access the desired title when there is more than one in the disc For example if there is more than one movie on a DVD each movie will be i...

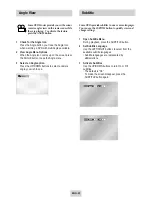
Page 26: ...Angle menu 3 Select an Angle option Press the UP DOWN buttons to select a camera angle you wish to see Some DVDs provide subtitles in one or more languages You can use the SUBTITLE button to quickly view and change settings 1 Open Subtitle Menu During playback press the SUBTITLE button 2 Set Subtitle Language Use the LEFT RIGHT buttons to select from the available subtitle languages Subtitle langu...

Page 27: ...eat Point B The segment will begin repeating in a continuous loop 4 Cancel A B Repeat Press the REPEAT button to open the Repeat Menu use the LEFT RIGHT buttons to highlight Off then press the ENTER button Off Track Disc A B Off Chapter Title A B DVD CD Repeat Chapter Title You can repeat a single chapter or a complete title 1 Open Repeat Menu Press the REPEAT button while in Play mode to open the...

Page 28: ... button on the remote control The MARK header will be displayed on the screen 2 Select Bookmark Placeholder Use the LEFT RIGHT buttons to move to one of the three bookmark placeholders The selected placeholder will be highlighted 3 Set the Bookmark Keep on playing the DVD up to the scene you want to bookmark then press the ENTER button The placeholder will change to a number 1 2 or 3 You may conti...

Page 29: ...gain to resume normal playback 1 Pause In Play mode press ll PLAY PAUSE to still a single frame 2 Frame Advance In the pause mode press F ADV SKIP to advance to the next frame 3 Fps Review In Play mode press FORWARD or REWIND to Cue Review at two speeds Picture Search Press and release to advance the tape forward or backward at 5 times normal speed Jet Search Press and hold to advance the tape for...

Page 30: ...hen inserted 1 Open the MENU With the VCR in Stop or Play mode press the MENU button 2 Select VCR Using the UP DOWN buttons move the selection bar to VCR then press ENTER to select 3 Select Tape Length Press the RIGHT button to select the Tape Length This information is usually printed on the tape box The menu cycles through T 120 T 160 or T 180 Once the type of cassette is set the VCR can display...

Page 31: ... VCR to stop then start recording each program 1 Go to 0 00 00 stop Use this feature when you want to search for the 0 00 00 counter position on a cassette Press the CLEAR button at the point on the tape where you want to set the counter to 0 00 00 While a cassette is stopped press the ENTER button The VCR will rewind or fast forward searching for the 0 00 00 counter position and then automaticall...

Page 32: ...ord Safety Tab If the tab is missing you can cover the opening with a small piece of tape Warning Do not cover this opening unless you are sure you want to record over the tape Before You Begin Power on the DVD VCR Power on the TV 1 Insert Tape Insert a blank VHS tape into the VCR deck Make sure the tape is long enough to record the entire program To change the Recording Speed see page 31 2 Select...

Page 33: ...e 1 Start Recording Follow the Basic Recording instructions on page 30 2 Set Record Speed Press the SPEED button on the remote control to set the Record Speed to one of the following options SP Standard Play for best quality SLP Super Long Play for maximum recording time 3 times SP NOTE The selected Record Speed will appear on the front panel display and on screen display Maximum Recording Time SP...

Page 34: ...Daily Weekly Date Programming Press the RETURN button to finish setting the timer recording Stop the VCR or turn the power off Then the VCR will automatically turn on and begin recording at the time you set To stop the timer recording press the POWER button or press the STOP button twice 6 Auto Speed Select If the length of the videotape is not long enough for a timer recording in the SP mode set ...

Page 35: ...IDEO SYSTEM 1 2 inch VHS system 4 rotary head helical scanning FM azimuth luminance chrominance converted sub system phase shift AUDIO TRACK Normal 1 track Hi Fi 2 track PLAY RECORD TIME T 180 tape SP 3 hours SLP 9 hours VCR FF REW TIME T 120 tape 2 minutes HEADS Video DA 4 rotary Audio 2 rotary heads Hi Fi 1 stationary head Linear Control 1 stationary head Erase 1 full track 1 audio track WOW FLU...

Page 36: ... and from the service centre is the cus tomer s responsibility The original dated sales receipt must be retained by the customer and is the only acceptable proof of purchase It must be presented to the autho rized service centre at the time service is requested Exclusions This warranty does not cover damage due to accident fire flood and or other acts of God misuse incorrect line voltage improper ...

Page 37: ...LECTRONICS CANADA INC 7037 FINANCIAL DRIVE MISSISSAUGA ONTARIO L5N 6R3 CANADA MADE IN KOREA TEL 1 905 542 3535 www samsung ca CUSTOMER SERVICE 7037 Financial Drive Mississauga Ontario L5N 6R3 Canada 1 800 SAMSUNG 1 800 726 7864 AK68 00369A 01 ELECTRONICS ...

Reviews: