background image

DTB-H550F

ENG-28

DTB-H550F

ENG-29

D

I

G

I

T

A

L


T

E

R

R

E

S

T

R

I

A

L


H

D

T

V


R

E

C

E

I

V

E

R

ENG

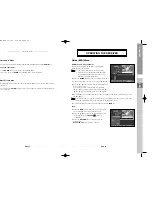
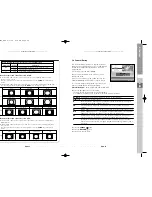
2. Channel

This menu consists of 5 sub-menus :
Favorite Channel, Channel Auto Scan, Channel Manual 
Scan, Channel Delete, and Channel Block.

● 

Select “Channel” in the main menu to select the sub
menu.

● 

Select the sub menu from the channel menu by pressing
the 

or 

key, then press the 

SELECT

(

) key.

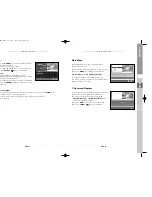
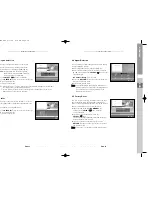
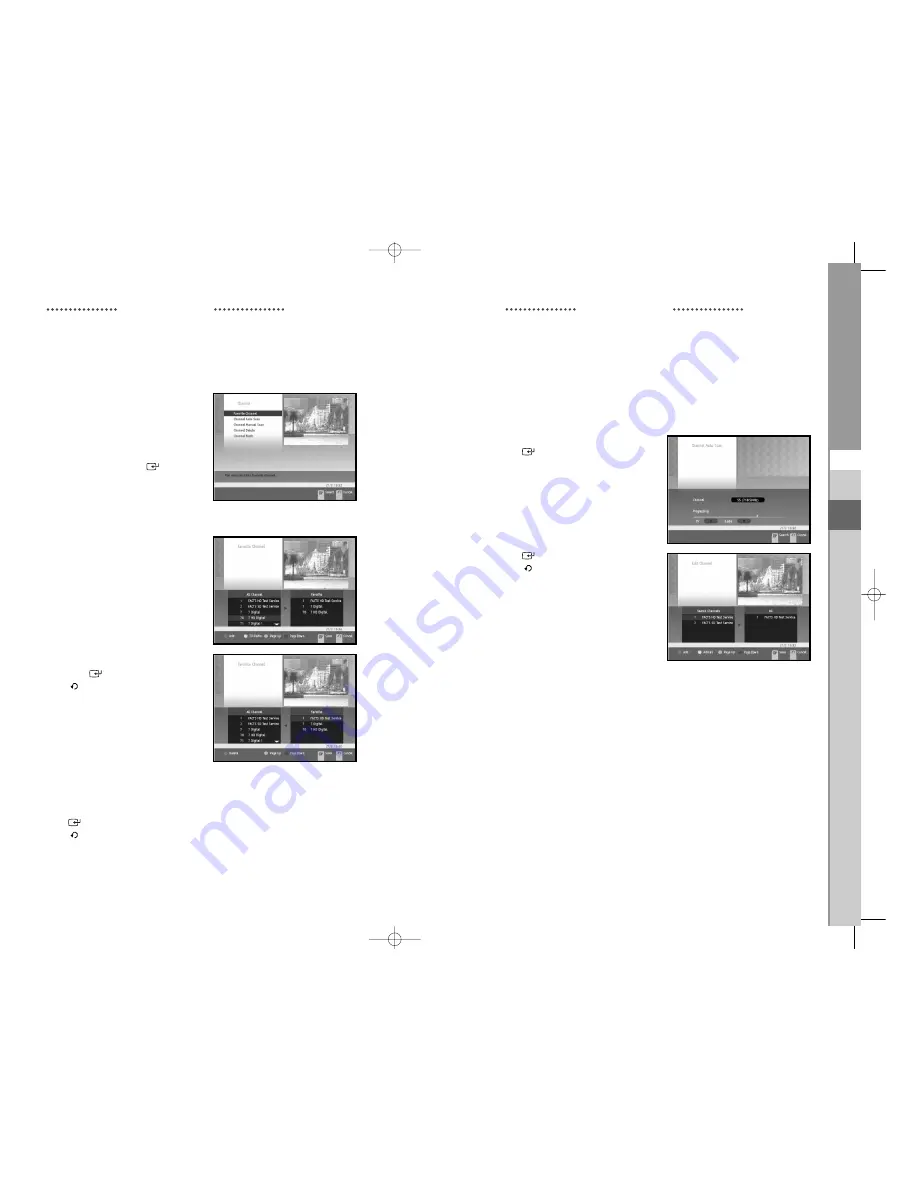
2.1 Favorite Channel

You can immediately register the present channel to
the desired favorite channel group.

● 

Select “Favorite Channel” in the channel menu.

● 

Select the desired channel using the 

,

YELLOW (Page Up)

, or 

BLUE (Page Down)

key. 

● 

Press the 

RED

key and then register the selected

channel at the favorite channel group.

● 

You can change TV list or Radio list by the 

GREEN

key.

When you press the 

GREEN

key, All Channel list, 

TV list and Radio list are toggled.

● 

Then press the 

SELECT

(

) key for confirmation.

● 

Press the 

RETURN

(

) key to cancel your work or go

back to the previous menu.

● 

Press Exit to exit the menu list.

To delete channels from favorite group:

● 

Select “Favorite Channel” in the Channel menu.

● 

Press the 

key to move the cursor to Favorite Channels.

display changes to 

.

● 

Select a channel you want to delete from favorite channel group with 

YELLOW (Page Up)

, or 

BLUE (Page Down)

key.

● 

Press the 

RED

key to delete the selected channel from the favorite channels.

● 

Press the 

SELECT

(

) key for confirmation.

● 

Press the 

RETURN

(

) key to cancel your work or go back to the previous menu.

● 

Press Exit to exit the menu list.

OPERATING THE  RECEIVER

OPERATING THE  RECEIVER

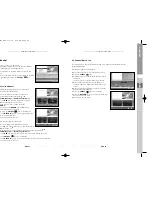
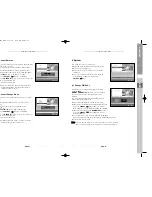
2.2 Channel Auto Scan

The sub menu Auto Scan will enable download of the channels automatically from the
preprogrammed load.

To download channels automatically: 

● 

Select “Channel Auto Scan” in the Channel menu.

● 

Press the 

SELECT

(

) key.

● 

Available frequencies can be automatically scanned
and tuned. 
You do not need to enter the frequency manually.

● 

When channel scanning is done, the number of
scanned channels is displayed at the bottom of the
screen.

● 

When the scanning operation is complete, the Edit
Channel window will appear. 

● 

Press the 

SELECT

(

) key for confirmation.

● 

Press the 

RETURN

(

) key to cancel your work or go

back to the previous menu.

● 

Press Exit to exit the menu. 

0401 DTB-H550F_ENG  4/1/05  3:18 PM  Page 28

Summary of Contents for DTB-H550F

Page 1: ...REV 1 0 00356A DIGITAL TERRESTRIAL HDTV RECEIVER GITAL TERRESTRIAL HDTV RECEIVER DTB H550F Instructions foruse ENG 50F_GB 4 1 05 1 38 PM Page II ...

Page 2: ...r electrical shock UIDS Keep liquids away from the STB ANING Before cleaning disconnect the STB from the wall socket Use a cloth lightly dampened with water no solvents to clean the exterior TILATION Do not block the STB ventilation holes Ensure that free airflow is maintained around the STB Never store the STB where it is exposed to direct sunlight or near heating equipment e g a radiator Never s...

Page 3: ... not coincidentally more like the shape of movies shown in theaters This makes HDTV an ideal format for broadcasting and viewing movies on a TV But what happens if you are watching a nearly square shaped 4 3 broadcast on a rectangular 16 9 TV or vice versa The HD Receiver allows you to choose from a variety of screen formats to help you deal with those scenarios Screen formats To deal with the mis...

Page 4: ... 4 1 Change PIN Code 37 4 2 Region Selection 38 4 3 Status 38 4 4 Signal Detection 39 4 5 Factory Reset 39 Available TV Manufacturer Numbers 40 Troubleshooting 46 Disposal 46 Technical Specifications 47 1 USER SECTION DIGITAL HD SDTV BROADCASTING RECEPTION ADVANCED ELECTRONIC PROGRAM GUIDE SUBTITLE TELETEXT SUPPORTED FULL FUNCTION INFRARED REMOTE CONTROL UNIT AUTO AND MANUAL SCAN FACILITY CHANNEL ...

Page 5: ... or other external display device through the Analog Video IN port 7 AUDIO OUT 1 2 Connect to a TV audio receiver or other external device through the Analog Audio IN port 8 S VIDEO Connect to a TV monitor or other external display device through the S VIDEO IN port Rear Panel ont Panel I Turns the receiver operating or standby mode Power Indicator Operating mode Blue Standby mode Off Display Wind...

Page 6: ...TV channel and Radio channel 6 MUTE Mutes the audio 7 VOL Adjust the volume level 8 ALT Press to select the sound track list for the current service 9 CH LIST The scanned channel list appears 10 MENU Press to display the on screen menus 11 GUIDE Press to display the on screen Electronic Program Guide EPG 12 œ Use to move the highlight bar to select the wanted item on the menu 13 SELECT Press to co...

Page 7: ...PG 23 FAV CH Changes to the next channel in the configured Favorite Channels from among terrestrial broadcast channels 24 EXIT Clears on screen displays and return to TV program viewing 25 RETURN Press to return to the previous menu 26 P SIZE Press to change the screen format according to the screen aspect ratio and the input signal format 27 SUBTITLE Displays the subtitle on the screen Toggles be...

Page 8: ...model VCR DVDP take care when using the remote control because it may operate both of them simultaneously 5 If the configuration number does not work try another number CONNECTING YOUR STB Your STB should be placed under proper ventilation Don t put in completely enclosed cabinet that will restrict the flow of air resulting in overheating The location should be safeguarded from direct sunlight exc...

Page 9: ...s on the Set Top Box and the DTV INPUT jacks on the TV Normal TV Connect a video cable between the VIDEO OUT jack on the Set Top Box and the VIDEO INPUT jack on the TV Or connect an S Video cable between the S VIDEO OUTPUT jack on the Set Top Box and the S VIDEO INPUT jack on the TV 3 Connect the Audio Cables Digital TV Connect an audio cable between the DIGITAL Audio OUT optical or coaxial jack o...

Page 10: ...antenna cable to the ANT IN jack on the Set Top Box 2 Connect a computer monitor cable between the RGB OUT RGB jack on the Set Top Box and the VIDEO IN jack on the computer monitor 3 Connect an audio cable between the L R AUDIO OUT jacks on the Set Top Box and the L R AUDIO IN jacks on the computer monitor N No ot te e You must set DTV OUTPUT YPBPR RGB to RGB to enable the DTV RGB out Connecting a...

Page 11: ... supported 1080i 720p 576p The 576i resolution is not supported BASIC FUNCTIONS 1 Display Screen Before you can view the television program you must perform the installation Therefore you will see only menu images at first After the television channels have been programmed you will see the following picture banner each time you switch channels Press the INFO key in view mode Select the channel by ...

Page 12: ...s the SUBTITLE key once again to exit 7 Teletext When the current broadcasting program provides Teletext press the TEXT key to see the current Teletext If Teletext is available on current program is displayed on the banner after changing channel or pressing the INFO key Press the EXIT key to exit N No ot te e When the connected TV provides the Teletext feature this function is not supported The HD...

Page 13: ...seconds it can display correct EPG information Press the GUIDE key while you are viewing a program This function is displayed on the screen by using only time Use the or keys to go back to the previous date or move to the next one You can select up to 7 days before or after today key key is for moving back to the previous date key key is for moving to the next coming date On the EPG screen the tim...

Page 14: ...trol to reserve that program u can see the reserved channel in Reserved Program of the main menu efer to page 27 OPERATING THE RECEIVER Main Menu After installing your antenna system and STB with appropriate connectors Plug in the AC main power and switch on the receiver Press the MENU key to bring up the main menu The following on screen display will appear The sub menu topics will be displayed f...

Page 15: ...rite Channel in the Channel menu ess the key to move the cursor to Favorite Channels display changes to lect a channel you want to delete from favorite channel group with ELLOW Page Up or BLUE Page Down key ess the RED key to delete the selected channel from the favorite channels ess the SELECT key for confirmation ess the RETURN key to cancel your work or go back to the previous menu ess Exit to ...

Page 16: ...N key to save your work and go back to the previous menu ss Exit to exit the menu list 2 4 Channel Delete You can delete channel searched Select Channel Delete in the Channel menu Select the channel you want to delete using the YELLOW Page Up or BLUE Page Down key Press the RED key to delete the selected channel from the channel list Press the GREEN key to delete all channels A selected channel is...

Page 17: ...pectacle Zoom 1 Zoom 2 hen selecting 16 9 for the screen format you can ect an aspect ratio of 4 3 for a movie owever the 16 9 video menu is not available in this pect ratio 9 Video aspect ratio Letter Box PAN SCAN Full Screen hen selecting 4 3 for the screen format you can select aspect ratio of 16 9 for a movie owever the 4 3 video menu is not available in this pect ratio Audio Balance Select th...

Page 18: ...ersonal Identification Number which is a 4 digit number The factory preset PIN Code 0000 Select Parental Rating in the Preference menu Enter PIN Code If you have not entered your own PIN Code then the PIN Code 0000 applies which was set at the factory To control the ratings of the programs your family can watch set rating limits in the Parental Rating Parental Rating No Block All Block G PG M MA A...

Page 19: ...ange mode you will see only the channels that you have already set 4 System This menu consists of 5 sub menus Change PIN Code Region Selection Status Signal Detection and Factory Reset Select System in the main menu to select the sub menu Select the sub menu from the System menu by pressing the or key then press the SELECT key 4 1 Change PIN Code From here you can change the PIN Code from the stan...

Page 20: ...ction You can obtain the signal strength and reception quality of an incoming RF channel Select Signal Detection in the System menu Select the RF channel you wish to view by using the or keys and press the SELECT key to start signal detection RF Channel Range From 6 to 69 Press the RETURN key to cancel your work or go back to the previous menu Press Exit to exit the menu N No ot te e The signal st...

Page 21: ...AI 049 076 141 152 195 379 DANSETTE 426 DANTAX 421 DATSURA 209 DAWA 049 15 DAYTON 049 152 195 226 DE GRAAF 107 139 209 307 479 DECCA 049 102 106 120 217 DECCA UK 046 049 050 102 106 131 152 379 DEITRON 049 152 DENKO 076 DENON 126 DERWENT 105 DESMET 049 113 152 DIGATRON 049 DIGILINE 049 152 DIXI 049 152 195 379 413 DORIC 104 105 DREAN 049 152 DTS 195 DUAL 049 050 107 139 152 156 168 182 243 379 414...

Page 22: ... NAME CODE NUMBER 3DIGIT LIST Maker BRAND NAME CODE NUMBER 3DIGIT LIST TV MEMOREX 099 195 217 MEMPHIS 102 125 195 213 MERCURY 049 152 195 METZ 049 065 067 070 092 247 324 412 420 454 481 MICROMAXX 049 152 195 MICROSTAR 440 441 443 444 MINERVA 080 090 232 247 249 407 454 MINOKA 049 152 426 470 MITSUBISHI 013 018 049 065 105 131 152 157 190 247 324 454 MIVAR 046 050 058 072 081 090 120 379 391 407 4...

Page 23: ... SUNSTAR 049 152 195 225 SUNWOOD 049 152 195 SUPERLA 379 SUPERTECH 049 123 152 195 379 SUPRA 195 226 SUSUMU 123 218 SUTRON 195 SWISSLINE 413 SYDNEY 379 SYSLINE 49 SYTONG 379 TACTUS 106 TANDBERG 065 074 078 172 182 210 213 420 449 TANDY 050 102 123 190 307 379 413 466 TASHIKO 018 050 107 177 379 470 474 Maker BRAND NAME CODE NUMBER 3DIGIT LIST Maker BRAND NAME CODE NUMBER 3DIGIT LIST TV TATUNG 049 ...

Page 24: ...r not yet set Scanning of in Channel Auto Scan o Channels or Channel Manual scan menu ISPOSAL e device packaging material e g Styrofoam and the batteries must never be posed of with household refuse ase obtain appropriate information about the regulations in your community d dispose of all refuse in accordance with regulations at the separate locations ovided TECHNICAL SPECIFICATIONS General Item ...

Reviews: