background image

English - 4

Setup - Time


Clock


Setting the clock is 

necessary in order to use 

the various timer features of 

the TV. Also, you can check 

the time while watching the 

TV. (Just press the 

INFO


button.)


On Timer / Off Timer


You can set the On/Off timers so that the TV will switch on 

or off automatically at the time you select.

  You must set the clock first.


Sleep Timer


You can select a time period of between 30 and 180 

minutes after which the TV automatically switches to 

standby mode.

  Press the 

SLEEP

 button on the remote control 

repeatedly until the appropriate time interval appears 

(any of the preset values from “30 Min.” to “180 Min.”).


On Timer Volume


The preferred volume can be set for when the timer 

automatically turns on the TV.


Auto Power Off


When you set the timer “On”, the TV will eventually turn 

off, if no controls are operated for 3 hours after the TV was 

turned on by timer. This function is only available in timer 

“On” mode and prevents overheating or leakages, which 

may occur if a TV is on for too long.

Channel - Name

Use this feature to assign an 

easy-to-remember label to any 

channel (i.e., “CBS”, “ESPN”, 

“PBS2”, “CNN1”, etc.).  

A label consists of four fields, 

where each field is a letter 

(A~Z), a number (0~9), a blank, 

or -. When the 

INFO

 button is 

pressed, the channel label will 

appear next to the channel number.

  You cannot select “Name” in the AV mode.

Channel - Memorizing the Channels

Your TV can memorize and store all of the available channels 

for both air and cable channels. After the available channels 

are memorized, use the 

CH 

 and 

CH 

 buttons to scan 

through the channels.  

This eliminates the need to change channels by entering the 

channel digits. There are three steps for memorizing channels: 

“Air/CATV”, “Auto Program” and “Add/Delete”.


Air/CATV


Before your TV can begin 

memorizing the available 

channels, you must specify 

the type of signal source 

that is connected to the TV 

(i.e., an antenna or a cable 

system). Select “Air”, “STD”, 

“HRC”, or “IRC” by pressing the ◄ or ► button.


Auto Program


All available channels are 

automatically stored in 

memory when channels are 

selected by the direct tuning 

function. 

Press the 

ENTER

 button 

at any time to interrupt the 

memorization process.
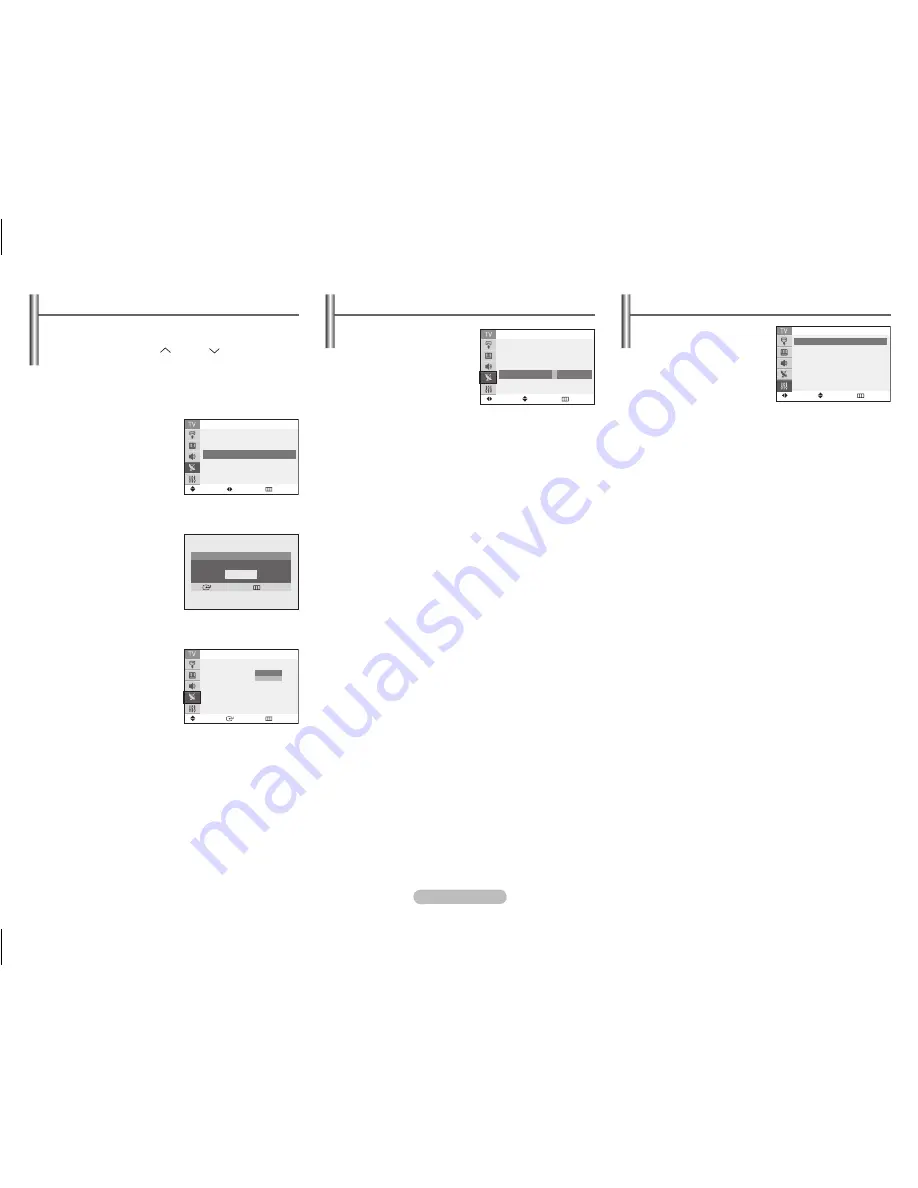
 

Add/Delete


You can add or delete 

a channel to display the 

channels you want only. 

To use the “Add/Delete” 

function, first run Auto 

Program. 


Select “Deleted” or “Added” 

by pressing the ▲ or ▼ button.

 Move 

 Adjust 

 Skip

Channel

Auto Program   

 ►

Add/Delete 

: Deleted   ►

Air/CATV 

: Air

Name 

: ----

Auto Program

Enter                 Return

Start

Air          7

 Move 

 Enter 

 Return

Channel

Auto Program   

 ►

Add/Delete 

: Deleted  

Air/CATV 

:Air

Name 

: ----

Deleted

Added

 Move 

 Adjust 

 Return

Channel

Auto Program   

 ►

Add/Delete 

: Deleted   ►

Air/CATV 

: Air

Name 

: ----

A

 Move 

 Adjust 

 Return

Time

Clock 

12

 : 00 am

On Timer 

-- : --  am  Off

Off Timer 

-- : --  am  Off

Sleep Timer 

:   

Off

On Timer Volume : 

10

AA68-03806M_Eng.indd   4

2007-07-07   ソタタ・9:26:32

Summary of Contents for CL-21Z43MJ

Page 1: ...eo Output Jacks Connect to the audio video input jacks of a recording VCR 2 Audio Video Input Jacks Connect to the audio video output jacks of VCRs DVD players and similar devices 3 Component Video Input Jacks Y PB PR Connect to the Component video outputs of a DVD or DTV set top box 480i video signal input is available When using the Component Video input connect audio jacks to AV IN 2 AUDIO L R ...

Page 2: ...y on the TV 3 Press to select channels over 100 For example for channel 122 press then 2 then 2 4 VOL VOL Press to increase or decrease the volume 5 MENU Displays the main on screen menu 6 Controls the cursor in the menu 7 ENTER While using the on screen menus press ENTER to activate or change a particular item 8 MTS Multi channel Television Sound Press to choose Stereo Mono or SAP Secondary Audio...

Page 3: ... Auto Program is displayed 5 Press the ENTER button to select Start The TV will begin memorizing all of the available channels Press the ENTER button to stop continued 6 After all available channels are stored the Time is displayed Press the ENTER button Press the or button to move to the hour or minute Set the clock by pressing the or button 6 When you have finished press the MENU button The Enjo...

Page 4: ... number You cannot select Name in the AV mode Channel Memorizing the Channels Your TV can memorize and store all of the available channels for both air and cable channels After the available channels are memorized use the CH and CH buttons to scan through the channels This eliminates the need to change channels by entering the channel digits There are three steps for memorizing channels Air CATV A...

Page 5: ...uage When you start using the TV for the first time you must select the language which will be used for displaying menus and indications Blue Screen If no signal is being received or the signal is very weak a blue screen automatically replaces the noisy picture background If you wish to continue viewing the poor picture you must set the Blue Screen to Off Melody You can hear melody sound when the ...

Page 6: ...tting applies to the sound effects such as Standard Music Movie and Speech Picture Mode Custom Color Tone Size Digital NR Mode Dynamic Standard Movie Custom You can select the type of picture which best corresponds to your viewing requirements Custom Contrast Brightness Sharpness Color Tint The TV has several settings which allow you to control the picture quality Color Tone Cool2 Cool1 Normal War...

Page 7: ...ture settings Picture rolls vertically Adjust the antenna Check all wire connections If you are using a VCR check the tracking The TV operates erratically Unplug the TV for 30 seconds then try operating it again Your remote control does not operate your TV Make sure the remote has batteries Check that the and ends of the batteries are inserted correctly Check that the batteries are drained continu...

Page 8: ...no more than 15 of the total television viewing per week Wide screen format televisions 16 9 the aspect ratio of the screen width to height are primarily designed to view wide screen format full motion video The images displayed on them should primarily be in the wide screen 16 9 ratio format or expanded to fill the screen if your model offers this feature and constantly moving Displaying stationa...

Reviews: