background image

G

etting Start

The User’s Manual provides you with valuable information about your air conditioner. 

Please read this manual carefully before using the air conditioner. 

It will help you take full advantage of the unit's features. 

You have already seen the basic description of the unit on pages from 4 to 6. 

Starting with the next page, you will find a series of step - by - step procedures 

for each function available. 

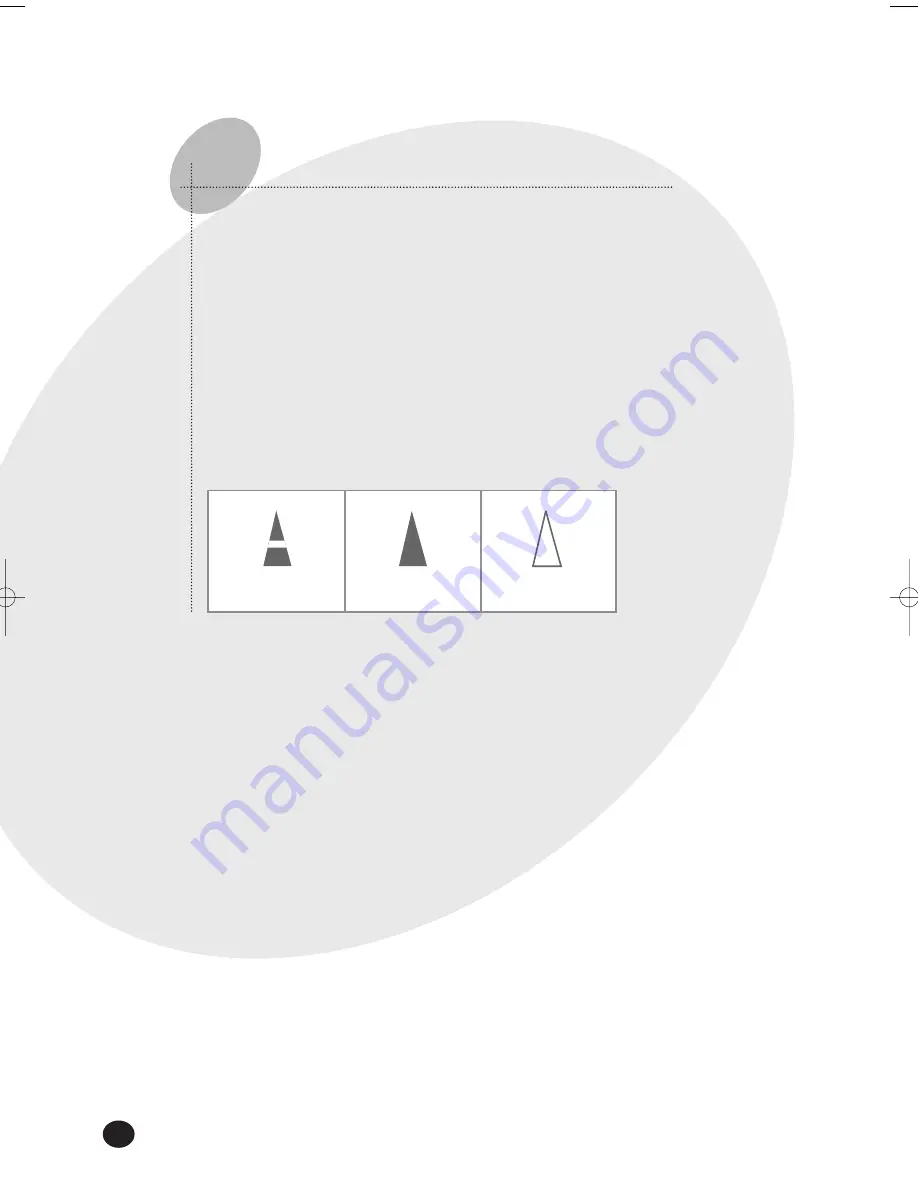
The illustrations in the step-by-step procedures use three different symbols : 

PRESS

PUSH

HOLD DOWN

E-

8

 AS09HPCN IB_E_24445  10/31/05 6:54 PM  Page 8

Summary of Contents for AS09HPCX

Page 1: ...ype Split R frig ration Chauffage Tipo Split Aria Condizionata Raffredamento e Riscaldamento Aparelho de ar condicionado tipo Split Refrigera o e Aquecimento Split Typ Klimaanlage K hlen and Heizen ES...

Page 2: ...7 meters from the indoor unit If applicable WARNING DURING OPERATION Never store or load the air conditioner upside down or sideways to prevent the damage to the compressor Young children or infirm pe...

Page 3: ...leaning Your Air Conditioner 27 Cleaning Anti Allergy and Deodorizing Filter Option 27 TECHNICAL SPECIFICATIONS Correct Disposal of This Product Waste Electrical Electronic Equipment Applicable in the...

Page 4: ...lue Remote control sensor Room Temperature sensor Air Inlet In the Auto mode 2 fan indicators increase and decrease continuously and turn round In the modes except the Auto mode the fan speed indicato...

Page 5: ...tlet Connection Valve inside Outdoor Unit AS09HPCX AS09HPDX AS12HPCX AS12HPDX Air Inlet Rear Air Outlet Connection Valve Outdoor Unit AS18HPCX AS18HPDX Outdoor Unit AS24HPCX AS24HPDX Air Inlet Rear Ai...

Page 6: ...Sound On Off indicator Battery life indicator Fan speed indicator Anions indicator Sleep mode indicator Off Timer button On Timer button Power On Off button On Timer indicator Turbo function indicator...

Page 7: ...1 2 Close the cover by sliding it back in its place 3 Use two AAA LR03 1 5V batteries Do not use old batteries or different kinds of batteries together Batteries may be completely discharged after 12...

Page 8: ...nditioner It will help you take full advantage of the unit s features You have already seen the basic description of the unit on pages from 4 to 6 Starting with the next page you will find a series of...

Page 9: ...nding on the current temperature during operation 2 You can change modes at any time If necessary press the On Off button Result The operation indicator on the indoor unit lights up The air conditione...

Page 10: ...You can set the temperature between 16 C and 30 C Result Each time you press the button The temperature is adjusted by 1 C The indoor unit beeps If the room temperature is higher than the selected te...

Page 11: ...ently If the room temperature reaches 3 C lower than the set temperature the air conditioner starts heating again 3 Press the button on the remote control until is displayed Result The indoor unit bee...

Page 12: ...set the temperature between 18 C and 30 C Result Each time you press the button The temperature is adjusted by 1 C The indoor unit beeps The air conditioner starts dehumidifying and the fan speed is...

Page 13: ...n to select the fan speed until the required setting is displayed Low Medium High 3 To control the airflow direction refer to page 19 4 You can change modes at any time N N N No o o ot t t te e e e Pr...

Page 14: ...30 minutes the air conditioner is reset automatically to the previous setting You can select the Turbo function in the Auto Cool and Heat mode If you select this function in the Dry or Fan mode the m...

Page 15: ...again 2 Press the button to adjust the temperature until the required temperature is displayed You can set the temperature between 26 C and 30 C 3 4 5 1 If necessary press the On Off button Result Th...

Page 16: ...ff If you press the button when the air conditioner is turned off the air conditioner operates the Auto Cleaning Function for 30 minutes 3 Press the button again to stop the Auto cleaning function bef...

Page 17: ...unction You can turn on or off the sound of the air conditioner with the remote control 1 Press the button to turn off the sound Each time you press the button Sound On Off function is selected repeat...

Page 18: ...he air conditioner generates anions The indoor unit beeps 2 Press the button again to stop the Anions function Result The air conditioner is reset automatically to the previous mode temperature and fa...

Page 19: ...ency of the cooling or heating operation N N N No o o ot t t te e e e If you turn the air conditioner Then the blade Off is closed completely On set to the default position 1 Press the button again to...

Page 20: ...hour and 24 hours 1 Press the button to complete the setting Result The remaining time is displayed The timer indicator stops blinking The selected mode and the temperature on the display disappear af...

Page 21: ...ress the button to complete the setting Result The remaining time is displayed The timer indicator stops blinking The air conditioner turns off automatically at the appointed time and the Off Timer se...

Page 22: ...4 hours Heating The set temperature is decreased by 1 C every hour After the decrease of 2 C the temperature is maintained for 4 hours To Cancel the Sleep Timer Press the button to cancel the Sleep T...

Page 23: ...rm in the outdoor unit due to the low temperature and high humidity If this happens The heating operation is stopped The air conditioner defrosts automatically for about 7 minutes After about 7 minute...

Page 24: ...ooling 21 C to 43 C approx 16 C to 32 C approx 80 or less Dehumidifying 18 C to 43 C approx 16 C to 32 C approx If the outdoor temperature is as low as 0 C the heating capacity drops up to 70 80 depen...

Page 25: ...indoor unit Result The Operation indicator on the indoor unit lights up The indoor unit beeps The air conditioner starts up in the appropriate mode for the room temperature The air conditioner changes...

Page 26: ...r too high Check if the air filter is dirty refer to page 27 for cleaning instructions Check that there is no obstacle in front of the outdoor unit Check if the required temperature is set correctly I...

Page 27: ...lter with a vacuum cleaner or brush 4 When you finish insert the top of the filter into the slot and fix it to 5 tabs of the grille 5 Clean the front grille with a damp cloth and mild detergent do NOT...

Page 28: ...00 844 38 322 887 09 693 79 554 08 25 08 65 65 0 15 min 01805 121213 0 12 min 06 40 985 985 199 153 153 02 261 03 710 0900 20 200 88 0 10 min 231 627 22 0 801 801 881 80 8 200 128 0850 123 989 902 10...

Reviews: