background image

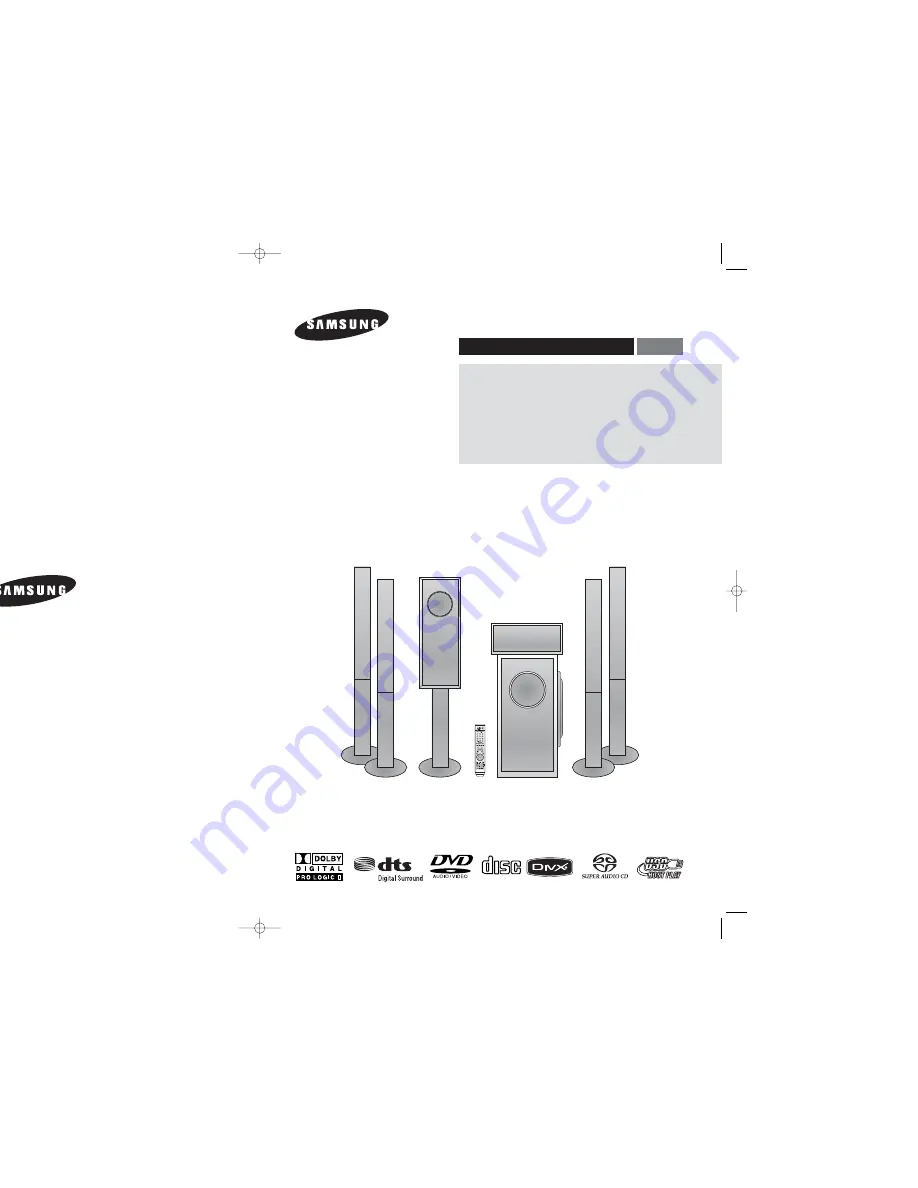
DVD HOME 
THEATER SYSTEM

HT-TXQ120

ENG

Instruction Manual

AH68-01959S

REV: 00

COMPACT

DIGITAL AUDIO

SAMSUNG ELECTRONICS CANADA, INC.

HEADQUARTERS

55 Standish Court Mississauga, Ontario L5R 4B2 Canada

TEL: 1-905-542-3535

www.samsung.ca

SERVICE DIVISION

55 Standish Court Mississauga, Ontario L5R 4B2 Canada

1-800-SAMSUNG (1-800-726-7864)

TXQ120(1~44P) ENG_CA  2007.3.15  9:43 AM  Page 2

Summary of Contents for AH68-01959S

Page 1: ... ENG Instruction Manual AH68 01959S REV 00 COMPACT DIGITAL AUDIO ECTRONICS CANADA INC EADQUARTERS ssissauga Ontario L5R 4B2 Canada L 1 905 542 3535 ww samsung ca RVICE DIVISION ssissauga Ontario L5R 4B2 Canada MSUNG 1 800 726 7864 e 2 ...

Page 2: ...ored in cold temperatures If transporting the player during the winter wait approximately 2 hours until the unit has reached room temperature before using Phones During thunderstorms disconnect the AC main plug from the wall outlet Voltage peaks due to lightning could damage the unit The Mains plug is used as a disconnect device and shall stay readily operable at any time Do not expose the unit to...

Page 3: ...ng Parental Controls Rating Level 46 Setting the Password 46 Setting the Wallpaper 47 To Select One of the 3 Wallpaper Settings you ve made 47 DVD Playback Mode 48 DivX R registration 48 SACD Playback Mode 49 Setting the Speaker Mode 49 Setting the Delay Time 50 Setting the Test Tone 51 Setting the Audio 52 Setting the DRC Dynamic Range Compression 53 Setting the AV SYNC 53 Dolby Pro Logic II Mode...

Page 4: ...re folder can be played Picture discs other than Kodak Fuji Picture CDs may take longer to start playing or may not play at all CD R MP3 Discs Only CD R discs with MP3 files in ISO 9660 or Joliet format can be played MP3 file names should be 8 characters or less in length and contain no blank spaces or special characters Use discs recorded with a compression decompression data rate greater than 12...

Page 5: ...aker Output Connector 5 Cooling Fan 6 FM 75Ω COAXIAL Jack 7 Component Video Output Connectors Connect a TV with component video inputs to these jacks 8 Video Output Connector Connect the TV s video input jacks VIDEO IN to the VIDEO OUT connector 9 External Audio Input Connectors 10 TX Card Connection WIRELESS 11 System Connector 2 1 4 3 Remote Control AH59 01643Z Video Cable AH39 40001V Auto Sound...

Page 6: ...button 33 SOUND EDIT button 34 DIMMER button 35 SD Standard Definition HD High Definition button 36 LOGO button 37 HDMI AUDIO SELECT button 38 SLEEP 1 Remove the battery cover in the direction of the arrow 2 Insert two 1 5V AAA batteries paying attention to the correct polarities and 3 Replace the battery cover Follow these precautions to avoid leaking or cracking cells Place batteries in the remo...

Page 7: ... the stand 6 Open a Toroidal Ferrite Core by pulling it upward Wrap it around of the system connection cable so it will be next to the DVD Player Close it back by pressing it all the way down until you hear a clicking sound 7 Push the cable into the cable fixing hole in the stand 8 To fix the cable insert the cable holder into the hole on the stand 9 Let the cable run through the hole at the botto...

Page 8: ...r TV set screen color may be distorted because of the magnetic field generated by the speaker If this occurs place the speaker away from your TV set 1 Press down the terminal tab on the back of the speaker 2 Insert the black wire into the black terminal and the red wire into the red terminal and then release the tab 3 Connect the connecting plugs to the back of the Subwoofer Make sure the colors o...

Page 9: ...e back of the subwoofer Hold the TX card so that the slanted side faces leftward and insert the card into the port The TX card enables communication between the subwoofer and the wireless receiver 3 Connect the left and right rear speakers to the wireless receiving module 4 Plug the power cord of the wireless receiving module in the wall outlet and switch the power switch ON Do not insert a card o...

Page 10: ...e main unit s display ess receiver module SWA 3000 are in Power Standby mode 1 With the main unit turned off press and hold the remote control s REMAIN button for 5 seconds The STANDBY LED on the front panel of the wireless receiver module blinks 2 With the wireless receiver module turned on use a ball point pen or a toothpick to press the RESET button on the back of the unit The STANDBY LED on th...

Page 11: ...The HDMI AUDIO is not available when using the HDMI IN function The audio signals transmitted over the HDMI Cable can be toggled ON OFF In Stop mode press and hold the SD HD button on the remote control Resolutions available for the HDMI output are 480p 720p 1080i and 1080p SD Standard Definition resolution is 480p and HD High Definition resolution is 720p 1080i 1080p Resolution Selection If the T...

Page 12: ...enna FM Antenna supplied 1 Connect the FM antenna supplied to the FM 75Ω COAXIAL Jack 2 Slowly move the antenna wire around until you find a location where reception is good then fasten it to a wall or other rigid surface This unit does not receive AM broadcasts Please observe the following cautions for your safety Make sure the unit is well ventilated If the unit has poor ventilation the temperat...

Page 13: ...ancelled ps or instructions on the page that ion operate Before Using Your Home Theater To Operate your Samsung TV and the Home Theater with the HT TXQ120 s Remote Control 1 Plug the subwoofer s power cord into the AC power supply Before plugging your system into a main socket you must check the voltage setting OPTIONAL If the voltage of the socket does not correspond to the setting on the rear of...

Page 14: ...elect a track using the Cursor button and press the ENTER button During the play you cannot select a track using the Cursor button 3 Press the STOP button to stop playback You can listen to high quality multi channel sound that exceeds regular CD playback SACD has three kinds of formats Single Layer Disc that has 1 HD layer Dual Layer Disc that has 2 HD layers and Hybrid Disc that has both CD and ...

Page 15: ...n the recording mode some MP3 WMA CDs may not play ontents of a MP3 CD varies depending on the MP3 WMA track format on the disc Images captured with a digital camera or camcorder or JPEG files on a PC can be stored on a CD and then played back with this Home Theater JPEG File Playback The maximum resolutions supported by this product are 5120 x 3480 or 19 0 MPixel for standard JPEG files and 2048 ...

Page 16: ...khz or 320kbps you may experience shaking on the screen during playback Supported Audio Formats ack press the button ile whenever you press the button if there are over 2 files in the disk ous file whenever you press the button if there are over 2 files in the disk ward Back press the Cursor button minutes forward whenever you press the Cursor button minutes back whenever you press the Cursor butt...

Page 17: ...llows Fast Playback TITLE ELAPSED TITLE REMAIN CHAPTER ELAPSED CHAPTER REMAIN 2X 4X 8X 32X PLAY 2X 4X 8X 32X PLAY TRACK ELAPSED TRACK REMAIN TOTAL ELAPSED TOTAL REMAIN TRACK REMAIN TRACK ELAPSED Press the SLOW button Each time the button is pressed during playback the playback speed changes as follows Slow Playback No sound is heard during slow playback Reverse slow playback does not work with Div...

Page 18: ...ayback the repeat playback mode changes as follows 1 Press the INFO button twice 2 Press the Cursor button to move to the REPEAT PLAYBACK display 3 Press the Cursor button to select the desired Repeat Playback mode To select another album and track repeat Steps 2 and 3 above 4 Press the ENTER button For Divx MP3 and JPEG discs you cannot select Repeat Play from the information display screen To Se...

Page 19: ... 2 Press the Cursor button to move to ANGLE display 3 Press the Cursor or numeric buttons to select the desired angle Each time the button is pressed the angle changes as follows This function allows you to view the same scene in different angles Angle Function 2 3 3 3 1 3 The Angle function works only with discs on which multiple angles have been recorded 1 Press the ZOOM button 2 Press the Curso...

Page 20: ...sc packaging press the button on the remote control e desired image from a DVD Audio disc containing still images you may not be able to select images To operate this function you can also press the AUDIO or SUBTITLE buttons on the remote control Depending on the disc the Subtitle and Audio Language functions may not be available 1 Press the INFO button twice 2 Press the Cursor button or numeric b...

Page 21: ...erent depending on the disc 1 In Stop mode press the MENU button 2 Press the Cursor button to move to the Disc Menu and then press the ENTER button When you select Disc Menu and it is not supported by the disc the This menu is not supported message appears on the screen 3 Press the Cursor button to select the desired item 4 Press the ENTER button You can use the menus for the audio language subtit...

Page 22: ... and you press the button the next file is selected re than one file and you press the button the previous file is selected disc at a faster speed press the button during playback ess either button the playback speed will change as follows 32x Normal Compatible Devices 1 USB devices that support USB Mass Storage v1 0 USB devices that operate as a removable disc in Windows 2000 or later without add...

Page 23: ... your TV or monitor For a standard TV select either 4 3LB or 4 3PS option according to personal preference Select 16 9 if you have a widescreen TV 1 In Stop mode press the MENU button 2 Press the Cursor button to move to Setup and then press the ENTER button 3 Press the Cursor button to move to TV DISPLAY and then press the ENTER button 4 Press the Cursor button to select the desired item and then...

Page 24: ...CD JPEG you can set the image you like as background wallpaper 1 During playback press the PLAY PAUSE button when an image you like appears 2 Press the LOGO button COPY LOGO DATA will be displayed on the TV screen 3 The power will turn off and then back on The selected wallpaper will be displayed You can select up to 3 wallpaper settings Setting the Wallpaper To Select One of the 3 Wallpaper Setti...

Page 25: ... button to move to DVD TYPE and then press the ENTER rsor button to move to DVD VIDEO and then press the n 4 again if you want to switch to DVD AUDIO Play mode DVD Play Mode o play the DVD video contents contained on a DVD audio disc o play the default DVD audio mode is set to DVD Audio as factory default setting f the main unit will automatically switch to the DVD Audio mode ayer with the DivX R ...

Page 26: ...he distance of Ds in the figure set the mode as 0ms Otherwise change the setting according to the table Distance between Df and Dc Delay Time 0 inch 13 6 inches 27 2 inches40 8inches 4 5 feet 5 6feet 0 ms 1 ms 2 ms 3 ms 4 ms 5 ms Distance between Df and Dc Delay Time 0 inch 40 8 inches 6 7 feet 10 0 feet 13 4 feet 16 7 feet 0 ms 3 ms 6 ms 9 ms 12 ms 15 ms With Dolby Pro Logic II the delay time may...

Page 27: ...move to AV SYNC and then press the ENTER button 4 Press the Cursor button to select the AV SYNC Delay Time and then press the ENTER button You can set the audio delay time between 0 ms and 300 ms Set it to the optimal status Press the RETURN button to return to the previous level Press the MENU button to exit the setup screen Setting the AV SYNC This feature balances the range between the loudest ...

Page 28: ...Logic II button does not work This function works only in Dolby Pro Logic MUSIC mode 1 Press the PL II MODE button to select MUSIC mode 2 Press the PL II EFFECT button to select P PANORAMA then press the Cursor button to select the desired effect setting You can select either 0 or 1 This mode extends the front stereo image to include the surround speakers for an exciting wraparound effect with sid...

Page 29: ... the speaker is less than 118 inch Set the main unit s volume to 15 4 Press the ASC button To create the optimal 5 1 channel sound filed the selections are in the following sequence L C R SR SL SW The auto sound calibration setup takes about 2 minutes to complete 5 When the message REMOVE MIC appears in the display unplug the auto sound calibration microphone To cancel the auto sound calibration s...

Page 30: ...es at home that simulates 9 1 channel a movie theater or movies 1 Plug the headphones into the headphone jack You can purchase headphones from most Electronics stores 2 Press the V H P button Each time the button is pressed the selection alternates between V H P ON and V H P OFF V H P ON Select to enjoy a 5 1 channel surround sound that gives the feeling of being in a baseball park or concert hall...

Page 31: ...ing 1 When the button is pressed a preset broadcast station is selected ning 2 Press and hold the button to automatically search for active stations g Briefly press the button to increase or decrease the frequency incrementally NCTION button to select the FM band dcast station ning 1 Press the STOP button to select PRESET and then press the on to select the preset station ning 2 Press the STOP but...

Page 32: ... 10 11 12 13 14 01 18 40 48 57 58 81 59 60 18 03 03 18 25 97 03 18 46 15 03 05 61 82 83 84 62 03 59 61 63 03 02 03 04 15 16 17 18 19 20 21 22 23 24 25 26 27 28 29 30 32 34 35 36 48 59 90 40 03 03 15 40 46 59 61 64 82 83 84 85 19 65 03 03 06 40 56 59 66 67 68 40 15 18 50 59 69 45 56 59 67 86 70 59 61 87 88 03 15 40 15 01 15 16 17 37 38 39 40 41 42 43 44 18 19 54 56 59 60 62 63 65 71 15 17 18 48 54 ...

Page 33: ...ll not work for DVDs not containing them And depending on the disc they may work differently Audio language and subtitles do not work Are you using a disc that does not contain menus Menu screen does not appear even when the menu function is selected While NO DISC message appears on the display of main unit hold the main unit s STOP button for longer than 5 seconds INITIAL IZE appears on the displ...

Page 34: ...9 Hausa 1353 Moldavian 1513 Siswati 1052 Azerbaijani 1217 Hindi 1356 Marathi 1514 Sesotho 1053 Bashkir 1226 Croatian 1357 Malay 1515 Sundanese 1057 Byelorussian 1229 Hungarian 1358 Maltese 1516 Swedish 1059 Bulgarian 1233 Armenian 1363 Burmese 1517 Swahili 1060 Bihari 1235 Interlingua 1365 Nauru 1521 Tamil 1069 Bislama 1239 Interlingue 1369 Nepali 1525 Tegulu 1066 Bengali Bangla 1245 Inupiak 1376 ...

Page 35: ...oduct Company Type MP3 Player MOMOBAY UX 2 Dvico USB 2 0 Product Company Type USB External HDD Specifications MISCELLANEOUS Speaker system Impedance Frequency range Output sound pressure level Rated input Maximum input Dimensions W x H x D Weights S P E A K E R Subwoofer speaker 3Ω DCR 3 4Ω 45Hz 150Hz 86dB W M 165W 330W Front Rear Center 13 4 in x 52 in x 13 4 in 21 7 in x 5 4 in x 3 3in 13 8 Ibs ...

Page 36: ...e service center is the customer s responsibility retained by the customer and is the only acceptable proof authorized service center at the time service is requested ue to accident fire flood and or other acts of God misuse on improper or unauthorized repairs commercial use or and interior finish lamps glass are not covered under this re explained in the instruction manual are not covered rranty ...

Reviews: