32
31
Speaker Setup
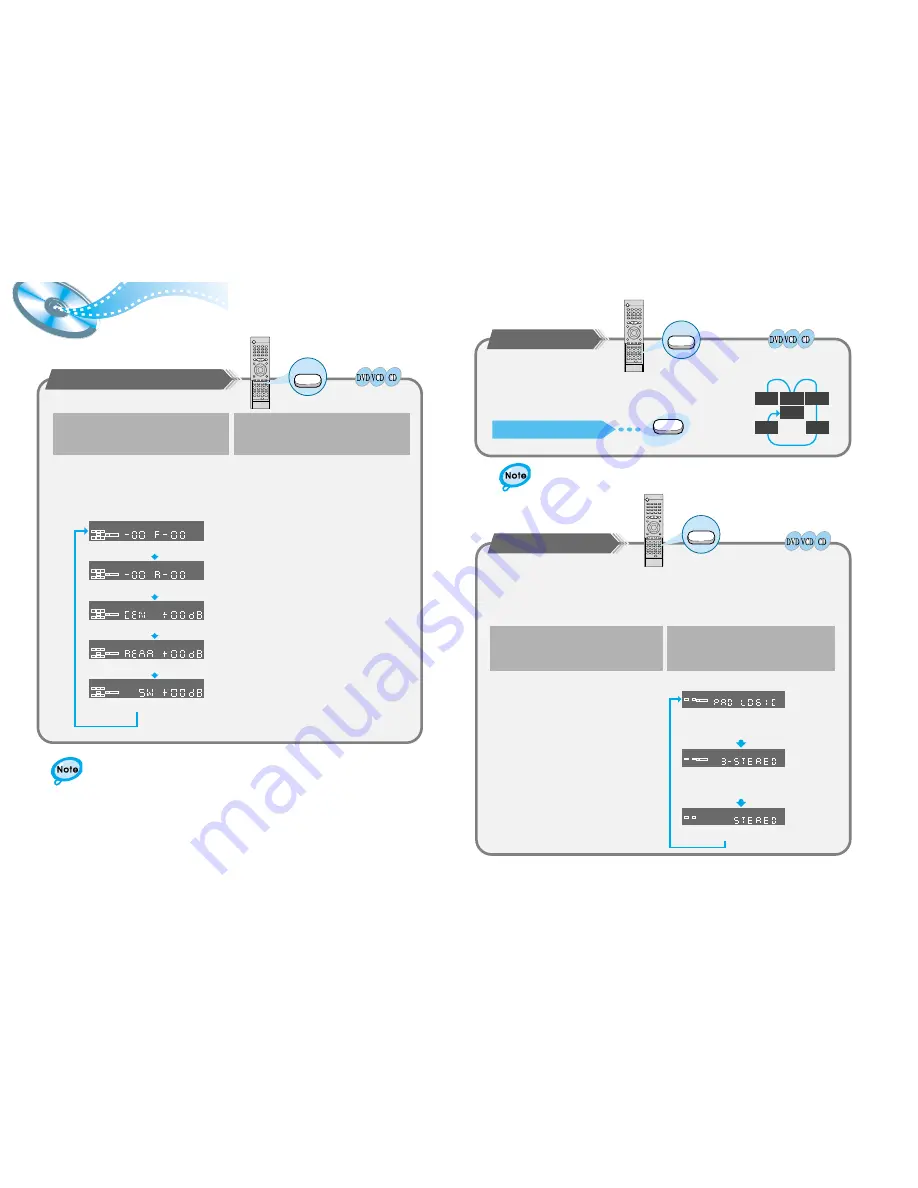
To set up Speaker Balance
L
C
R
LS
LFE
S
RS
D I G I T A L
L
C
R
LS
LFE
S
RS
D I G I T A L
L
C
R
LS
LFE
S
RS
D I G I T A L
L
C
R
LS
LFE
S
RS
D I G I T A L
L
C
R
LS
LFE
S
RS
D I G I T A L
1
Use the Left/Right ( / ) button to make
adjustment.
•
Each time the button is pressed the selection switches as shown below.
Example: 5.1CH Sound Setup
OFF, range of – 6 ~ 0
OFF, range of – 6 ~ 0
range of – 6 ~ – 00 ~ +6
range of – 6 ~ – 00 ~ +6
range of – 6 ~ – 00 ~ +6
Front Speakers: L level, R level
Rear Speakers: L level, R level
Center Speaker
Rear Speakers
Subwoofer Speaker
Sound Edit
Press the Sound Edit button.
▲
▲
2
The display changes depending on the current audio output
mode (DSP, PRO LOGIC, 3-STEREO, STEREO, etc.).
While in DSP or PRO LOGIC mode, TEST TONE may
operate differently for VCDs or CDs
Speaker Setting Methods
•
The test signal will be sent to the Left Front, Center, Right Front,
Right Rear, Left Rear and Subwoofer in that order.
Test Tone
Press the Test Tone button.
To End the Language Features Setup
Test Tone
•
Press the Test Tone button again.
L
LS
RS
C
LFE
R
Selecting Dolby Pro Logic
Converts Dolby Surround encoded 2-channel sound (e.g., program material received by Stereo
VCR could be Dolby Surround encoded 2-channel material that can be decoded into 4-channel
sound using the Dolby Pro Logic mode). Pro Logic mode can also be enjoyed when in DVD
mode or when playing Dolby Digital or PCM material that are Dolby Surround encoded.
Pro Logic
Press the Pro Logic button.
1
2
Press the Function Selection button to
select the desired function.
Press the PRO LOGIC button.
•
Select from FM, AM, DVD and AUX 1 IN,
AUX 2 IN.
•
Each time the Pro Logic button is pressed
C
PRO LOGIC
L
R
PRO LOGIC
L
R
L
R
PRO LOGIC : Left, Center, Right, Subwoofer and
Surround Channel
3-STEREO : Left, Center, Right and Subwoofer
Channel
STEREO : Left, Right and Subwoofer Channel


