1. Locate the AV output jacks on the camcorder. They are usually found on the side or back
of the camcorder. Connect a set of audio cables between the AUDIO OUTPUT jacks on
the camcorder and the [AV/COMPONENT AUDIO IN [L-AUDIO-R]] on the LCD Display .
2. Connect a video cable between the VIDEO OUTPUT jack on the camcorder and the [AV
IN [VIDEO]] on the LCD Display .
3. Select
AV
for the Camcorder connection using the SOURCE button on the front of the
LCD Display or on the remote control.
4. Then, start the Camcorder with a tape inserted.
Note
The audio-video cables shown here are usually included with a Camcorder. (If not, check
your local electronics store.) If your camcorder is stereo, you need to connect a set of two
cables.
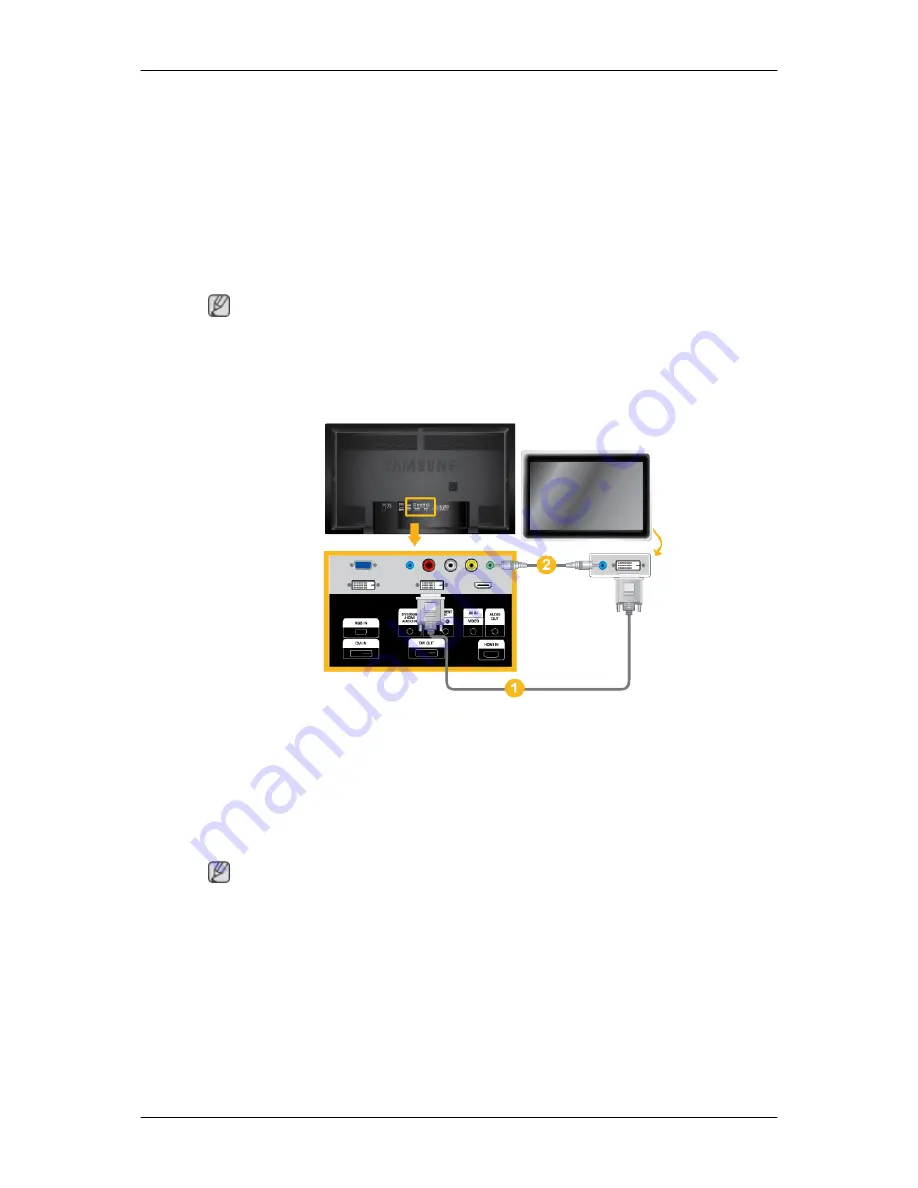
Connecting Using a DVI Cable
1. Connect between the [DVI OUT] port on the LCD Display and the input port on another
monitor using a DVI cable.
2. Connect between the [AUDIO OUT] port on the LCD Display and the audio input port on
another monitor using a stereo cable.
3. Select
DVI
using the SOURCE button on the front of the LCD Display or on the remote
control.
Note
DVI OUT does not support HDCP.
Connections


