


English - 27
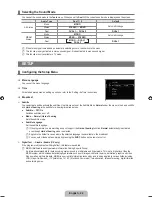
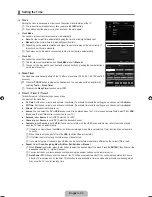
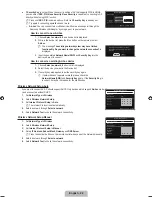
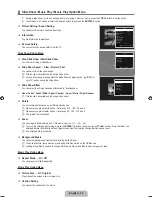
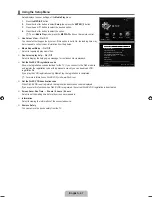
Cable Network Setup-Manual
To connect the TV to the LAN using a static IP address, you must set up the Internet Protocol
(IP).
1.
Set
Network Type
to
Cable
.
2.
Select
Cable Network Setup
.
3.
Set
Internet Protocol Setup
to
Manual
.
4.
Set up
IP Address, Subnet Mask, gateway
and
DNS Server
.
Press the number buttons on the remote control when you set the Network manually.
5.
Select
Network Test
to check the network connectivity.
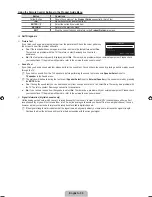
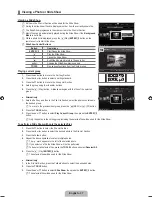
Wireless Network Setup
The menu is activated only if the ‘Samsung Wireless LAN Adapter’ is connected.
Internet Protocol Setup → Auto / Manual
Network Test
: You can test or confirm the network connection status after setting up the network.
When unable to connect to an AP(Access Point)
Your TV may fail to locate an AP(Access Point) that is configured as a private SSID type. In this case, please change the AP
settings and try again. If your Internet service provider has registered the MAC address of the device used to connect to the
Internet for the first time and authenticates the MAC address each time you connect to the Internet, your TV may not be able
to connect to the Internet as the MAC address differs from that of the device (PC).
In this case, ask your Internet service provider about the procedures to connect devices other than your PC (such as your TV)
to the Internet. If you cannot connect to the Internet even if you have followed the procedures of your Internet service provider,
please contact a Samsung Electronics.
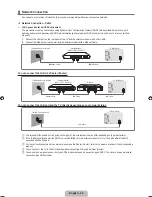
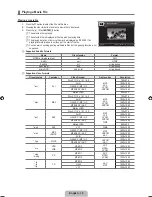
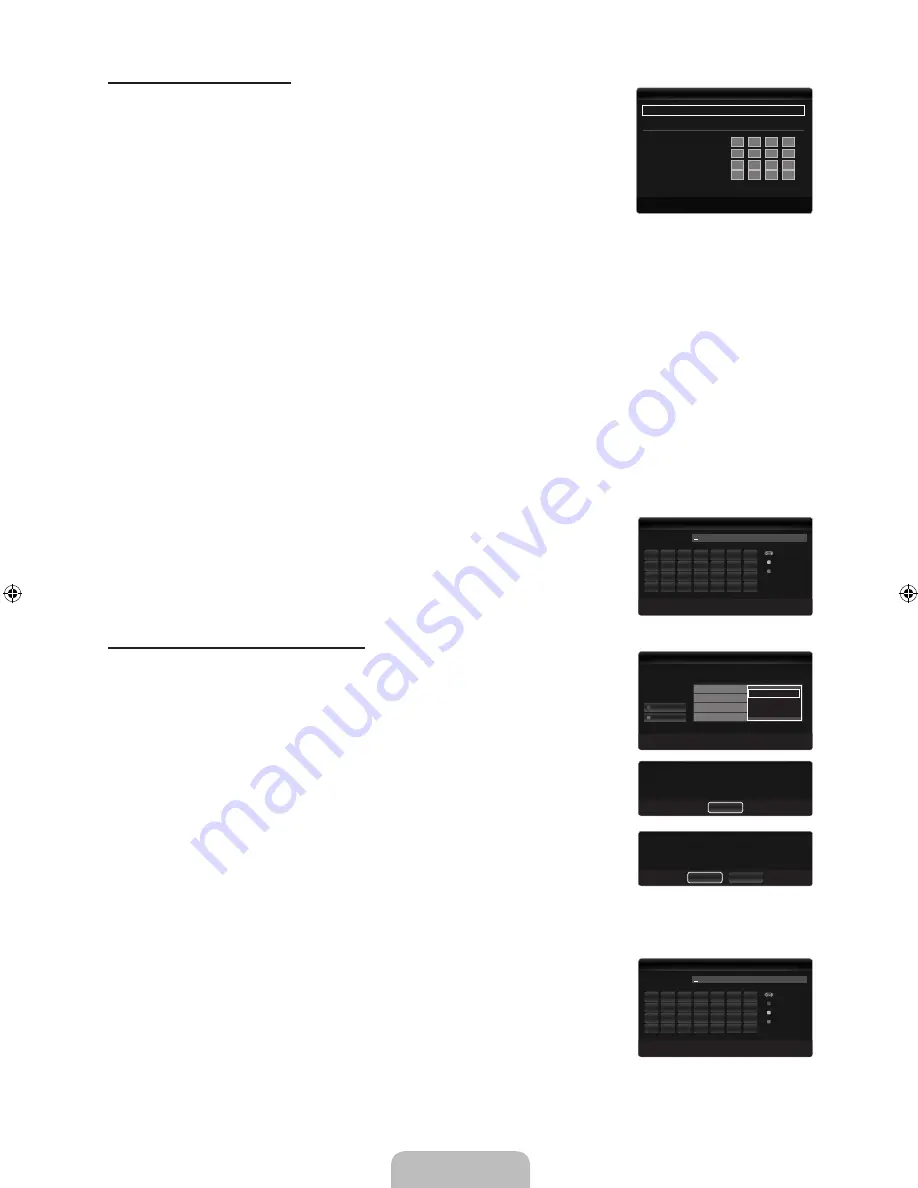
Select a network
Access Point: You can select the IP sharer to use when using a wireless network.
If a wireless Access Point is not in the Access Point list, press the Red button.
When the connection is made, you will be returned to the screen automatically.
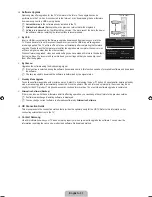
If you have selected an Access Point with a security authentication:
The Security Key input screen appears. Enter the security key and press the Blue
button on the remote control.
If security encryption type is WEP, 0~9, A~F will be available when you input
security key.
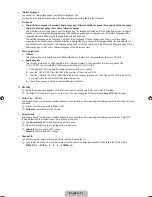
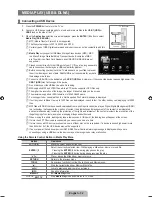
Connecting WPS (Wi-Fi Protected Setup)
If
Security key
is already set: In access point list, select
WPS
.
You can select
PBC, PIN, Security key
.
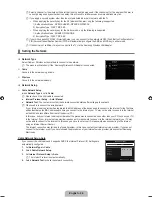
Connecting by using
PBC
: Select a
PBC
(Push Button Configuration). Press the PBC
button on the AP (access point) within 2minutes, and wait for connection.
Connecting by using
PIN
: Select a
PIN
(Personal Identification Number).
The message showing the PIN Code is displayed. Input the PIN Code at AP
device within 2minutes. Select
ok
and wait for connection.
Try again if connecting operation doesn’t work
When the connection is not established although tried again, reset the access
point. Please refer to a manual of each access point.
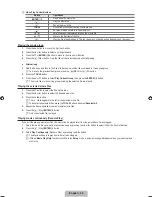
Connecting by using
Security key
: When selecting
Security key
, the input window is
displayed. Input the security key and press Blue button.
Try again if connecting operation doesn’t work.
N
■
N
●
●
N
●
N
N
N
N
●
N
N
N
N
N
Internet Protocol Setup
: Manual
▶
Network Test
U
Move
E
Enter
R
Return
Cable Network Setup
IP Address
:
0
0
0
0
Subnet Mask
:
0
0
0
0
Gateway
:
0
0
0
0
DNS Server
:
0
0
0
0
Wireless Network Setup
n
Move
`
~
9
Number
E
Enter
R
Return
Security Key
Number
Delete
Done
A
B
C
D
E
F
Wireless Network Setup
U
Move
E
Enter
R
Return
Select a network
3/9
Search
Ad-hoc
sson
jee
AP_1
Ap_2
PBC
PIN
Security Key
Cancel
Press the PBC button on the access point.
Access Point Name : AP_1
Press OK After input TV’s Pin code in the access
point’s setup.
Access Point Name : AP_1
PIN Code : 12345678
Cancel
OK
Wireless Network Setup
n
Move
`
~
9
Number
E
Enter
R
Return
Security Key
Number
Lowercase
Delete
Done
A
H
O
V
B
I
P
W
C
J
Q
X
D
K
R
Y
E
L
S
Z
F
M
T
G
N
U
BN68-02327B-04Eng.indb 27
2009-10-20 �� 1:04:57
Summary of Contents for 6 series
Page 145: ...Ez az oldal szándékosan van üresen hagyva ...
Page 211: ...Stronę celowo pozostawiono pustą ...
Page 277: ...Η σελίδα αυτή έχει μείνει κενή εκ προθέσεως ...
Page 343: ...Тази страница нарочно е оставена празна ...
Page 409: ...Ova stranica je namjerno ostavljena praznom ...
Page 475: ...Tato stránka je záměrně ponechána prázdná ...
Page 541: ...Táto stránka je zámerne prázdna ...
Page 607: ...Această pagină este intenţionat lăsată liberă ...


