


Troubleshooting
Self-Test Feature Check
Note
Your monitor provides a self test feature that allows you to check whether your monitor is functioning
properly.
Self-Test Feature Check
1.
Turn off both your computer and the monitor.
2.
Unplug the video cable from the back of the computer.
3.
Turn on the monitor.
If the monitor is functioning properly, you will see a box in the illustration below.
This box appears during normal operation if the video cable becomes disconnected or damaged.
4.
Turn off your monitor and reconnect the video cable; then turn on both your computer and the
monitor.
If your monitor screen remains blank after using the previous procedure, check your video controller
and computer system;
your monitor is functioning properly.
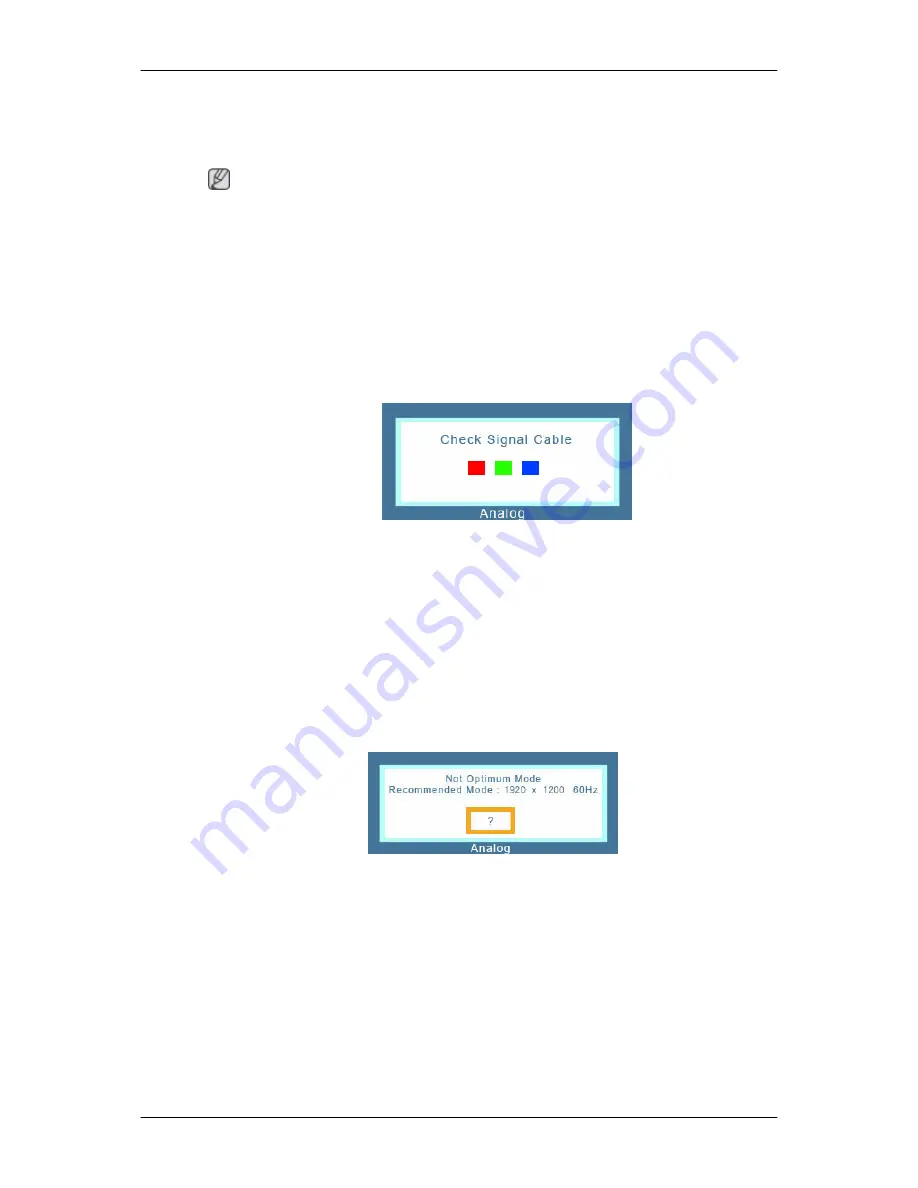
Warning Messages
If there is something wrong with the input signal, a message appears on the screen or the screen goes
blank although the power indicator LED is still on. The message may indicate that the monitor is out
of scan range or that you need to check the signal cable.
Environment
The location and the position of the monitor may influence the quality and other features of the monitor.
If there are any sub woofer speakers near the monitor, unplug and relocate the woofer to another room.
Remove all electronic devices such as radios, fans, clocks and telephones that are within 3 feet (one
meter) of the monitor.
Useful Tips
A monitor recreates visual signals received from the computer. Therefore, if there is a problem with
the computer or the video card, this can cause the monitor to become blank, have poor coloring, become
77


