background image

GB

GB

7

8

DVD 

Band

A<->B

AUX 

Open/Clse

Display

Return

DVD/CD/TUNER

Volume

DSP/EQ

Power Sound

Mute

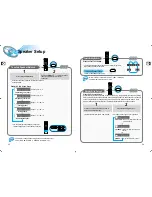
Sleep

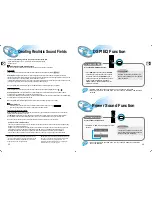
Go To

Zoom

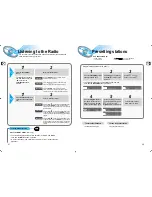
Title Menu

Step

Remain

Subtitle

Audio

MO/ST

Repeat

Repeat

Enter

+

Tuning

Down

Up

TUNER 

1

2

3

4

5

6

7

8

9

Sound Edit

SPK Mode

Pro Logic

Slow

Angle

Subwoofer

Test Tone

Setup

Program

D.R.C

Center Speaker

Rear Speaker

Clear

0

+

+

+

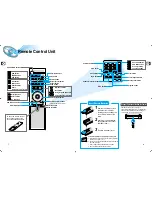
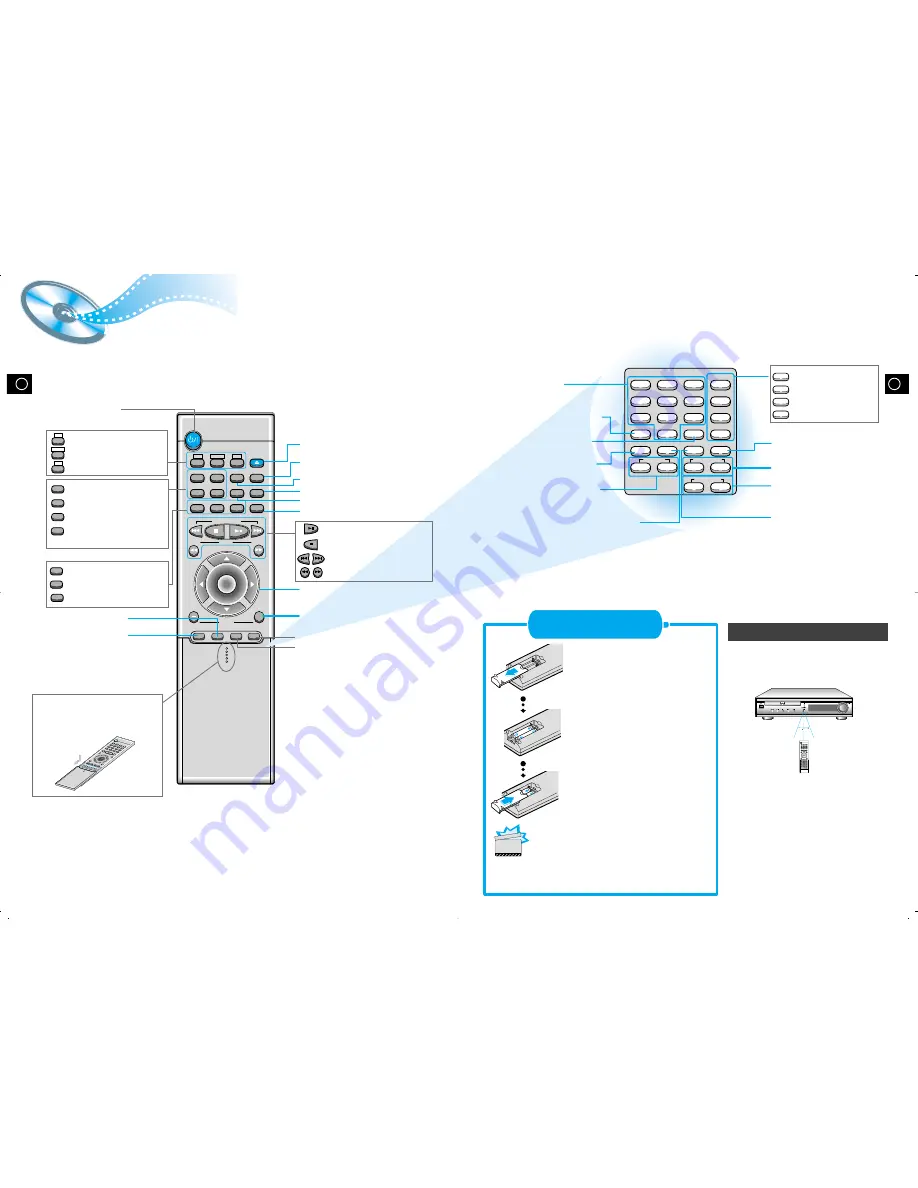
Remote Control Unit

R

30

30

7~10m

Remove the battery cover on
the back of the remote by
pressing down and sliding the
cover in the direction of the
arrow.

Insert Remote Batteries

Range of Operation of the Remote Control 

1

Insert two 1.5V AAA batteries,
paying attention to the correct
polarities (+ and –).

2

Replace the battery cover.

3

The remote control can be used up to
approximately 23 feet/7 meters in a straight line.
It can also be operated at a horizontal angle of
up to 30° from the remote control sensor.

DVD POWER button

DSP/EQ button

Power Sound button

Slow button 

Setup button 

Angle button 

Subwoofer Speaker button 

D.R.C button  

Title 

Menu

Subtitle

Audio

MO/ST

Display

Return

Go To

DVD button 

TUNER button 

AUX button 

Title button 

Menu button 

Subtitle button 

Audio 

MO/ST(mono/stereo) button 

Display button 

Return button 

Go To button 

DVD 

TUNER 

Band

AUX 

Mute button 

Volume Control buttons 

Speaker output volume control

Play/Pause button 

Stop button 

Tuning Preset

/

CD Skip button

Tuning Up/Down

/

CD Search button

Sleep button 

Clear button

Center Speaker button

Rear Speaker button

Program button

Direction/Enter button 

Open/Close button 

Step button 

Remain button 

Repeat (A<->B) button 
Repeat button 

Zoom button 

Sound Edit

SPK Mode

Pro Logic

Test Tone

Sound Edit button 

SPK Mode button

Pro Logic button

Test Tone button

To open the romote control
cover, push the top of the
cover, then slide downward.

Follow these precautions to avoid leaking or cracking cells:

• 

Place batteries in the remote control so they match the
polarity:(+) to (+)and (–)to (–).

• 

Use the correct type of batteries.Batteries that look similar
may differ in voltage.

• 

Always replace both batteries at the same time.

• 

Do not expose batteries to heat or flame.

CAUTION

Selection button

Summary of Contents for 2.0041112184342e16

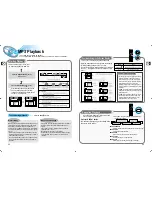
Page 1: ...CT DIGITAL VIDEO Instruction Manual SAMSUNG ELECTRONICS CANADA INC HEADQUARTERS 7037 Financial Drive Mississauga Ontario Canada L5N 6R3 TEL 1 905 542 3535 www samsungcanada com SERVICE DIVISION 7037 Financial Drive Mississauga Ontario Canada L5N 6R3 1 800 SAMSUNG 1 800 726 7864 ...

Page 2: ... reached room temperature before using V I D E O Volume Function R R R R During thunderstorms disconnect AC main plug from the wall outlet Voltage peaks due to lightning could damage the unit R CLASS 1 LASER PRODUCT This Compact Disc player is classified as a CLASS 1 LASER product Use of controls adjustments or performance of procedures other than those specified herein may result in hazardous rad...

Page 3: ... unless otherwise authorized by Macrovision Corporation Reverse engineering or disassembly is prohibited Safety Warnings Precautions Description Remote Control Unit Connecting the Speakers Connecting Video to TV Connecting the FM and AM MW Antennas AUX Connections Connecting your System to the Power Supply Before Using the DVD Player DVD Playback Forward Reverse Searching Slow Playback Checking th...

Page 4: ...ator RADIO FREQUENCY indicator PROGRAM indicator System Status Display LINEAR PCM indicator TUNER indicator PBC indicator DOLBY DIGITAL indicator PRO LOGIC indicator VIDEO ANTENNA S VIDEO 5 1 Channel Speaker Output Terminals External Audio Component Input Connector S Video Output Connector If the TV is equipped with an S Video input connector S VIDEO IN connect it to the player s S Video output ja...

Page 5: ...oofer Speaker button D R C button Title Menu Subtitle Audio MO ST Display Return Go To DVD button TUNER button AUX button Title button Menu button Subtitle button Audio MO ST mono stereo button Display button Return button Go To button DVD TUNER Band AUX Mute button Volume Control buttons Speaker output volume control Play Pause button Stop button Tuning Preset CD Skip button Tuning Up Down CD Sea...

Page 6: ...e 32 10 Composite Video Good Quality Connect the supplied video cable from the VIDEO OUT jack on the back panel of the system to the VIDEO IN jack on your television S Video Better Quality If you television is equipped with an S Video input connect an S Video cable not supplied from the S VIDEO OUT jack on the back panel of the system to the S VIDEO IN jack on your television Component Video Best ...

Page 7: ... is good ventilation around the center unit Poor ventilation could overheat and damage the canter unit DO NOT block the cooling fan and the ventilation openings or holes If they are blocked by a newspaper or cloth etc the heat may not be able to escape About the cooling fan AUX Connections Snap the tabs on the loop into the slots of the base to assemble the AM loop antenna Cooling fan See About Co...

Page 8: ...ur DVD player is capable of playing DVD VCD and CD discs User instructions may vary depending on the type of disc Read the instructions carefully before use DVD Prepa rations before use Turn on the power to your DVD player and TV 1 Select a video mode by pressing the TV VIDEO button 2 Press the DVD button to select the DVD input function 3 TV Broadcast System This device is designed to work with t...

Page 9: ...g playback when the Stop button is pressed the position is stored in the memory and STOP is shown on the display When the Play Pause button or Return button is pressed subsequently playback resumes from the position at which it was stopped If the Stop button is pressed a second time the resume play memory function is canceled and STOP is shown on the display When the Play Pause button is pressed p...

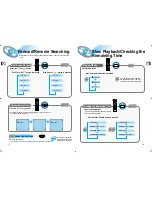
Page 10: ...ing played The slow playback speed changes and the selections 1 2X 1 4X 1 8X 1 16X and normal play are repeated Checking the Remaining Time REMAIN TIME CHAPTER REMAIN TIME TITLE CHAPTER TIME TITLE TIME REMAIN TIME DISC REMAIN TIME TRACK DISC TIME TRACK TIME Playing Frame by Frame The picture moves forward one frame each time the button is pressed Step Each time the Remain button is pressed Slow Re...

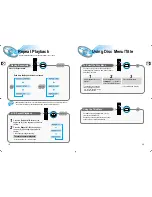
Page 11: ...operate it using PBC On Off function 3 Menu You can use the menus for the audio language subtitle language profile etc DVD menu contents differ from disc to disc For DVDs containing multiple titles you can view the title of each movie Depending on the disc this function may either not work at all or may work differently Using the Title Menu Repeat playback operation is not possible with version 2 ...

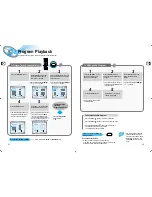
Page 12: ...appears The selected track number is programmed and the cursor moves to the next number Press the Stop button twice during playback Press the Stop button once when in the Stop mode Press the Open Close button on the main unit The disc tray will open and then close The program will then be deleted To Playback the Tracks in Programmed Order Press the Play Pause button Press either the Program or Sto...

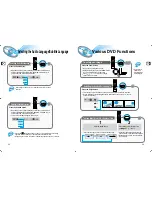
Page 13: ... 1 1 SPA ENG FRE OFF ENG 1 3 2 3 3 3 Depending on the number of languages recorded on a DVD disc a different subtitle language ENGLISH SPANISH FRENCH etc is selected each time the button is pressed To make the subtitles disappear select OFF 2 Zoom Angle Audio MO ST Subtitle Press the Zoom button Press the Angle button Press the Audio button Press the Subtitle button If the word INVALID appears on ...

Page 14: ...OFF Repeat play is canceled Normal play is resumed MP3 is an abbreviation of Motion Picture Experts Group or MPEG Audio Layer 3 MP3 is simply a file format with a data compression ratio of 1 10 128 Kbps That means by using MP3 format one CD R or CD RW can contain 10 times as much data volume as a regular CD can Bit rate is the average number of bits that one second of audio data will consume The m...

Page 15: ... 8 rating levels on a disc If LEVEL 6 is selected a disc which contains rating LEVEL 7 and above cannot be played If you select NEW PASSWORD the screen changes and enables you to enter the new password RATING LEVEL While the player is in the stop mode hold the Stop button down on the main unit for more than 5 seconds INITIAL appears on the display and all default settings will return to Factory Pr...

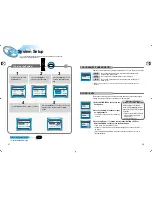
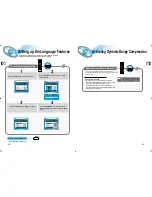
Page 16: ...LANGUAGE SUBTITLELANGUAGE DISCMENULANGUAGE 3 4 Press the Setup button from the stop mode To End the Language Features Setup Setup Press the Setup button again Setup Press the Up Down button to select the desired item Press the Enter button or Right button Press the Up Down button to select the desired language and then press the Enter button Activating Dynamic Range Compression D R C You can enjoy...

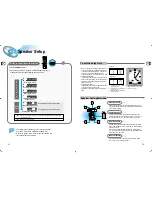
Page 17: ...istening position Ideally the center speaker should be positioned with its top surface flush with the front speakers However you may place the speaker either on top or near the bottom of your TV set Place the subwoofer at any convenient location within the vicinity of the listening position Set the rear speakers further back parallel to the walls at 60 to 90 centimeters 2 to 3 feet above prime lis...

Page 18: ...T A L OFF range of 6 0 OFF range of 6 0 range of 6 00 6 range of 6 00 6 range of 6 00 6 Front Speakers L level R level Rear Speakers L level R level Center Speaker Rear Speakers Subwoofer Speaker You can adjust various settings by using their corresponding buttons on the remote control unit Selecting Dolby Pro Logic Converts Dolby Surround encoded 2 channel sound e g program material received by S...

Page 19: ...d tracks of the software encoded with DTS Digital Surround DTS Digital Surround is another discrete 5 1 channel digital audio format available on CD LD and DVD software Compared to Dolby Digital audio compression rate is relatively low This fact allows DTS Digital Surround format to add breadth and depth to the reproduced sounds As a result DTS Digital Surround features natural solid and clear sou...

Page 20: ...ess the Stop button to select the MANUAL mode on the front panel Press the button to tune to the desired station The frequency changes incrementally in either direction each time the corresponding button is pressed Auto Station 1 Auto Station 2 Manual Station 1 Select a broadcast station 2 Main Unit Press the Function button to select the desired band FM AM You can listen to the chosen band FM AM ...

Page 21: ...ears Picture does not appear sound is not produced the disc tray opens 2 5 seconds later Are the speaker cables loose Is there any dirt or debris at the end of the speaker connector Sound quality is irregular When listening to a CD or radio sound is output to the front speakers only L R Select the PRO LOGIC option by pressing the Pro Logic button on the remote control unit to use all six speakers ...

Page 22: ...condition The RESET function erases all settings do not use this function unless necessary The system is malfunctioning the system does not work or no sound Is the antenna installed properly When the antenna s input signal is weak install an external FM antenna in an area with good reception quality The desired radio station cannot be tuned in Problem Check You can play 16 9 wide DVDs in 16 9 WIDE...

Page 23: ... E R F M T U N E R A M O U T P U T V I D E O A M P L I F I E R 95W 5 8Kg 350 W x 80 H x 350 D mm 5 C 35 C 10 75 10dB 60dB 0 5 54dB 40dB 2 1 0Vp p 75Ω load Y 1 0Vp p 75Ω load Pr 0 70Vp p 75Ω load Pb 0 70Vp p 75Ω load Luminance Signal 1 0Vp p 75Ω load Color Signal 0 286Vp p 75Ω load 28W x 2 6Ω 28W 6Ω 28W x 2 6Ω 45W 3Ω 20Hz 25KHz 75dB 50dB AUX 500mV 5 1ch speaker system S P E A K E R Subwoofer speake...

Page 24: ...ansportation to and from the service centre is the customer s responsibility The original dated sales receipt must be retained by the customer and is the only acceptable proof of purchase It must be presented to the authorized service centre at the time service is requested Exclusions This warranty does not cover damage due to accident fire flood and or other acts of God misuse incorrect line volt...

Reviews: