4
Installing the G Track
Installing the G Track is a simple
procedure that takes just a few
minutes. Since the G Track is USB
compliant, you can use either a MAC
or PC, connect the included USB
cable and plug and play. You will be
able to control your G Track using
the standard audio interface controls
in the MAC or Windows operating
system. You will find detailed
instructions on setting up with MAC
OS and Windows in the following
sections of this manual.
Getting Started with Windows
XP
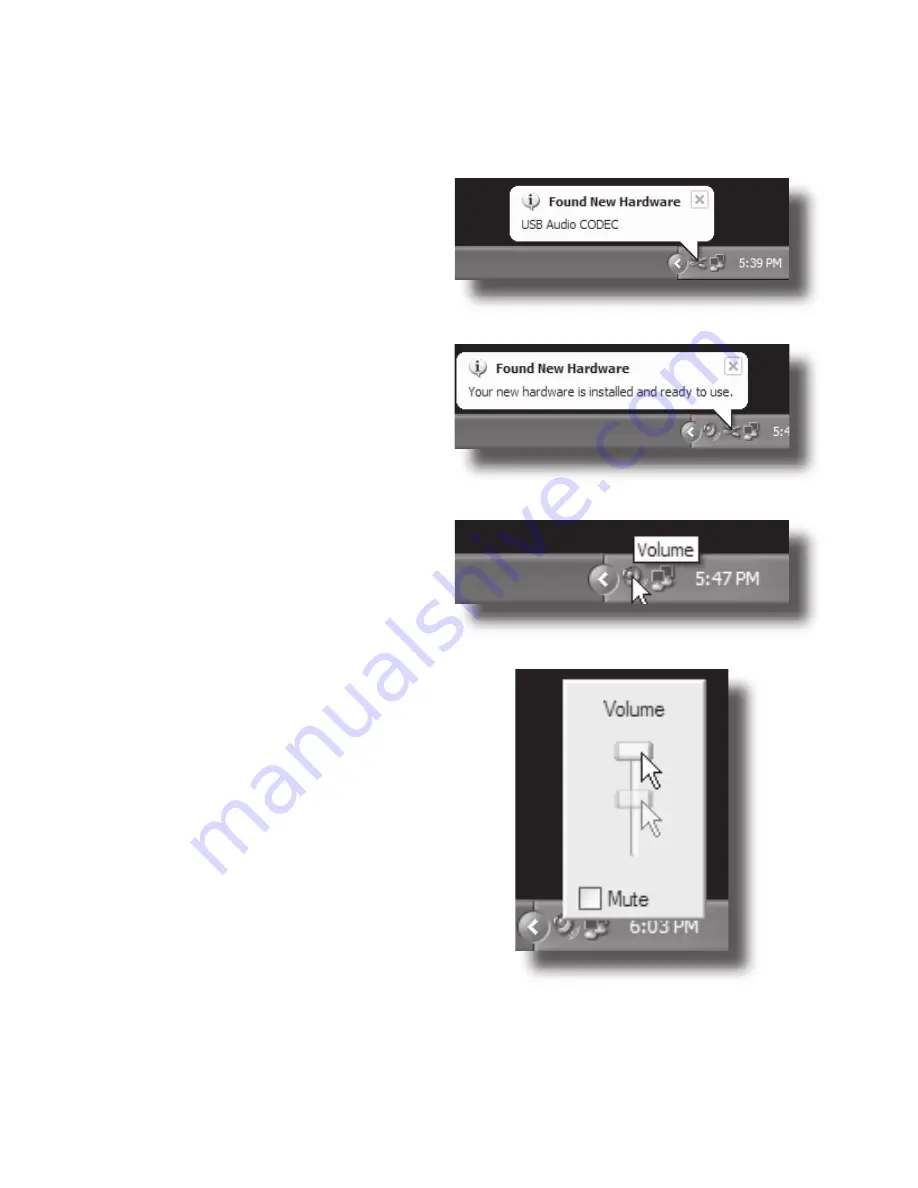
1. The first time you plug the G Track
into a USB port, Windows will
install the universal drivers for that
port. A balloon tip will pop up,
telling you it has found the USB
Audio codec (figure 1).
2. When it is finished installing
the drivers, it will say “Your new
hardware is installed and ready to
use” (figure 2).
Note: This balloon will not pop up
again for the same USB port.
3. Most of the time, you’ll want the
output volume from the computer
at the maximum position, but
sometimes it defaults to the
middle of the slider, making the
output very quiet. The volume can
be increased in several ways. The
simplest is to click the loudspeaker
icon (figure 3) in the system tray
and drag the slider to the top
(figure 4).
Figure 1
Figure 2
Figure 3
Figure 4
Summary of Contents for G Track
Page 1: ...C P U ...


