

Conference System User Manual
SAMCEN
29
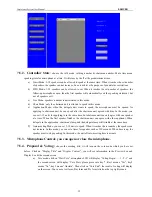
7.3.2.
Screen Management: set the second screen
The Sreen size, ForeColor, BackColor, Font Size and TextAlign can be set in this.
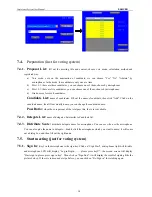
7.3.3.
Venue Designer
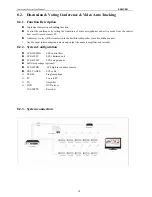
According to the actual layout of the venue, describes the venue seating arrangement situation to form an
intuitive and imagination controlled interface. It can meet the requirements of the small and medium-sized
conference room.
a)
Click and hold the left mouse button, you can move the microphone to the position where you want it.
b)
Create a new venue: ordinary or square venue
c)
Add and remove microphones
d)
Background: you can upload a picture for background from PC
e)
Remove microphone
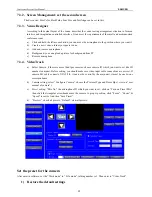
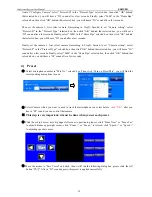
7.3.4.
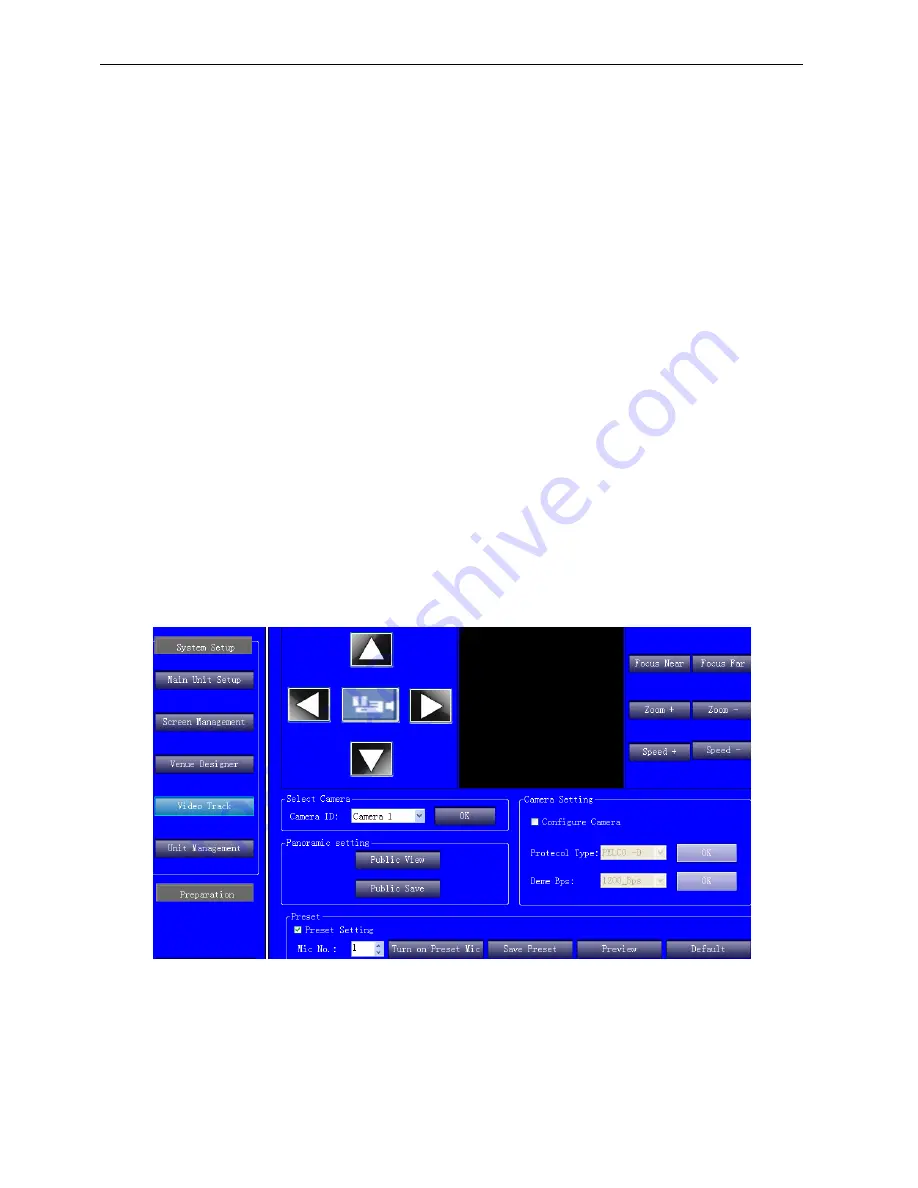
Video Track
a)
Select Camera: if there are more than 1pcs cameras, choose camera ID which you want to set (the ID
number is unique). Before setting, you should make sure video input cable connections are correct. If
camera 001 cable connects V-IN 2/3/4, it can not be control by the main unit, it must be one-to-one
correspondence.
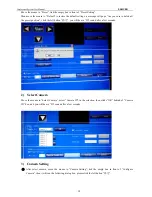
b)
Camera setting: select “Configure Camera”, choose the Protecol Type and Deme Bps ( view on “user
manual of camera”).
c)
Preset setting: “Mic No.” the microphone ID which you want to set, click on “Turn on Preset Mic”,
then click the triangular arrowheads move the camera to proper position, click “Focus”, “Zoom” &
“Speed” to resize. And then “Save Preset”.
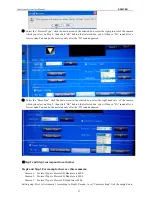
d)
“Preview”: check all presets. “Default”: clear all presets.
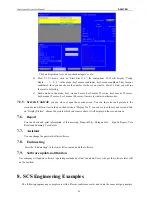
Set the preset for the camera
After enter in software, set the “Work mode” to “ Fifo mode”, talking number is 1. Then enter to “Video Track”.
1)
Restore the default settings


