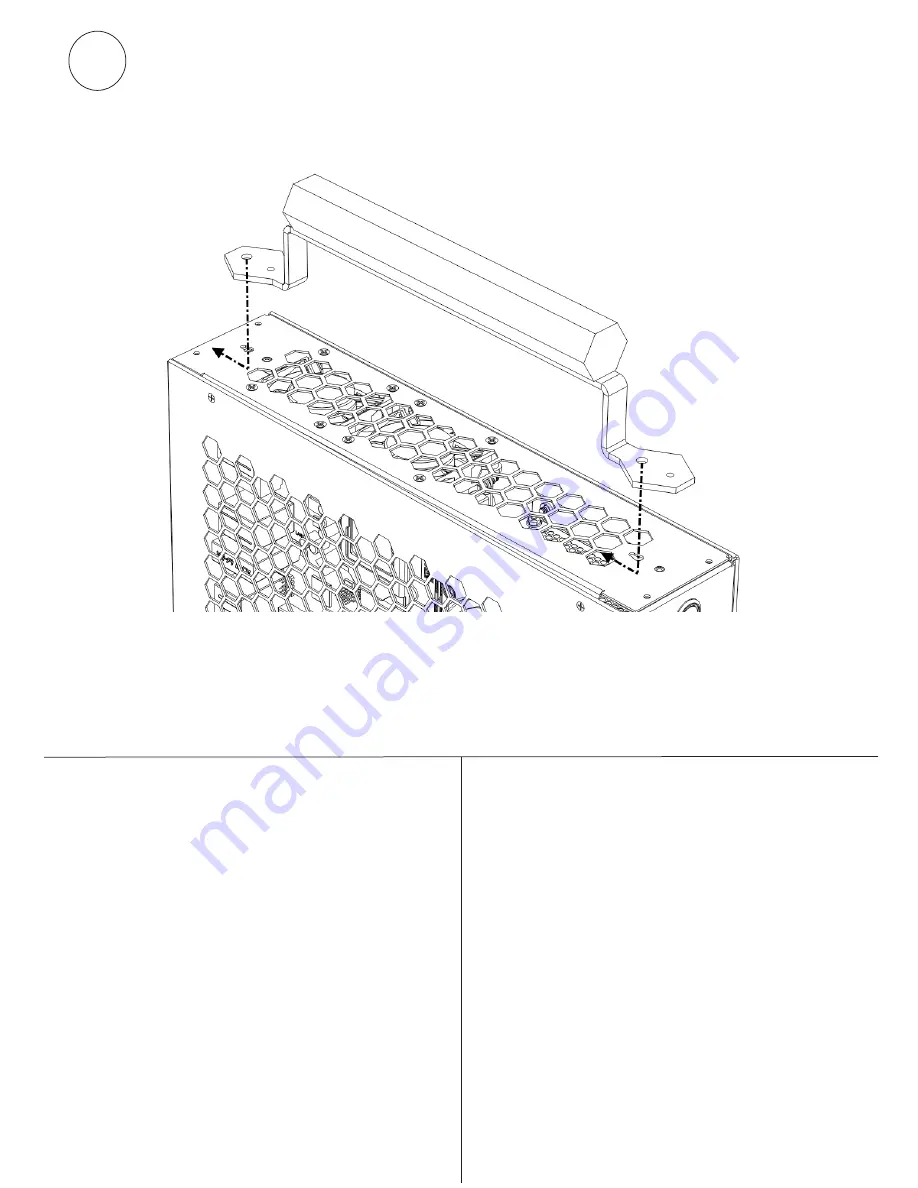
11a
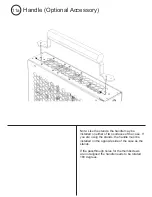
If the passthrough holes for the thumbscrews
are not aligned the handle needs to be rotated
180 degrees.
Note: Like the stands, the handle may be
installed on either of two surfaces of the case. If
you are using the stands, the handle must be
installed on the opposite side of the case as the
stands.
Handle (Optional Accessory)
Summary of Contents for S401
Page 1: ...S401 Quick Start Guide V1 1 ...
Page 3: ...x 4 Note Be sure to install mainboard I O shield before installing mainboard 2 Mainboard ...
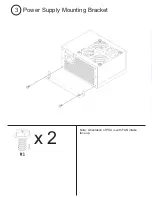
Page 4: ...x 2 Note Orientation of PSU is with FAN intake face up 3 Power Supply Mounting Bracket ...
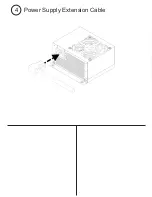
Page 5: ...4 Power Supply Extension Cable ...
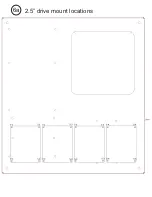
Page 8: ...6a 2 5 drive mount locations ...
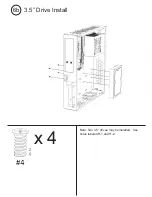
Page 9: ...x 4 6b Note Two 3 5 drives may be installed Use holes labeled H 1 and H 2 3 5 Drive Install ...
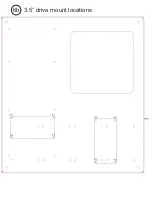
Page 10: ...6b 3 5 drive mount locations ...
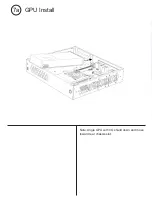
Page 11: ...7a Note Angle GPU with I O shield down and move toward rear chassis slot GPU Install ...
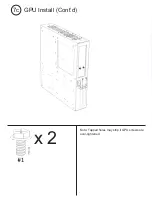
Page 13: ...x 2 7c Note Tapped holes may strip if GPU screws are over tightened GPU Install Cont d ...
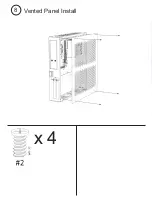
Page 14: ...x 4 8 Vented Panel Install ...
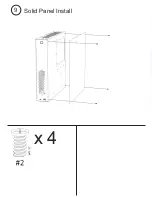
Page 15: ...x 4 9 Solid Panel Install ...
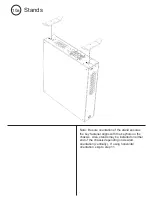
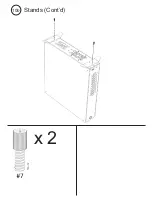
Page 17: ...x 2 10b Stands Cont d ...
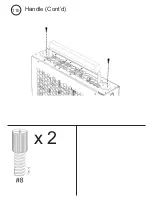
Page 19: ...x 2 11b Handle Cont d ...

