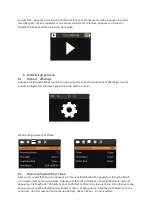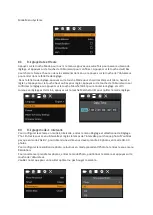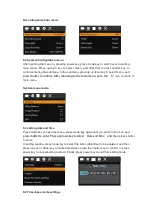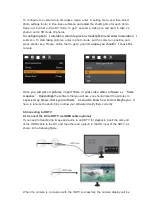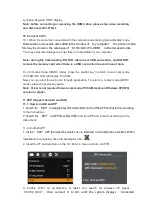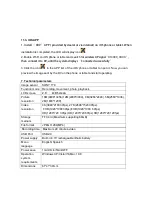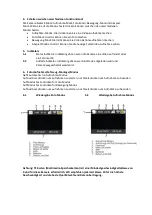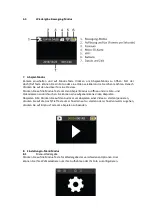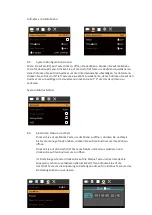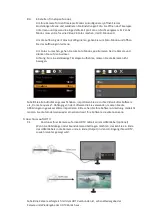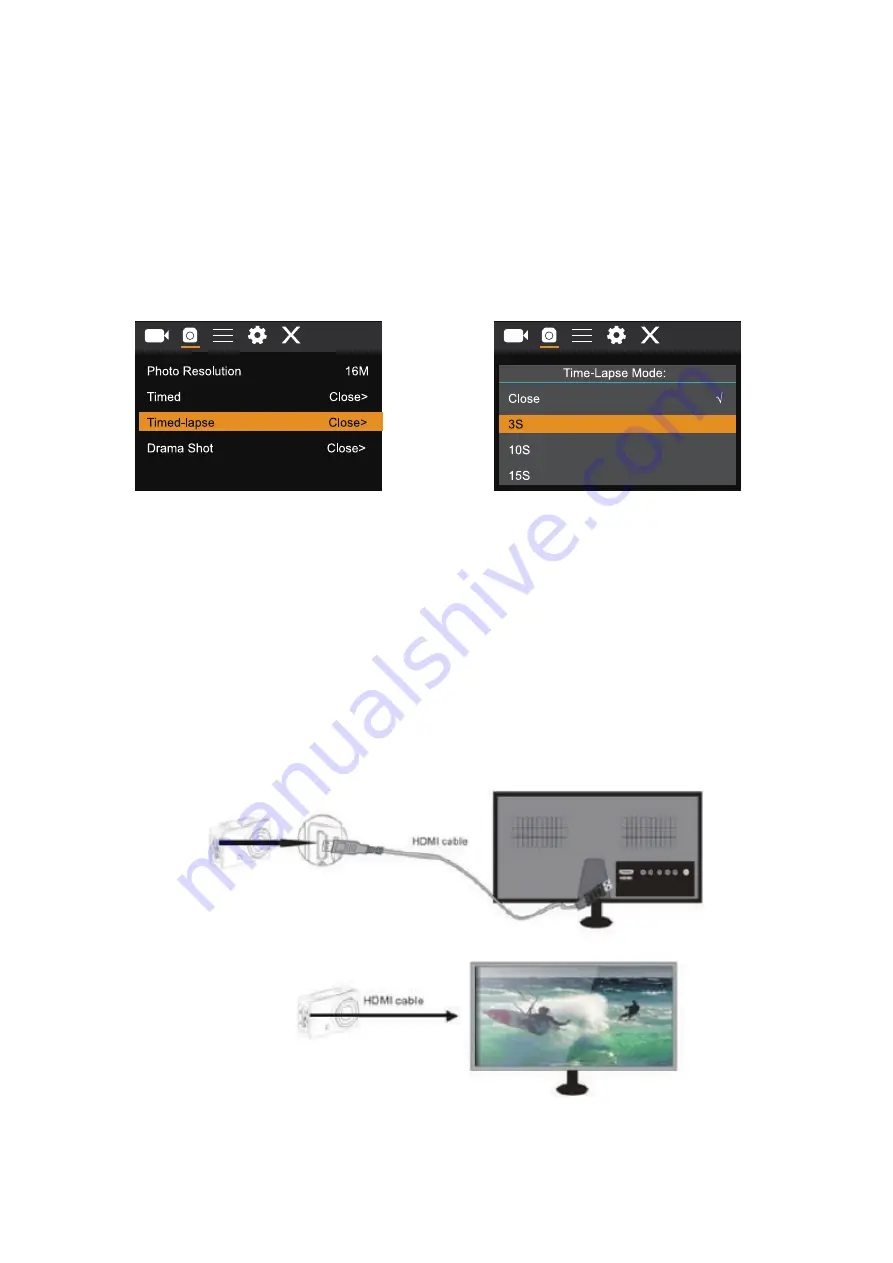
To configure the camera into time-lapse mode, enter in setting menu and then select
photo settings. Enter in time-lapse submenu and adjust the shutting time for each photo.
Keep in mind that in PAL-DV mode, to get 1 second in video you will need to take 24
photos; and in HD mode 30 photos.
To configure photo’s resolution, return to previous mode (photo) and enter in resolution’s
submenu. To start taking pictures, enter in photo mode, put the camera in position and
press shutter key. Please, notice that to get a good time-
lapse you shouldn’t move the
camera
Once you will get all pictures, import them in your video editor software as “frame
sequence”. Depending
on the software that you will use, you should import the pictures in
a special way; please, check your software’s manual to know how to do it. Maybe you’ll
have to rename the photo files to allow your software identify them correctly.
9.Connecting to HDTV
9.1 Connect the DV to HDTV via HDMI cable (optional)
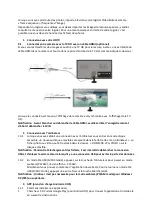
If you need to transfer the image and audio to an HDTV for playback, insert the com end
of the HDMI cable to the DV, and the other end (output) to the HD input of the HDTV, as
shown in the following figure:
When the camera is connected with the HDTV successfully, the camera display will be

