Chapter 3: Connectors & controls
18
Controls
3.2.3 Connecting cables
To connect the Control Panel, do as follows:
1. Connect an Ethernet cable to the LAN connector on the Control Panel. For 1
cable, use the lower LAN connector (Primary LAN). Both connectors work
in DHCP and zeroconf environments.
2. Connect the power cable to the PWR connector according to the description
in
DC Power input 12—24 V DC (PWR)
3. Connect the other end of the Ethernet cable to one of the LAN connectors
on the unit you want to control via the Control Panel.
When connected and powered, all the units are automatically set up to
communicate with each other in the Ethernet network.
3.3 Controls
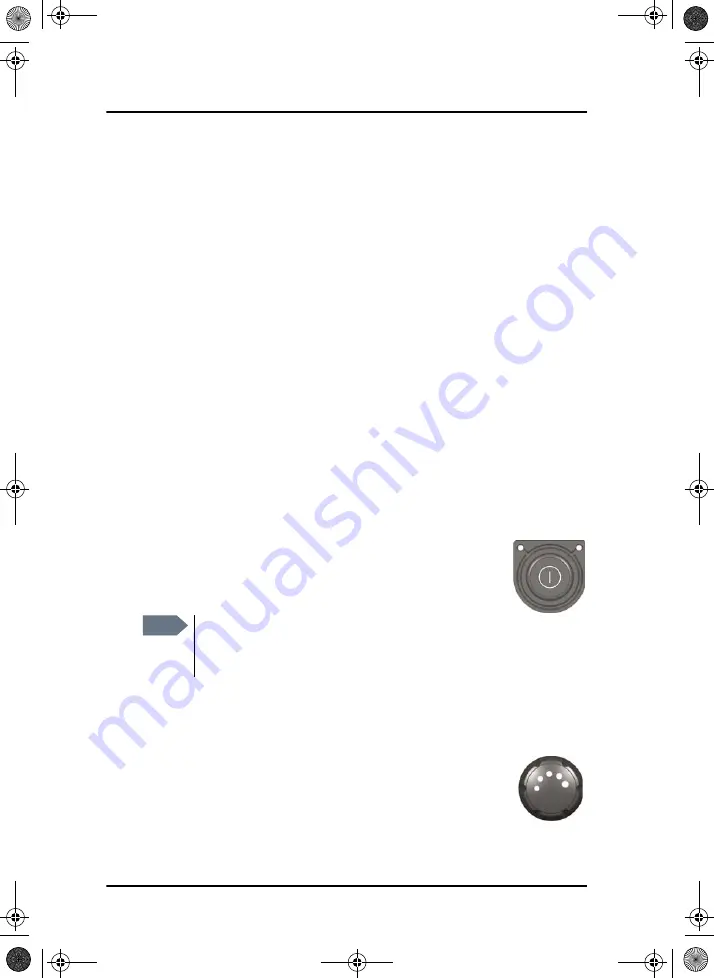
3.3.1 Power button
To switch on:
Push the button.
To switch off:
Push and hold for 2 seconds. If the Control Panel
cannot switch off normally (e.g. due to a fault): Push and hold
for 12 seconds.
3.3.2 Dim and night mode
Turn the dim knob to increase or decrease the display
brightness. The display goes into
night mode
either when
turning the dim knob on the front panel counterclockwise or
when the internal light sensor detects the light level for
changing to night mode.
Note
When the remote switch is used and the Control Panel is switched
on, you can only use the Power button on the Control Panel to
reboot the unit.
ControlPanel.book Page 18 Thursday, January 3, 2013 12:28 PM


