background image

RTI90-320/500 T2 HD UK

26

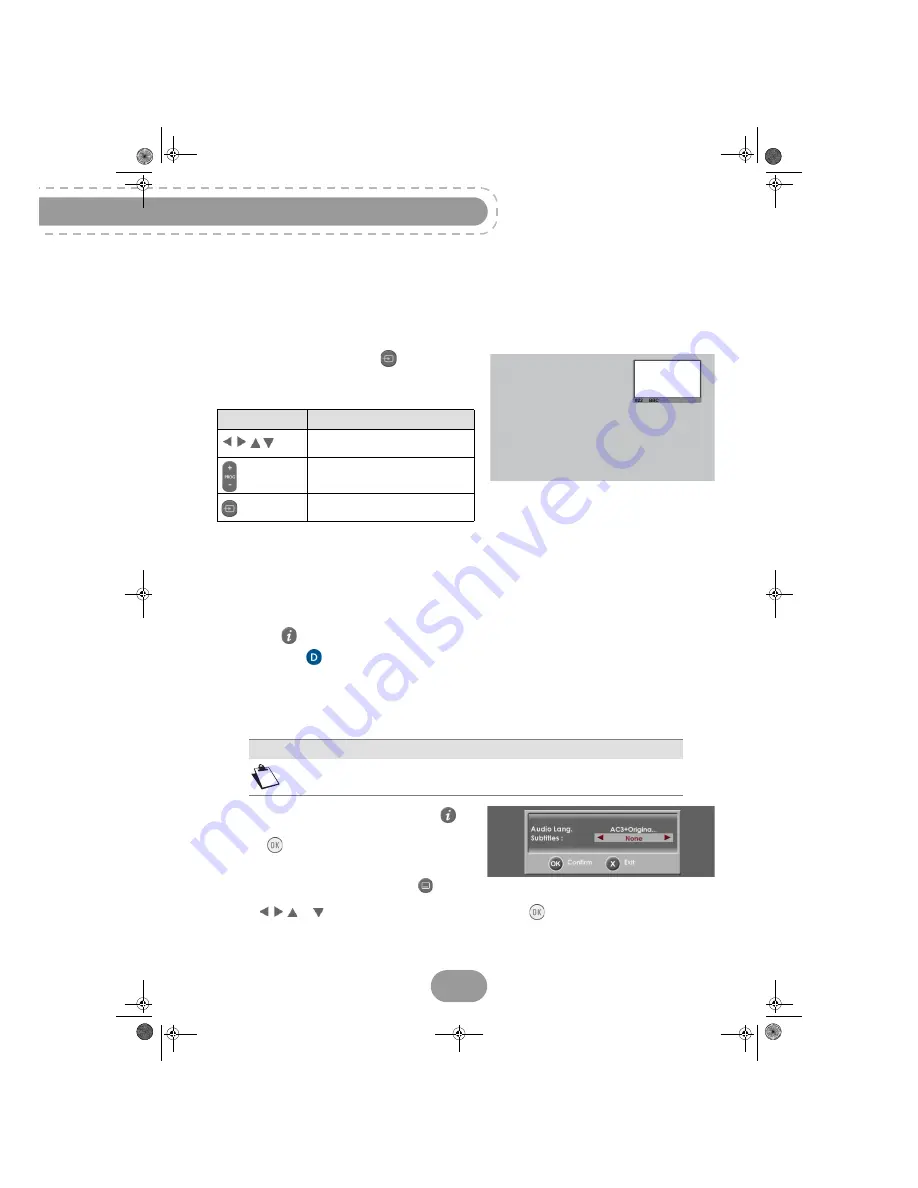
Using the Picture in Picture (PIP) feature

This feature allows you to watch a program on the full TV screen and to display at the same time
another program in an inset window.

Note that the sound is from the main program only.

To use the PIP feature, press the 

key.

An inset window is displayed.

The following actions are available:

Changing the favourites list

You can create and manage favourite channels lists in the 

Favourite lists

 menu (see page 47).

To switch from one channel list (main channel list included) to an existing favourite list:

press the 

key twice to display the detailed information banner,

press the 

blue


key to switch to the next available favourite list.

Repeat this operation until the favourite list of your choice is selected, or to return to the main channel
list.

Temporarily selecting audio languages and subtitles

While watching a programme, press the 

key

once to display the programme information banner.
Press the 

key to display the options banner.

You can also display the audio tracks, subtitles or
audio description screen by pressing the 

key.

Use the       or 

key to select your settings then press the 

key to confirm.

Use this key...

To...


move the PIP window in the 
main window.

change channel.

activate/deactivate the PIP 
feature.

Note

All modifications take place immediately. However, temporary adjustments are 
not retained when you change channel.

LU 253335051-B RTI90-320_500 T2 HD UK.book  Page 26  Jeudi, 13. octobre 2011  2:50 14

Summary of Contents for RTI90-320 T2 HD UK

Page 1: ...aft 1 2 13 10 11 User Manual Terrestrial High Definition Digital Television Recorder RTI90 320 T2 HD UK RTI90 500 T2 HD UK LU 253335051 B RTI90 320_500 T2 HD UK book Page 1 Jeudi 13 octobre 2011 2 50...

Page 2: ...gnetic interferences ensure the safety of users and their equipment and protect their health and minimize the impact of products on the environment The CE declaration of conformity can be viewed in th...

Page 3: ...starting 20 Conventions 20 Menus tree 21 6 Running your first installation 22 Language Selection 22 Country Selection 22 Video Settings 22 Parental code 23 Channel Search 23 7 Your receiver s main com...

Page 4: ...ing and managing favourite lists 47 Receiver settings 48 Information Menu 51 11 Troubleshooting 53 Using the receiver 53 Updating the software 54 12 Customer Support 55 13 Guarantee Terms 56 14 Specif...

Page 5: ...ackage contents Your new equipment includes Item Description 1 1 High Definition Digital Television Recorder DTR 2 1 power supply unit power adapter and power cord 3 1 remote control with 2 batteries...

Page 6: ...play Shows the current time when the recorder is in standby Shows the programme number when the recorder is on Shows hard disk activity recording in progress programme playback 6 P Change channel Up I...

Page 7: ...is by default deactivated Becomes active when Audio description is activated in your User Preferences and allows then to set Audio description on the current programme see section Setting your languag...

Page 8: ...rnings and safety instructions NEVER OPEN THE RECORDER OR THE POWER SUPPLY UNIT YOU RISK GETTING AN ELECTRIC SHOCK Use only the power supply unit supplied with the recorder to connect it to the mains...

Page 9: ...cts on the power cord and never pull on it or fold it This may cause a risk of fire or electric shock Ensure that the recorder never lies on the power cord or any other cables Never place objects on t...

Page 10: ...SB Storage devices Please wait until the recorder or the multimedia file application is in standby mode before disconnecting your storage devices Else you could lose data or damage your storage device...

Page 11: ...ing please respect the sorting rules set up locally for this kind of waste If your product contains batteries they must be disposed of at appropriate collection points European regulations ask you to...

Page 12: ...ecycling centres The batteries of the remote control can be removed simply Note When the batteries of the remote control are worn out please dispose of them at a collection point and not with househol...

Page 13: ...fficult or even impossible to receive The problem can only be resolved by changing the antenna if your building is equipped with a common antenna which contains selective filters devised for analogue...

Page 14: ...pplied into the ANTENNA IN input connector on your recorder 1 You can connect the RF output connector of your recorder to the antenna input of the television set or VCR DVD recorder cable not supplied...

Page 15: ...tor of your recorder to the HDMI connector on your television set cable supplied 1 To connect other devices to the recorder VCR home theatre cinema refer to the following pages 2 Connect the power ada...

Page 16: ...or not supplied 1 To connect other devices to the recorder home theatre cinema refer to the following sections 2 Connect the power adapter to the power cable Then connect the power cable into the 12V...

Page 17: ...CR DVD recorder See the diagram below to connect your recorder to a VCR DVD recorder Note If your VCR DVD recorder has more than one SCART connector choose the TV or EXT1 socket LU 253335051 B RTI90 3...

Page 18: ...of your recorder to the digital audio coaxial input of your home theatre amplifier Dolby Digital Plus is one of the latest innovations of Dolby Laboratories in high quality digital audio Compatible w...

Page 19: ...of the digital quality sound and listen to radio channels with the TV turned off just connect the right and left audio outputs of the recorder to the auxiliary input of your hi fi system cable not sup...

Page 20: ...f proposed in the current screen OK to confirm and EXIT to exit the screens Menus presentation To ease the reading the way to access a menu is described in this manual as follows MENU Menu Submenu For...

Page 21: ...ograms Guide Receiver settings Automatic channel search Manual channel search Video settings Audio settings Network settings Reset factory default Technical information Antenna signal information Prod...

Page 22: ...country with the or key Press the key to continue Video Settings 5 Select the settings better suited to your needs Use the up and down keys to highlight a setting use the left and right arrows to sele...

Page 23: ...ting the installation arise please contact your retailer or the Sagemcom Hotline UK Hotline 08450 900 316 Note The parental code is used to lock access to the recorder and channels Make sure you remem...

Page 24: ...while watching a programme You can set the display time of the information banner in your User Preferences see section Setting your User preferences page 45 A Channel number and name B Name of progra...

Page 25: ...L and VOL to turn the volume up and down Mute mode Use the key to turn the sound off Press the same key again to turn the sound back on Use this key To view information on the next current programme s...

Page 26: ...the blue key to switch to the next available favourite list Repeat this operation until the favourite list of your choice is selected or to return to the main channel list Temporarily selecting audio...

Page 27: ...ervices Whenever Teletext or interactive services are available news local weather information etc an invitation to press the red key appears on screen You can then press the key on your remote contro...

Page 28: ...To red toggle between the Grid and List display modes select a channel programme You can also directly enter the channel number on the remote control Info see extended information on a programme zap...

Page 29: ...ewind You can rewind by pressing the key You will then see the Deferred Live delay increase By pressing the key several times you can increase the rewind speed up to 300 times the normal speed Therefo...

Page 30: ...live programme 1 Select the desired channel 2 Press the key The name of the channel channel being recorded is displayed on the screen The recorder will by default record the programme until its annou...

Page 31: ...very day from Monday to Saturday Daily Mon Sun at the scheduled time every day and every week 4 Enter the recording Date 5 Enter the recording Start and End time 6 If you want to PIN lock access to th...

Page 32: ...ame list mode become red and the icon is added in the summary field 4 Repeat the operation for all the programmes you want to record If a recording is conflicting with another recording scheduled at t...

Page 33: ...genre of the recorded programme you may be asked to enter the parental PIN code before you can play it The following actions are available in Play mode Accessing Locked Recordings If you want to acces...

Page 34: ...ress the green Select key The icon appears next to the recording 3 Perform the same action to select other recor dings 4 Once all the desired recording are selected press the red Options key to access...

Page 35: ...t Move New folder and validate with the key 3 Use the keys to select the new location 4 Press the yellow key to start transfer the selected recording s 5 Press the key to confirm Erasing recordings 1...

Page 36: ...the key A confirmation message appears onscreen 5 Select Yes and press the key to confirm The merged recording will carry the title of the second recording Exporting recordings with USB storage device...

Page 37: ...only 1 Select the recording s to import 2 Press the red Options key and choose Video importation The USB tree appears onscreen 3 Select the recording s location in the USB tree 4 Press the yellow key...

Page 38: ...n displays the selection window of the devices available You can at any time exit the selection window of the media list and return to the channel viewed earlier by pressing the key Navigating in the...

Page 39: ...ed element Selected elements appear with the icon select a series of files and or folders which are continuous 1 Select the first element of the series then press the green key 2 Hold for more than tw...

Page 40: ...rs The accepted signs are _ and To Proceed as follows Display a photo in full screen mode Select the photo file and press the key Display the photo files in thumbnail mode Press the yellow Mode key se...

Page 41: ...e Media Manager the following options are available Use the key To display the Help screen browse through the image files move the focus of an image after a zoom display the name of the file the date...

Page 42: ...eys and to select the properties to modify Press the Edit and enter your modifications using the numeric keypad of the remote control Press the key to confirm the modifications Playlists The Media Man...

Page 43: ...ade to a playlist To edit a playlist 1 Go to the Play list display mode 2 Select the list to be edited in the right panel The corresponding files are displayed in the left panel Launching a playlist S...

Page 44: ...the Media Manager plays audio files track by track or in random mode Slide Show Loop set the manner in which the Media Manager displays the slideshows Display time set the display time of the photos i...

Page 45: ...available and in the selected subtitle main lan guage if available Setting your User preferences To set your user preferences 1 Go to User settings User preferences 2 Define the parameters as follows...

Page 46: ...meters as follows Receiver locking You can lock access to the receiver If you activate the receiver lock you will need to enter the parental code every time you switch the receiver on or want to acces...

Page 47: ...NU Favourite lists 2 Select an empty list list B to D and validate with the Confirm key 3 Select the type of lists you want to create TV or Radio list An edition screen appears 4 Highlight a channel i...

Page 48: ...hannel search 2 Press the key to launch the channel search A bar shows you the search progress 3 Once the search is complete select Yes and press the key to save the channel list Searching manually fo...

Page 49: ...een messages will be sent to the TV set In Receiver mode none of these operations are sent to the external recording device so that they do not affect your recordings Video Standard select the video s...

Page 50: ...ntal code and press the key A warning message appears 3 To cancel the operation press the or key To confirm the reset press the Confirm key Once the default settings are restored the receiver installa...

Page 51: ...ignal information This menu lets you find out the signal level and quality of your antenna for the currently watched programme If you use an active antenna with an amplifier and if you want the receiv...

Page 52: ...K 52 Customer support information Go to Technical information Support Help This menu provides information on your customer support if needed LU 253335051 B RTI90 320_500 T2 HD UK book Page 52 Jeudi 13...

Page 53: ...ls Check the antenna reception see section Antenna Signal Information page 51 Search for programmes see section Searching for channels page 48 Contact your antenna installer dealer for more informatio...

Page 54: ...stops but the time counter continues until the end of the scheduled recording time Make sure that you set your manual recordings with the correct end time For any other problem Perform a default facto...

Page 55: ...in the rare event that you have any problems with the product and need advice or support you can be confident that we will do our best to help you Our dedicated technical helpdesk can be contacted fro...

Page 56: ...e following sentence applies to purchases of equipment for the customer s trade business or profession Except as otherwise expressly provided in this Document and to the extent permitted by law Sagemc...

Page 57: ...malfunction of the line used by the subscriber or his correspondent transmission faults for example poor geographical coverage by radio transmitters interference or poor line quality the local networ...

Page 58: ...DRIVE Capacity 320 or 500 Gbytes depending on the model Interface S ATA Noise under operation typ 30dBA VIDEO DECODING MPEG2 Standard MPEG 2 MP HL for 50 Hz Input rates max 15 Mbit s MPEG 4 Part 10 H...

Page 59: ...of MPEG1 layer II stream Two channels PCM downmix in case of Dolby Digital Dolby Digital Plus HEAAC streams Multicanal audio set up Fixed audio level 31 dBLKFS Two channels PCM in case of MPEG1 layer...

Page 60: ...to change without prior notice Sagem Broadband SAS tries to ensure that all information in this document is correct but does not accept liability for error or omission Non contractual document All tr...

Reviews: