16
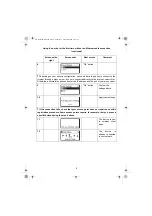
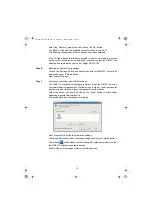
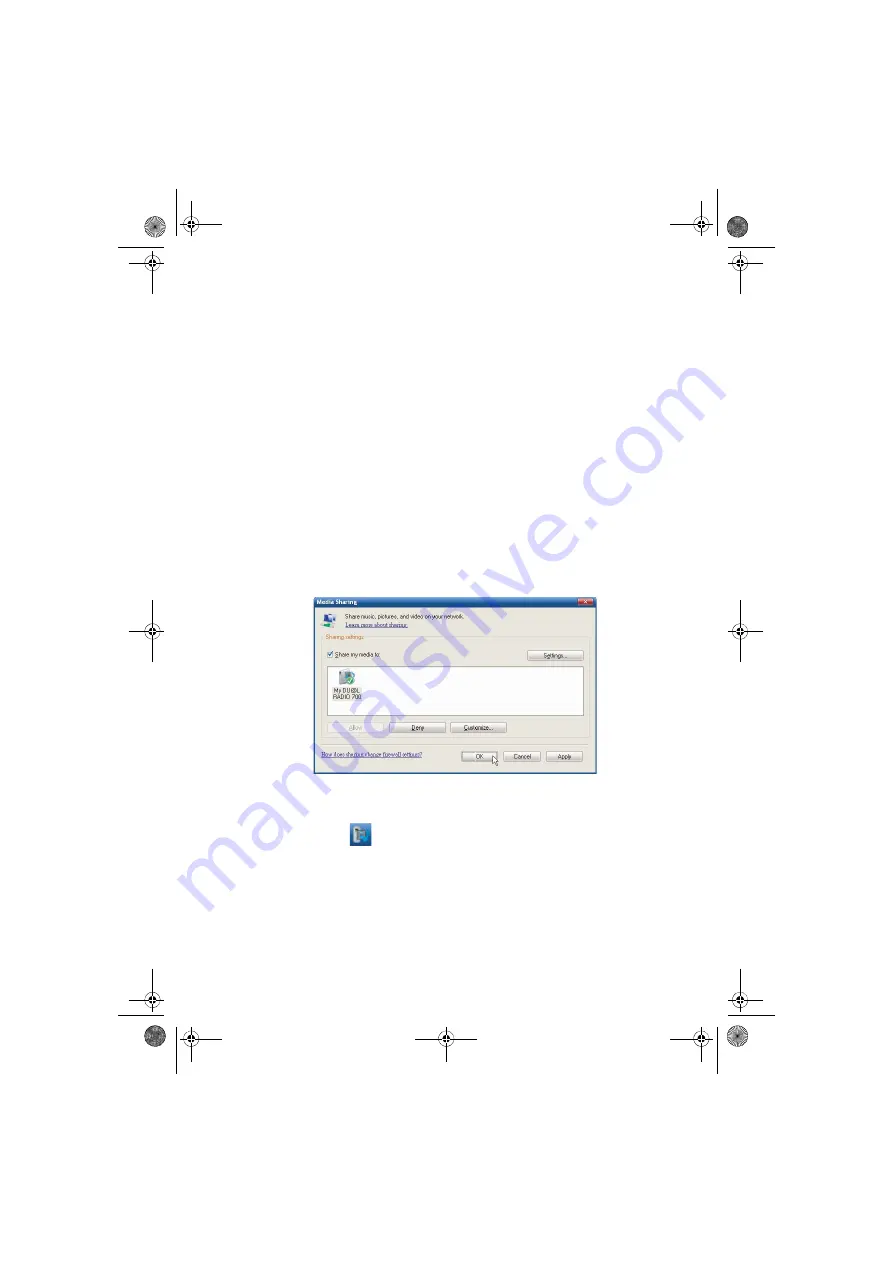
Select the "Share my media" box and click on the "OK" button.
The WMP11 will detect the available network devices in your LAN.
The following window shows that no devices have been detected.
If the IP Radio device is already connected to your home network, a screen
similar to the following may be displayed, showing you that the WMP11 has
detected a network device named "
My
DU@L RADIO 700".
Step 6:
Manage the media sharing settings.
Click on the "Settings" button, and specify the name of the WMP11 server to be
displayed on your IP Radio device.
Next, press OK to exit.
Step 7:
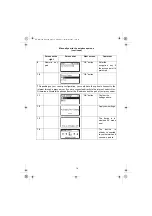
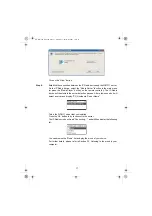
Authorize access from your IP Radio device.
The WMP11 access control settings are simple. When the WMP11 detects a
new network device (as shown on the final screen in Step 5), you need to decide
whether you want to allow or deny the requests from that device.
Select the device icon and then click on the "Allow" button to allow further
streaming requests from that device.
The device state icon will change accordingly.
Next, press the OK button to activate the settings.
There is an alternative means of access management for your network devices.
A small icon
will be added to the Windows XP status bar to inform you that
the WMP11 has detected network devices.
Double-click on it to manage the access for the devices.
QG Radio IP EN.book Page 16 Vendredi, 7. décembre 2007 10:37 10


