RYCO MINI CRIMPER Series Operation Manual Download Page 7

5

MINI CRIMPER SERIES OPERATION MANUAL
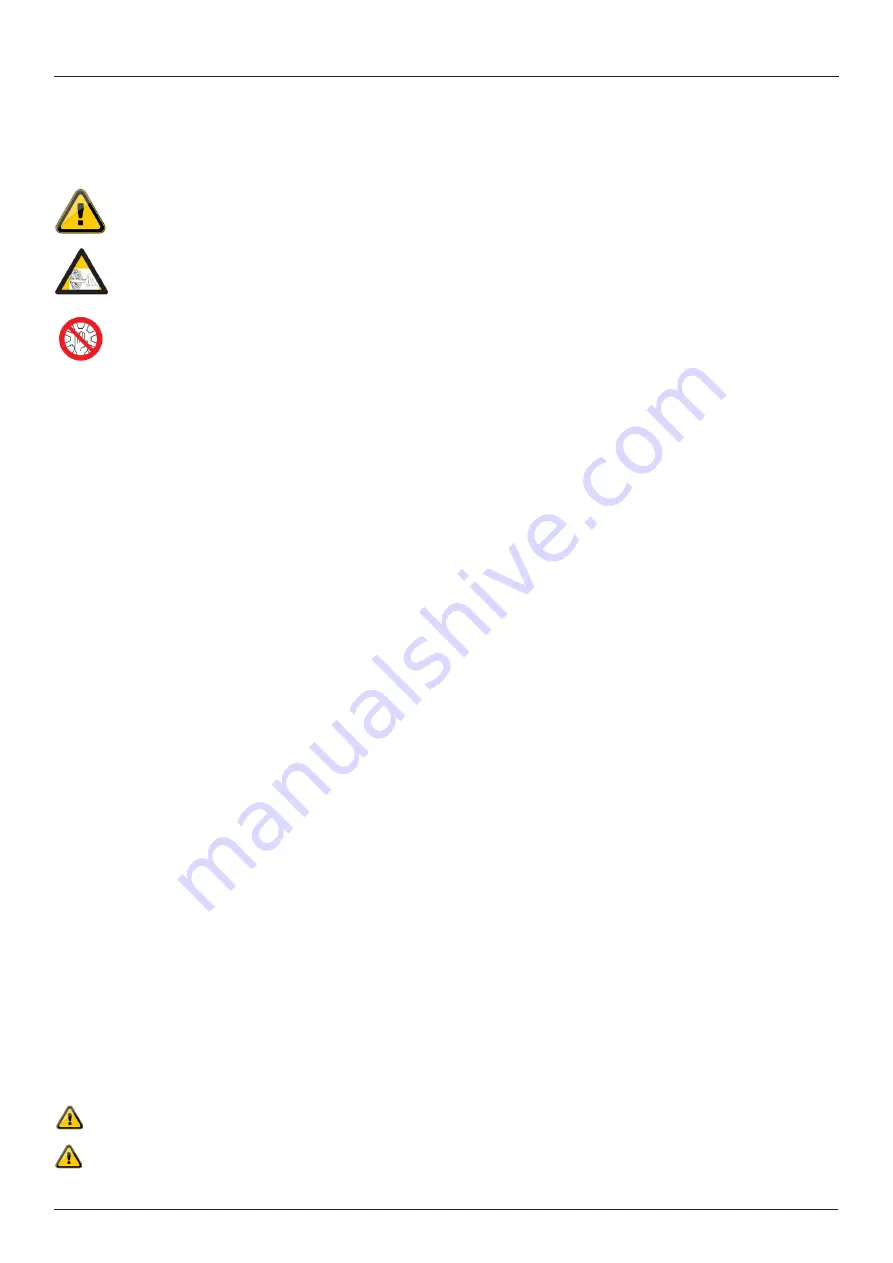
Danger Zones

General Warning Label


Pay particular attention to these items.

Crimping Hose Assembly Label


When crimping a hose assembly, hold the hose far enough away to avoid any pinch or crush zones.

No Hands Label


Do not put your hands in these areas while the motor is running.

SAFETY RULES

RY16

The machine consists of a chassis, crimping head and is delivered ready to use, packed in a wooden box on a pallet.

To ensure a safe and practical work environment the machines should be located in an area that provides
 

•   Adequate working space around the machine 


•   Sufficient lighting of the work area.

Equipment

GENERAL

The RYCO RY16 Crimper is designed for a max input pressure of 700 bar/10,000 psi. Do not exceed this input 

pressure. 

Appropriate Personal Protective Equipment (PPE) must be worn during hose making and maintenance activities.

• 

This pump should only be used by qualified, trained persons who are familiar with this equipment. 

• 

To avoid personal injury, keep hands and feet away from crimper and workpiece during operation.

• 

Do not exceed equipment ratings. Overloading causes equipment failure and possible personal injury. The crimper is 
designed for a max. pressure of 700 bar (10,000 psi). 

• 

Never Set the relief valve pressure above 725 bar (10,500 psi). Serious personal Injury could result if this maximum 
limit is exceeded. Damage to crimper pump and components may also occur.

• 

Keep hydraulic equipment away from flames and heat. Excessive heat will soften packings and seals, resulting in 
fluid leaks. Heat also weakens hose materials and packaging. For optimum performance do not expose equipment to 
a Temperature of 50°C (122°F) or higher. Protect hoses and cylinders from weld spatter.

Safety Notes

Hose Assembly

Should a hydraulic hose rupture, burst or need to be disconnected,  immediately shut off the pump and shift the control 
valve to release all pressure. 

• 

Never grasp a leaking pressurized hose with your hands.

• 

Always keep the hose away from fire, sharp surfaces, heavy impact and extreme heat or cold. Never kink, twist, curl 
or bend the hose so tightly that the oil flow within will be blocked or reduced. 

• 

Always inspect the hose for wear periodically, as any of these conditions can damage the hose and possibly result in 
personal injury. 

• 

Hose material and coupling seal must be compatible with the hydraulic fluid used.

• 

Hose must not come in contact with corrosive materials.

• 

Never paint a coupling, hose will deteriorate due to toxic materials.

• 

Never use the hose to move attached crimper*. Stress can damage the hose and may cause personal injury. 

Summary of Contents for MINI CRIMPER Series

Page 1: ...OPERATION MANUAL MINI CRIMPER SERIES CONNECTING PARTNERSHIPS FOR MODELS RY16 October 2018 Version v1 0...

Page 2: ......

Page 3: ...g the Crimp Diameter 7 Crimp Range Chart 8 Operating the RY16 8 Crimping 8 Changing the Die Set on RY16 8 Maintenance 8 HYDRAULIC HAND PUMP 9 Operating Instruction 9 Installation 9 Pump Operation 10 O...

Page 4: ...performed by an authorised service technician Store this manual and keep it in good condition for future use Contact your nearest authorised RYCO distributor for replacement manual or additional info...

Page 5: ...uld be performed using procedures outlined herein Insert 9V Battery not included in battery holder Push red test button to check battery power and LED crimp light illuminates Check RYCO logo safety la...

Page 6: ...d using third party die sets will be solely at users own risk and void any warranties and all liability on RYCO s behalf Read the instructions thoroughly for secure safe and correct operation of machi...

Page 7: ...a max pressure of 700 bar 10 000 psi Never Set the relief valve pressure above 725 bar 10 500 psi Serious personal Injury could result if this maximum limit is exceeded Damage to crimper pump and com...

Page 8: ...should not be relied on to protect the crimper during initial use Prior to commissioning the machine should be greased according to operating Instructions Greasing of the master dies is critical to en...

Page 9: ...3 three clockwise rotations until 3 three on the scale and the 2 two on the dial is lined up with the zero 0 line on the scale The set crimping measurement values can differ slightly from the actual c...

Page 10: ...ecessary Operating the RY16 Changing the Die Set on RY16 1 Retract the crimper completely by depressing the hand pump or foot valve 2 Isolate the airline from the foot valve to ensure the crimper cann...

Page 11: ...mbly to your crimper Venting This RY16 HP hand pump is designed for non vented operation The oil fill plug can be loosened if needed to vent air from the system but should be closed before using the p...

Page 12: ...s of stroke Pump Operation Two Stage Flow Under no loading the pump operates in the high flow stage for fast advance When the load is contacted the pump shifts automatically to the low flow stage to b...

Page 13: ...If oil level is low add additional oil until oil level reaches the bottom thread of the oil fill plug opening IMPORTANT Do not overfill Some air space must be present in reservoir to allow proper ope...

Page 14: ...oil 5 Release valve not fully closed Close the release valve completely by hand Crimper closes but not holding pressure 1 System components leaking Check all connection are fully tightened 2 Fluid le...

Page 15: ...essure Attention Due to the risk of personal injury or damage to pump and crimper do not adjust the pressure relief valve to more than 700 bar 10 000 psi The pump is operated by a foot pedal on top of...

Page 16: ...to the left away from the micro switch 11 After the correct crimp diameter is achieved re tighten the lock nut 1 without rotating the adjusting sleeve 2 12 Replace the Vernier protective cover plate...

Page 17: ...s through a 20 filter because new oil in drums is not pure Oil Change Master die springs are wearing parts and therefore have to be replaced after every 100 000 crimps To replace the springs special t...

Page 18: ...7 On Request HANDLE 1 8 On Request NUT 1 9 On Request SCREW 1 10 RY16 LED RY16 CRIMP LED LIGHT 1 11 RY16 LPB RY16 CRIMP LIGHT PUSH BUTTON 2 12 RY16 BATCOM BATTERY COMPARTMENT 1 13 ON REQUEST NIPPLE 1...

Page 19: ...On Request PISTON 1 3 On Request FRONT FLANGE 4 4 RY16 MDSET MASTER DIE SET SUIT RY16 1 5 RY16 RSK RETURN SPRING KIT PK10 RY16 1 6 On Request SCREW 20 7 8 9 10 RY16 SK SEAL KIT SUIT RY16 1 11 RY16 MD...

Page 20: ...way Co 217 Richmond Road Richmond SA 5033 BRISBANE 97 Northlink Place Northgate QLD 4013 BLACKWATER 6 Jarrah Street Blackwater QLD 4717 NEWCASTLE 14 Ironbark Close Warabrook NSW 2304 PERTH 47 Tacoma C...

Reviews: