1
INSTRUCTIONS & WARRANTY
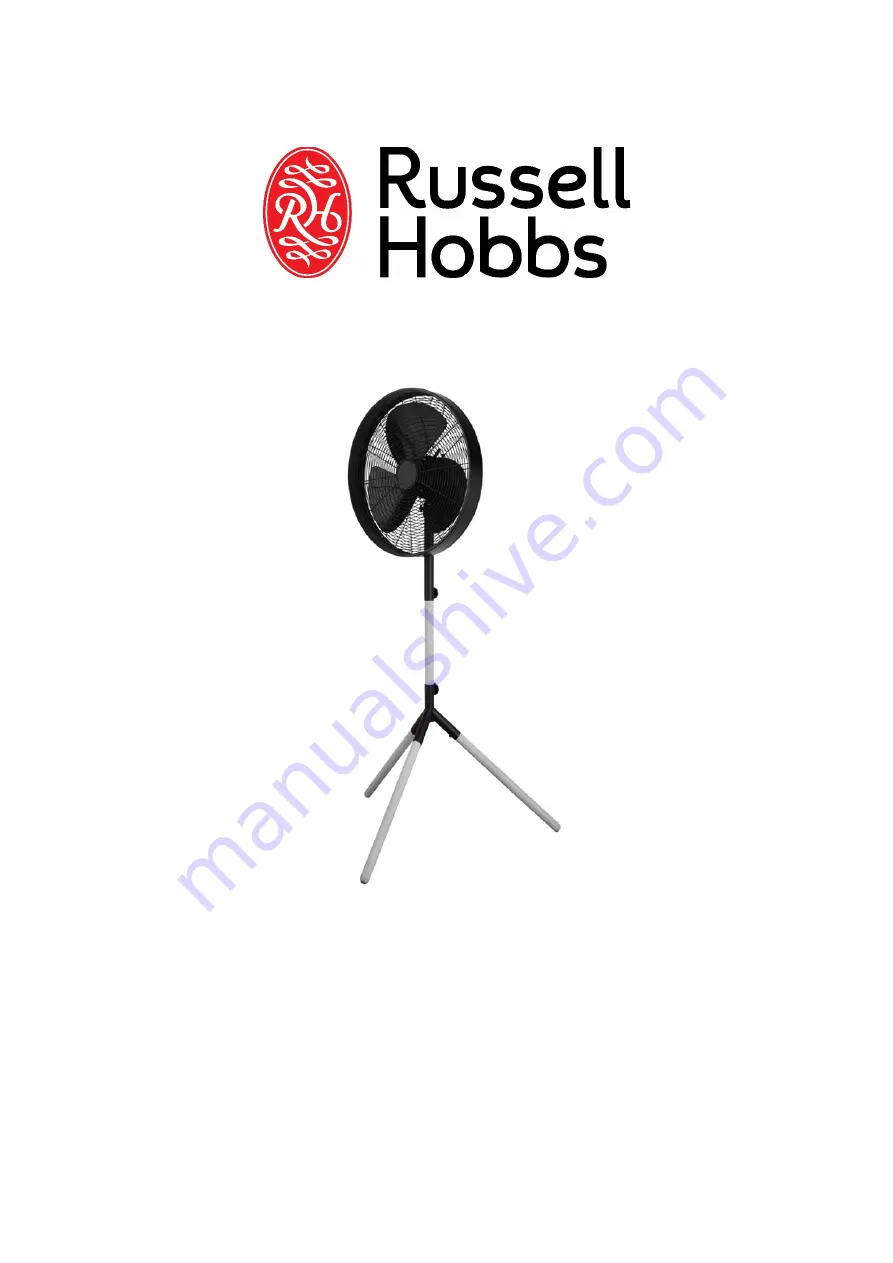
MODEL NO: RHMPF4
RUSSELL HOBBS METAL PEDESTAL FAN
Page 1: ...1 INSTRUCTIONS WARRANTY MODEL NO RHMPF4 RUSSELL HOBBS METAL PEDESTAL FAN...
Page 2: ...uction manual 3 Always ensure that the voltage on the rating label corresponds to the mains voltage in your home 4 Incorrect operation and improper use can damage the appliance and cause injury to the...
Page 3: ...and invalids 19 Check the power cord and plug regularly for any damage If the cord or the plug is damaged it must be replaced by the manufacturer or a qualified person in order to avoid an electrical...
Page 4: ...entioned pre cautions and instructions could affect the safe operation of this machine 30 The fan should be placed on a flat and stable surface when operating to avoid overturning PARTS DIAGRAM 1 Fan...
Page 5: ...m the leg post coupling until they are sticking out approximately 4mm from the top of the nuts as shown below Whilst holding the leg post coupling upside down take a wooden leg and insert the flat end...
Page 6: ...all the way down This is very important as it ensures the head of the fan is positioned over a leg for maximum stability Tighten the post securing knob clockwise into the hole in the side of the post...
Page 7: ...e the slot is located in the wooden post Turn the height adjustment knob clockwise so that the screw thread is located inside the slot Allow the assembly to slide down to the bottom of the slot and th...
Page 8: ...l depression on the other as shown The side with the open slot is for the small tilt range screw to screw into The side with the small depression is for the tilt range knob to tighten up onto Take the...
Page 9: ...nd just nip it up Using a screwdriver screw in the small tilt range screw and tighten it Next screw on the tilt adjustment knob as shown and just nip it up OPERATING INSTRUCTIONS Remove the cable tie...
Page 10: ...hten the knobs tight To adjust the height of the fan head loosen the height adjustment knob enough to allow the head to slide up and down the wooden post within the slot When at your desired height ti...
Page 11: ...o clean the blade and grille assembly first remove the front grille cowl assembly by unscrewing the small screws around the edge of the rear safety grille 3 Never spray with liquids or submerge the fa...
Page 12: ...lt the retailer for possible repair or replacement If the retailer fails to resolve the problem and you need to return the appliance make sure that The unit is packed carefully back into its original...
Page 13: ...13 Connect a three pin plug as follows The wires in this mains lead are coloured in accordance with the following code Green Yellow Earth Blue Neutral Brown Live...
Page 14: ...the product in terms of this warranty subject to legislative requirements This warranty shall be valid only where the customer has not broken the product himself or used the product for something that...