18
Aspect Ratio
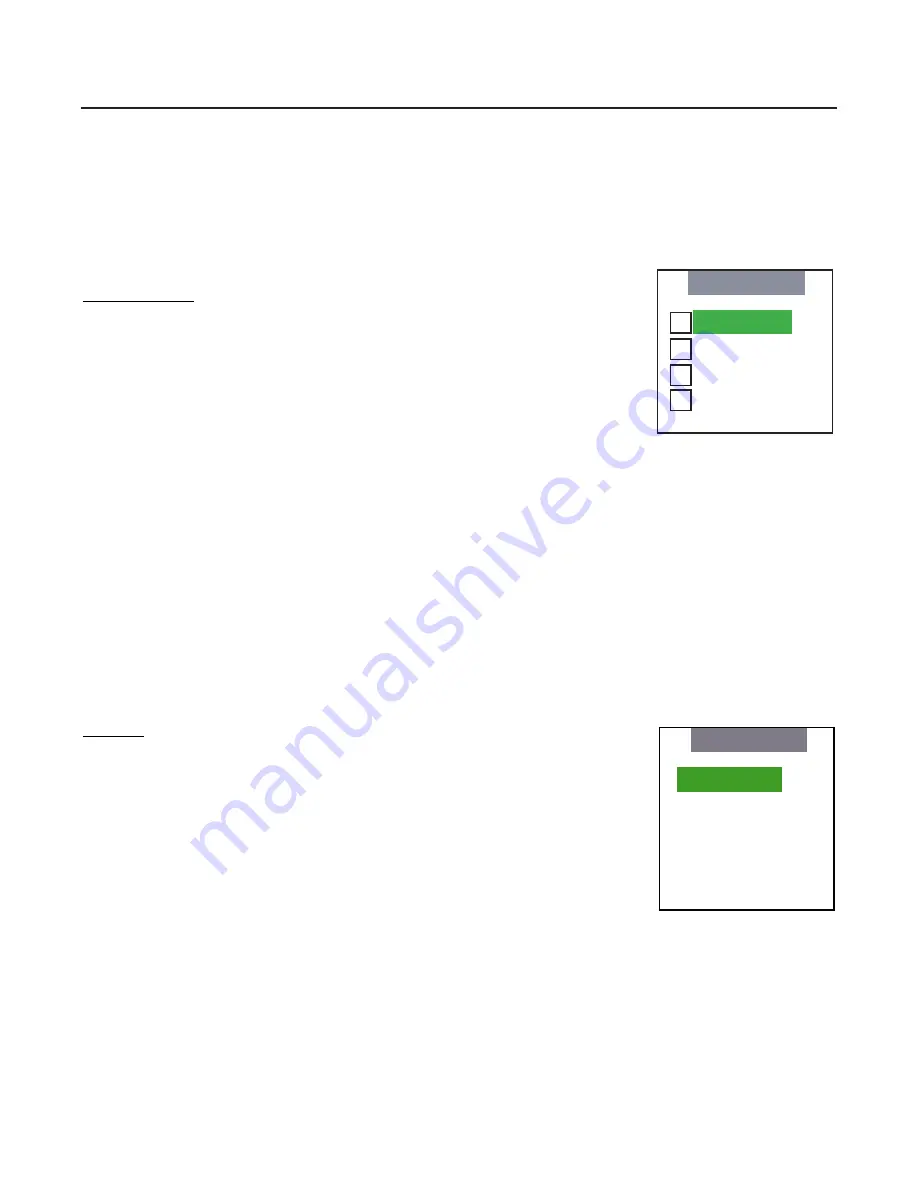
provides selection of one of four aspect ratios: Anamorphic, Standard 4:3, Letterbox or
VirtualWide. To select an aspect ratio via the main menu, press either the up and down buttons on the
remote or front panel, highlight ASPECT RATIO and press ENTER. The aspect ratio menu will then
appear with the four choices; highlight the desired aspect ratio with the up or down buttons and press
ENTER. Otherwise, you may select an aspect ratio by pressing either the up or down arrow buttons (on
the remote or front panel) when no menus are on-screen, or by pressing one of the direct access
buttons on the remote control.
Aspect Ratio
Indicates selection has been made for the Aspect Ratio selection menu
•
Press ENTER to select the Anamorphic Aspect Ratio
•
Press ENTER to select the Standard 4:3 Aspect Ratio
•
Press ENTER to select the Letterbox Aspect Ratio
•
Press ENTER to select the VirtualWide Aspect Ratio
Picture
quality adjustments are the controls that change different parameters of the image such as the
amount of color, black level, etc. While these adjustments can be set to suit the needs of the user, there
is a way to set these properly. This section will describe what each function does and how to adjust them
properly.
To access the picture quality adjustments, press MENU and over the cursor down to Picture (indicated
by the green highlight) and press ENTER. The picture quality sub-menu will then appear.
To make an adjustment to a particular function, highlight the function with the up or down arrow buttons
and press ENTER. Once the function is on-screen (i.e. brightness), pressing the UP arrow button on the
remote or front panel will increase the value of that function; pressing the DOWN arrow on the remote
or front panel will decrease the value of that function.
Picture
Indicates selection has been made for the Picture selection menu
•
Press ENTER to allow the increase and decrease of image Brightness with the
LEFT and RIGHT arrows.
•
Press ENTER to allow the increase and decrease of image Contrast with the
LEFT and RIGHT arrows.
•
Press ENTER to allow the increase and decrease of image Color with the LEFT
and RIGHT arrows.
•
Press ENTER to allow the increase and decrease of image Tint with the LEFT
and RIGHT arrows.
•
Press ENTER to allow the increase and decrease of image Sharpness with the
LEFT and RIGHT arrows.
NOTE:
A BLUE FILTER must be used so only the blue color bars can be seen on a standard color bar
test pattern. Blue filters are provided with the Video Essentials or AVIA test DVDs.
Aspect Ratio
Anamorphic
Standard 4:3
Letterbox
VirtualWide
X
Brightness
Contrast
Color
Tint
Sharpness
Picture
Summary of Contents for Reflection VX-1000d
Page 3: ...2...


