


RDC7132G User manual V1.0
SHENZHEN RUIDA TECHNOLOGY
26
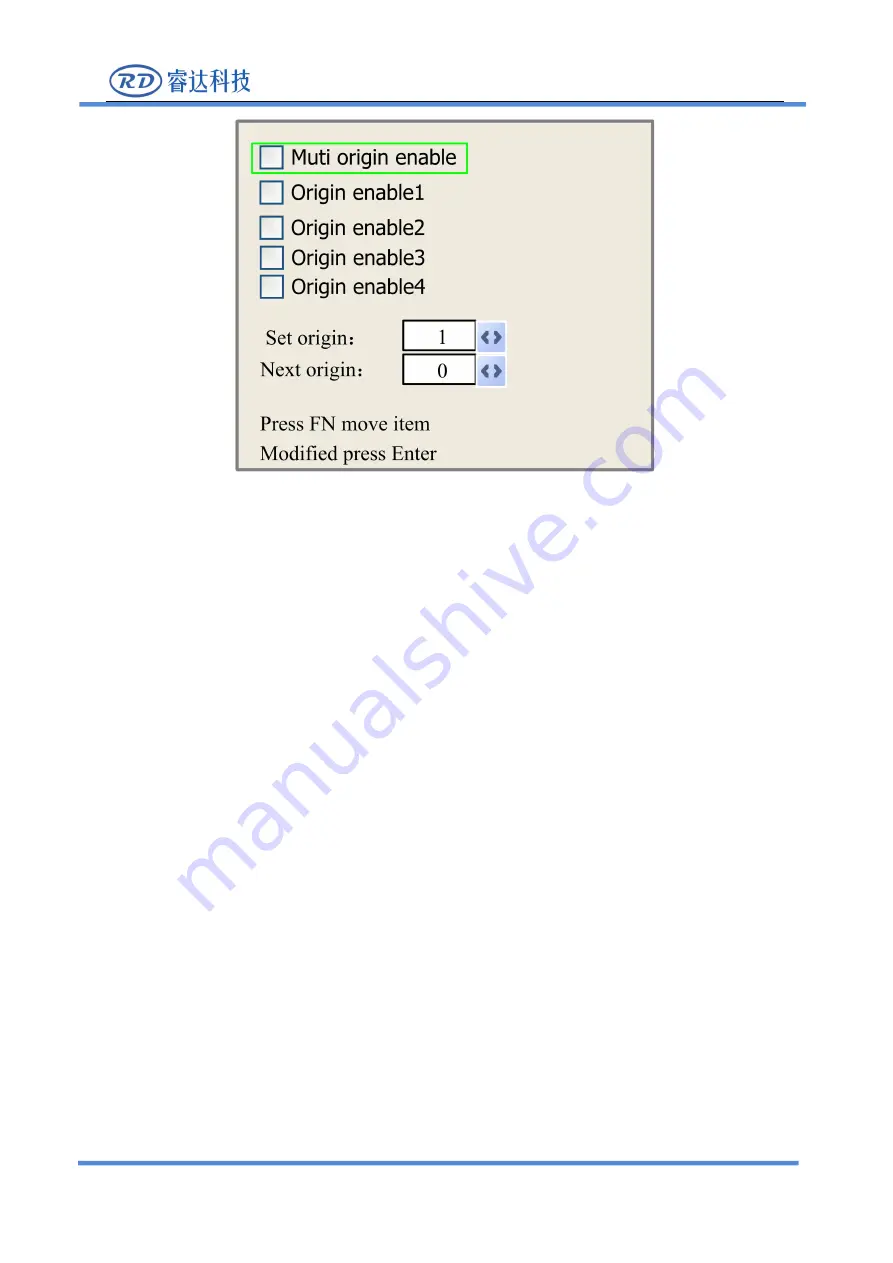
Press "FN" to move the light blue cursor to the corresponding modification item. When the light blue
square is on the registration point enable item, press "ok" to select or not to select the enable item. When
the light blue cursor is in the set to anchor point and next anchor point entries, press the X+/- key to
select. When selecting on the set as anchor entry, the parameter must be pressed ok to take effect. After
modification, the parameters are automatically saved when the interface is closed.
The sub-items are described below
:
Multiple anchor point enable: yes and no are optional. When "no" is selected, the
system USES the single anchor point logic to set the anchor point by pressing the "anchor" key
on the keyboard, and only the set anchor point will work. When yes is selected, the system USES
multi-anchor logic and the positioning key on the keyboard is invalid. To set the values of each
anchor point in the menu, see the following
。
Set to registration point 1/2/3/4: after multiple positioning point logic is enabled, hold
the cursor over "set to registration point 1/2/3/4". Press "ok" on the keyboard
。
Next anchor point: 0~4 optional, showing the anchor point to be used for the next
image to work. 0 anchor point refers to the anchor point set by the "position" key in the panel
of single anchor point logic, while 1~4 indicates the number of anchor point in multi-anchor
point logic. The next anchor point can be modified to any point from 1 to 4, so as to control the
starting point of the next work (provided that the anchor point enables), and cannot be
modified to no. 0 anchor point (if the single anchor point logic, always take no. 0 anchor point)
4.3-5


