43
Using BIOS Setup Utility
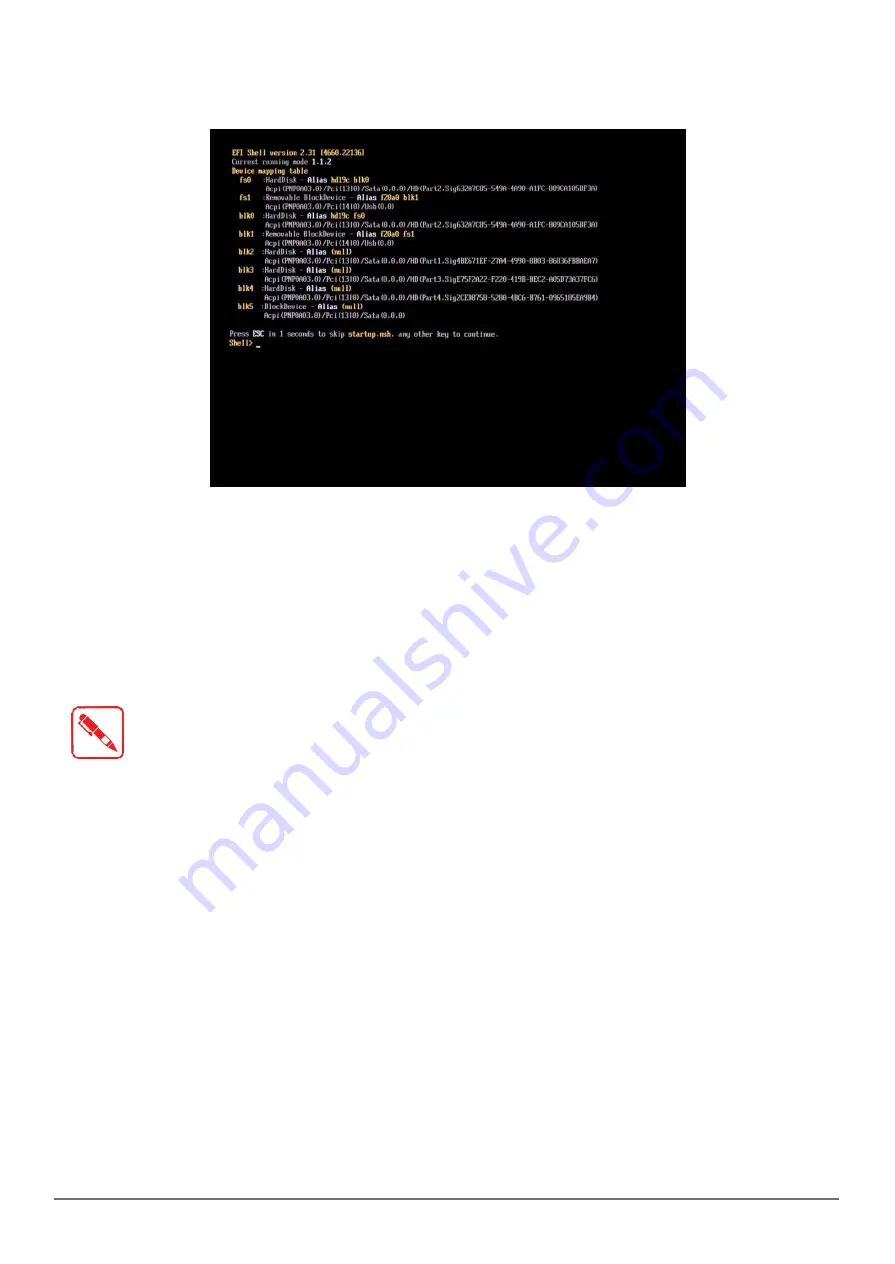
10. In the command screen, enter
fs1:
to select the USB device already connected to the
device. The command directs you to the USB
device’s root menu.
Figure 57. Internal Shell Command Screen
11. If the BIOS file is in a folder and not in the root directory, navigate to the target folder.
12. Type
wf
(.nsh) and tap Enter.
wf
is the designated BIOS file.
Do not turn off your device or interfere with the reflash process until the process is complete.
13. Once the process is complete, the PX501 automatically
reboots. The BIOS is now updated.
Updating EC
Connect the PX501 to the AC adapter to prevent a sudden loss of power.
1. Updating EC requires the use of the Internal Shell Command menu, refer to steps 1 to 12 of
“Updating BIOS”
.
2. Enter the EC source file folder.
3. In the source folder, enter
f
.
4. Do not turn off your device or interfere with the re-flash process until the process is
complete. The system reboots once the process is completed.
Summary of Contents for PX501C8H
Page 1: ...PX501 Gen III User s Manual...
Page 53: ......


