


27
Getting to Know Your
Cortex vX
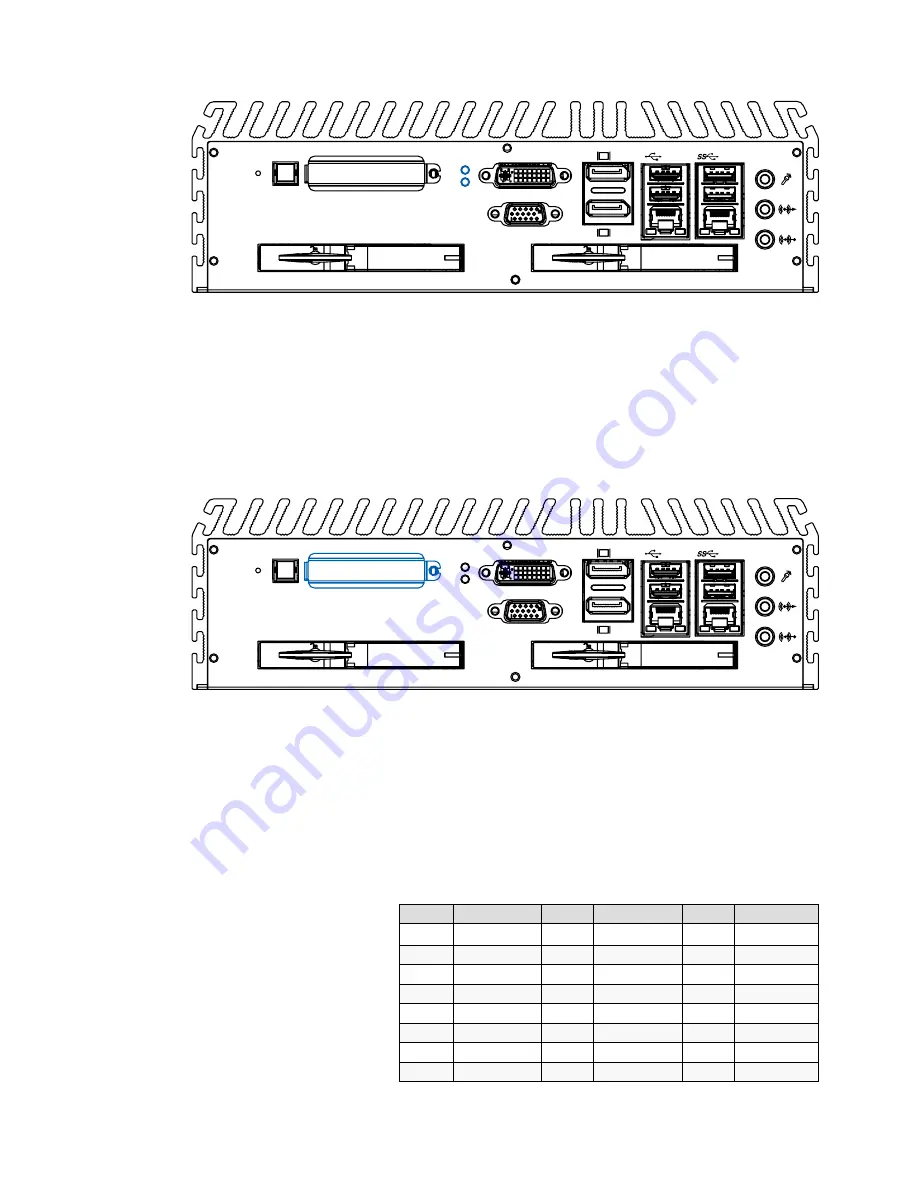
2.2.8 PWR and HDD LED Indicators
CFast
Reset
HDD
PWR
DVI-D
VGA
2
1
LAN2
LAN1
Yellow-HDD LED: A hard disk / CFast LED. If the LED is on, it
indicates that the system’s storage is functional. If it is off, it
indicates that the system’s storage is not functional. If it is
flashing, it indicates data access activities.
Green-Power LED: If the LED is solid green, it indicates that
the system is powered on.
2.2.9 CFast Card
CFast
Reset
HDD
PWR
DVI-D
VGA
2
1
LAN2
LAN1
The
Cortex vX
series system comes with a CFast socket on
the front panel for Type-I / Type-II Compact Flash card. It
is implemented by a SATA II Port from QM77 PCH. Be sure
to disconnect the power source and unscrew the CFast
socket cover before installing a CFast card. The
Cortex
vX
series does not support the CFast hot swap and PnP
(Plug and Play) functions. It is necessary to remove power
source first before inserting or removing the CFast card.
The following table shows the pinouts for CFast port:
Pin No. Description Pin No. Description Pin No.
Description
S1
GND
PC2
GND
PC10
NC
S2
SATA_TX_P2 PC3
NC
PC11
NC
S3
SATA_TX_N2 PC4
NC
PC12
NC
S4
GND
PC5
NC
PC13
+3.3V
S5
SATA_RX_N2 PC6
NC
PC14
+3.3V
S6
SATA_RX_P2 PC7
GND
PC15
GND
S7
GND
PC8
NC
PC16
GND
PC1
NC
PC9
CFAST_LED_N
PC17
NC
Summary of Contents for Cortex vX series
Page 1: ...Rev1 0 3 11 13 2013 All information is subject to change without notice from Rugged Science...
Page 20: ...13 Product Introduction 1 4 Mechanical Dimension Figure 1 1 Cortex v7090S...
Page 22: ...15 Product Introduction Figure 1 3 Cortex v7460F...
Page 24: ...17 Product Introduction Figure 1 5 Cortex v7062...
Page 26: ...19 Getting to Know Your Cortex vX Figure 1 7 Cortex v7040...
Page 28: ...21 Getting to Know Your Cortex vX Figure 1 9 Cortex v7020...
Page 68: ...61 System Setup Select one of the SATA DOM connectors and plug in your SATA DOM Step3...