background image

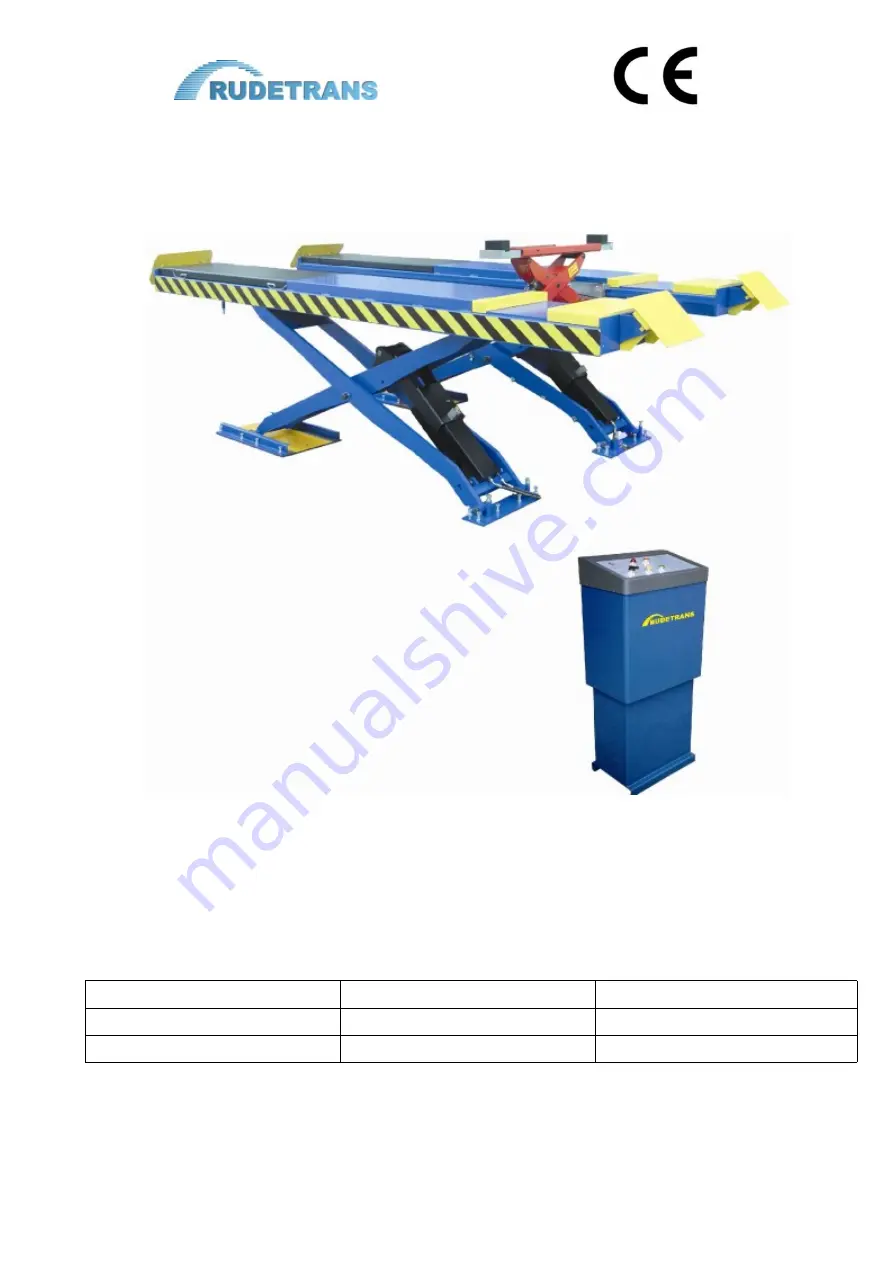
Large platform wheel alignment scissor lift 

RLS-

4.5F


Ножничный подъёмник для сход-развала 

RLS-4.5F

 грузоподъёмностью 4,5т 

USER'S MANUAL

РУКОВОДСТВО ПОЛЬЗОВАТЕЛЯ

Operating Manual & Instructions

Инструкции по эксплуатации и монтажу

Ref.№ 20091025

Русскоязычная версия: 

25 апреля 2012

MODEL:

МОДЕЛЬ:

RLS-4.5F

Serial No.:

Серийный №:

Year of manufacture:

Год выпуска:

Summary of Contents for RLS-4.5F

Page 1: ...Large platform wheel alignment scissor lift RLS 4 5F RLS 4 5F 4 5 USER S MANUAL Operating Manual Instructions Ref 20091025 25 2012 MODEL RLS 4 5F Serial No Year of manufacture...

Page 2: ...ome words terms or sentences may cause a complication for english speaking users However if you have any questions remarks or notes caused by this manual please contact our specialists immediately RUD...

Page 3: ...on 4 16 Chapter 5 Adjustment 5 20 Chapter 6 Operation 6 23 Chapter 7 Maintenance and care 7 24 Chapter 8 Troubleshooting 8 25 Chapter 9 Appendix 9 9 1 Hydraulic schematic drawing 9 1 28 9 2 Oil pipe c...

Page 4: ...s specified in the delivery notes are included In case of missing parts possible defects or damage due to transport the person in charge or the carrier must be immediately informed Furthermore during...

Page 5: ...ed personnel from the licensed dealer or an service center authorized by the manufacturer The manufacturer declines all responsibility for injury to persons or damage to vehicles or objects when any o...

Page 6: ...ic failure and overloading Device for antiknock and locked valve in case of explosive pipe With photocell sensor controlling the level Alarm and push button for the complete lowering of the platforms...

Page 7: ...ll length mm 5510 Overall weight kg 2400 Rolling jack Lift weight kg 2000 Rolling jack Lift height mm 375 Rolling jack platform length mm 870 1400 Rolling jack gauge wheel mm 780 1100 Rolling jack Lif...

Page 8: ...Poles 4 4 Speed 1450rpm min 1450 Building shape B14 B14 Insulation class F F When connecting the motor refer to the enclosed diagrams and the motor direction is clockwise PUMP Type P4 3 P4 3 Model Gea...

Page 9: ...the following characteristics Concrete type 425 250 Thickness of concrete 150mm the leveling of whole length 10mm 150 10 Perfect parallelism between holes Remarks 1 The allowed level error should be...

Page 10: ...s of concrete 150mm the leveling of whole length 10mm 150 10 Remarks 1 The allowed level error should be 5mm 1 5 2 The control box can be position on the left or right side 2 Picture 4 2 ground drawin...

Page 11: ...illustrate criteria used to define the operating limits of the lift Picture 5 overall dimensions of lifted vehicles The lower parts of the vehicle underbody could interfere with structural parts of th...

Page 12: ...on The presence of persons inside the danger zone indicated is strictly prohibited During operations persons are admitted to the area beneath the vehicle only when the vehicle is already in the elevat...

Page 13: ...age a gear and engage the hand brake Make sure the vehicle is positioned correctly Be sure to lift only approved vehicles never exceed the specified carrying capacity maximum height and projection veh...

Page 14: ...ys remain in the control zone RISK OF CRUSHING PERSONNEL When the platforms and the vehicle are lowering personnel are prohibited from entering the area beneath the movable parts of the lift The lift...

Page 15: ...Do not use jets of water steam solvents or paint next to the lift and take special care to keep such substances clear of the electrical control panel RISKS RELATED TO IMAPPROPRIATE LIGHTING The operat...

Page 16: ...iously arranged for the power supply and pneumatic feed of the car lift The room must be 3500 mm in height at least the car lift can be placed on any floor as long as it is perfectly level and suffici...

Page 17: ...Before placing the pneumatic and hydraulic hoses to the control unit stick adhesive tape on the pipe fittings in order to protect the hoses from dust and impurities which could damage the hydraulic s...

Page 18: ...e power supply to terminals L1 L2 L3 inside the control box And connect the earth wire 1 1 5 mm2 to the terminals PE If the power requirement for the lift is 220 VAC connect the electrical according t...

Page 19: ...AION 4 Connection of photocell picture 25 25 First let the cable go through the cable slot Then connect the brown wire to no 201 black wire to no 217 and blue wire to no 200 201 217 200 Picture 25 Pho...

Page 20: ...e plates on two sides at back thus keep the levelness of error of the two platform 5 mm and keep the height difference between the two platform 10 mm 27 2 5 10 Picture 27 adjustment screws Picture 28...

Page 21: ...looking from machine head direction is lifted to about 1000mm 2 UP 1000 3 Press the DOWN button to lower the left platform to the lowest position 3 DOWN 4 Then lift it up to approximately 1400mm 4 140...

Page 22: ...nd air tightness of the air loop PHOTOCELL ON Check oil leakage of the oil line and air tightness of the air loop Limit Switch Position Adjustment Check and adjust the limit switch of the lift assembl...

Page 23: ...safety latches UP Release UP button to stop the motor from operating which causes the lift to stop immediately Then the solenoid air valve is not energized stopping air flow causing the safety latches...

Page 24: ...r and air valve DQ for driving the safety pawl DQ Emergency manual operation for lowering power failure When lowering through manual operation should observe the condition of platform at any time beca...

Page 25: ...are connected with the limit switch and if the trouble disappears check the limit switch wires and adjust or replace the limit switch 3 10 0 In lifting operation the motor runs but there is no liftin...

Page 26: ...but does not work Check the plug and coil of the lowering solenoid valve and check the right turn tightness of its end copper nut and so on 4 5 The hydraulic oil has too high viscosity or frozen dete...

Page 27: ...seals and then make up oil and adjust levelness 2 3 The oil make up stop valve can not be closed tightly and requires make up oil adjustment almost every day Replace oil make up stop valve and then ma...

Page 28: ...chematic diagram 9 1 1 main cylinder 7 descent valve 1 7 2 sub cylinder 8 flow control valve 2 8 3 antiknock valve 9 gear pump 3 9 4 stop valve 10 pump motor 4 10 5 check valve 11 filter 5 11 6 overfl...

Page 29: ...9 ACCESSORY 9 9 2 Oil pipe connection diagram 9 2 29...

Page 30: ...block 400 2 7 Turntable keeps off the block 90 2 8 Side slide plate 2 9 Sliding proof pin 4 10 Spring 8 11 Haul hook 8 12 Nut M6 6 8 13 Ball 42 14 Washer 8 8 42 15 Nut M8 8 88 16 Block up 2 17 Hexago...

Page 31: ...3 Snap ring 30 30 10 4 Sub connecting rod 2 5 Snap ring 36 36 4 6 Piston Rod Supporting Hinge Axle 2 7 Upper slide block 4 8 Main connecting rod 2 9 Oil less axletree 3040 3040 4 10 Locknut M24 24 4 1...

Page 32: ...ylinder 1 22 Snap ring 34 34 2 23 Cylinder ream axle big 1 23 Cylinder ream axle small 1 24 Hexagon head bolt M16 70 M16 70 4 25 Nut M16 16 32 26 Hexagon head bolt M16 50 M16 50 28 27 Down bracket sta...

Page 33: ...120 1 7 14 Assembled ring 14 2 8 Hydraulic pipe connecting 2 9 Piston Rod ring 2 10 Piston Rod 66 3 66 3 1 11 Piston 120 120 1 12 Assembled poly 1 13 Dust proof ring 1 14 Wearable ring D24 24 2 15 Hyd...

Page 34: ...9 6 Electrical diagram 220V 9 6 220 34...

Page 35: ...9 7 Electrical diagram 380V 9 7 380 35...

Reviews: