www.rovingnetworks.com
Version 1.32r 10/9/2012
6
RN -W IFLY -E VAL-U M
CONFIGURATION
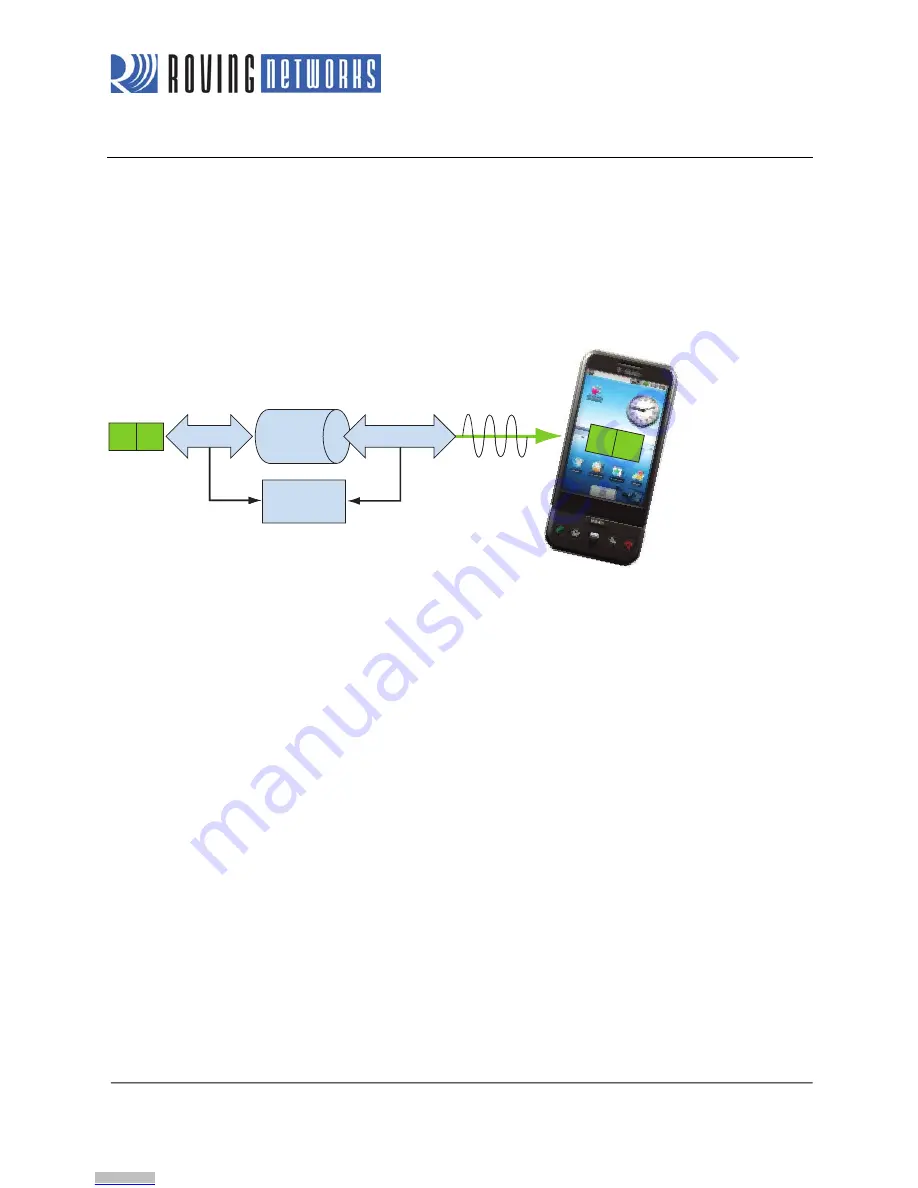
The WiFly module operates in two modes: data mode (default) and command mode. While in data mode, the WiFly
module is essentially a data pipe. When the module receives data over Wi-Fi, it strips the TCP/IP headers and trailers and
passes the user data to the UART. When data is written to the UART, the module constructs the TCP/IP packet and sends
it out over Wi-Fi. Thus, the entire process of sending/receiving data to the host is transparent to the end microprocessor.
See Figure 4.
Figure 4. Data & Command Modes
By default, the module is in data mode. Sending the escape sequence
$$$
causes the module to enter command mode.
Once in command mode, you can configure the WiFly device using simple ASCII commands. To exit command mode and
return to data mode, type
exit
<cr>.
Basic configuration only requires the wireless network access point’s name (SSID) and authentication password. The WiFly
module can only associate with one network at a time. Roving Networks recommends that you begin your evaluation by
configuring the WiFly module using an open access point to simplify the setup.
There are two ways to configure the WiFly module:
•
Over the UART, which is connected to a computer or microprocessor
•
Via Wi-Fi using ad hoc networking
You need a terminal emulator to complete the setup.
NOTE:
Roving Networks suggests using either the TeraTerm (Windows OS) or CoolTerm (Mac OS-X) terminal
emulator program.
Configuration Using a Cable
The RN-131-EK and RN-171-EK boards use a USB cable to allow your computer to communicate with the WiFly module
on your evaluation board. The following instructions describe how to use a terminal emulator to go into configuration mode,
send commands to find networks, associate with an access point, and save your configuration.
UART
Wi-Fi Interface
WiFly
Module
Command
Mode
$$$
$$$
A
B
User Data
Wi-Fi
Wi-FFi
Host
A
B
Downloaded from
Downloaded from
Downloaded from
Downloaded from
Downloaded from
Downloaded from


