background image

Rostra Precision Controls, Inc. - 2519 Dana Dr. - Laurinburg, NC 28352 - 800-782-3379 - rostra.com


Page 11

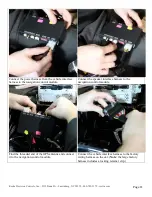
Connect the power harness from the vehicle interface 
harness to the navigation control module. 

Connect the speaker interface harness to the 
navigation control module. 

Find the threaded end of the GPS antenna and connect 
it to the navigation control module. 

Connect the vehicle interface harness to the factory 
wiring harness on the car. (

Note

: the large factory 

harness includes a locking retainer clip.) 

Summary of Contents for 250-7614 2011-2013 Ford Edge

Page 1: ...on instructions please visit us online at www rostra com INSTALLATION PERFORMED ON FORD EDGE FOR REFERENCE ONLY Parts Identification Page 1 Vehicle Preparation Page 2 Programming Switch Settings Page...

Page 2: ...cs installation and re assembly of the vehicle Radio Head Unit as well as proper handling requirements of all components involved FAILURE TO FOLLOW PROPER DISASSEMBLY INSTALLATION AND REASSEMBLY PROCE...

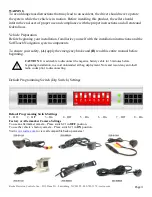
Page 3: ...nd the SoftTouch Navigation system components To ensure your safety A apply the emergency brake and B read this entire manual before beginning CAUTION It is advisable to disconnect the negative batter...

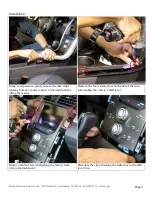
Page 4: ...ently remove the trim strips running from the center console to the dashboard by lifting them away Remove the four screws from both sides of the trim surrounding the vehicle s shift lever Remove the f...

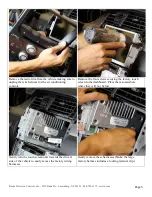
Page 5: ...for the air conditioning controls Remove the four screws securing the factory touch screen to the dashboard Place them somewhere where they will not be lost Gently turn the touch screen unit towards t...

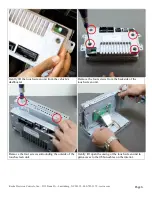
Page 6: ...lift the touch screen unit from the vehicle s dashboard Remove the four screws from the backside of the touch screen unit Remove the four screws surrounding the outside of the touch screen unit Gentl...

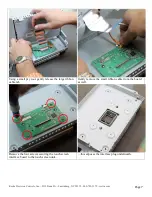
Page 7: ...rostra com Page 7 Using a small pry tool gently release the large ribbon cable tab Gently remove the small ribbon cable from the board as well Remove the four screws securing the touch screen interfac...

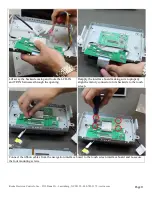
Page 8: ...sing and route the LCD IN and TP IN harnesses through the opening Reapply the interface board making sure to properly align the factory connector on its backside to the touch screen Connect the ribbon...

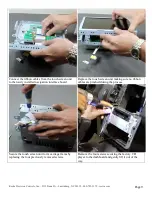
Page 9: ...t to the newly installed navigation interface board Replace the touch screen unit making sure no ribbon cables are pinched during the process Secure the touch screen unit to its carriage frame by repl...

Page 10: ...terior dashboard frame behind the touch screen Mount the GPS antenna to the top rear of the vehicle allowing it to attach using its magnetic base Route the GPS antenna extensions harness to the front...

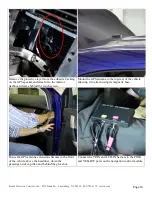
Page 11: ...e harness to the navigation control module Connect the speaker interface harness to the navigation control module Find the threaded end of the GPS antenna and connect it to the navigation control modu...

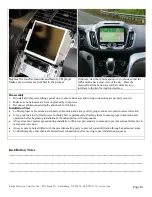
Page 12: ...module Attach the navigation control module to the dashboard in the open cavity below the factory CD player Attach the vehicle interface harness to the backside of the touch screen unit Connect the TP...

Page 13: ...nnector orientation and always verify proper ends are routed in correct direction It is a good idea to dry fit all pieces in this kit before permanently attaching them to ensure proper orientation and...

Page 14: ...Rostra Precision Controls Inc 2519 Dana Dr Laurinburg NC 28352 800 782 3379 rostra com Page 14 Installation Notes...

Page 15: ...Rostra Precision Controls Inc 2519 Dana Dr Laurinburg NC 28352 800 782 3379 rostra com Page 15 Installation Notes...

Page 16: ...Rostra Precision Controls Inc 2519 Dana Dr Laurinburg NC 28352 800 782 3379 rostra com Page 16...

Reviews: