OPERATION
16
SERVEVIEW PRO INSTALLATION AND OPERATIONS MANUAL
Selecting a computer
To connect to a computer, you can select it from the ServeView Pro’s front
panel, select it by keyboard commands, or select it through the RS232
serial port.
Selecting a computer from the front panel
Using the - and + buttons on the front panel will switch to the previous (-)
computer port or advance (+) to the next computer.
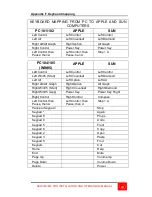
Selecting a computer using keyboard commands
Press and release the left control <Ctrl> key, then enter the computer port
number. Pressing and releasing the left control <Ctrl> key then the + or -
key will advance forward or backwards one sequential port.
Selecting a computer through the RS232 port
Selecting a computer can be done through the RS232 port if needed.
Contact Rose Electronics Technical support for details.
Reset to factory defaults
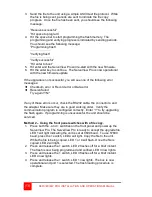
To reset the ServeView Pro to the original factory default settings, first,
power down the unit, press and hold the – (minus) switch in and turn the
unit’s power on. Keep the – (minus) switch held in until the unit switches to
the last port on the unit (port 4, 8, or 16). If you release the – (minus)
switch before the last port is switched to, the defaults will not be restored.
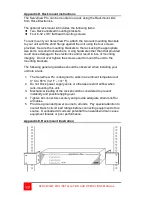
Rack mounting
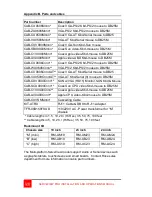
The ServeView Pro can be rack mounted using a Rose Electronics
Rackmount kit. See Appendix D and E for instructions and Appendix B for
part numbers.


