14
15
Aiming and Shooting Video:
This is where the simplicity of the
Roscoby Riser Cam will turn your hunt into something you’ve
never seen before. We’ve designed the camera to give the user a
“line of sight” camera view. At 15 yards from your target, you will
have a field of view approximately 10 yards wide. This insures that
whatever you see through the peep and sight of your bow will be
captured in the video.
We recommend that you get outside and begin target shooting to
understand the range and functions of the camera. With practice
the user will develop better shooting habits and improve the quality
of their recorded video.
When you are ready to view your clips, you will need to study the
following pages relating to viewing clips on your TV or PC.
A D D I T I O N A L S D C A R D I N F O R M A T I O N
• Always follow proper safety precautions for use.
• Always install fresh SD cards prior to going into the field.
• The Roscoby Riser Cam supports 1GB, 2GB and 4GB SD cards.
• 1GB is equal to approximately 50 minutes of record time.
• Make sure the Write-Protect switch is not in the “Locked” position.
• SD card may be damaged if not properly inserted.
• Do not touch the metal contacts of the SD card.
• SD card and data may be damaged by moisture.
• Turn off the camera before inserting or removing a card.
• Data on the SD card may be damaged or lost if placed near
strong magnets or luggage scanning equipment.
• Reformatting the SD card may be necessary if the SD card
appears to have corrupted data or if so prompted by your PC.
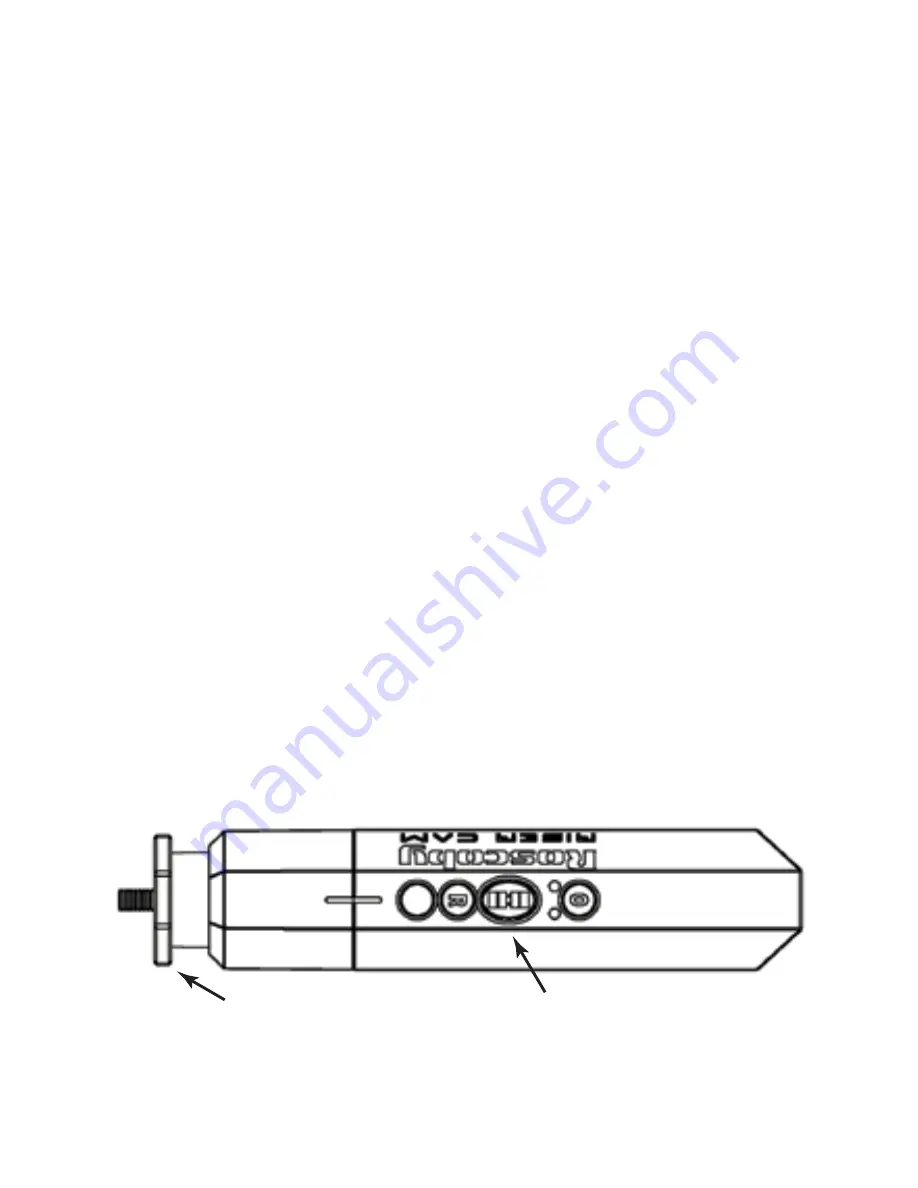
adjust the Jam Nut for fine-tuning the camera position on the bow.
Each bow is unique and will require a bit of “fit and feel” testing
to get the camera properly oriented on the bow.
Thread the Mounting Stud into the Stabilizer mount on the bow
until it comes tight against the Riser. It is unlikely that the camera
will be properly oriented on your bow. This is where the Jam Nut
needs to be adjusted slightly (loosened or tightened) and the camera
re-tightened back to the Riser. It may take a few attempts to adjust
the Jam Nut just enough to bring the camera to almost vertical
alignment on your bow.
With the camera almost vertical, use
ONLY
the Jam Nut to firmly
tighten and secure the camera into place.
DO NOT
hold the camera
body to tighten the unit to your bow or damage to the Mounting
Stud and Isolator will occur.
Proper installation of the Roscoby Riser Cam on a bow will have
the controls on top of the camera, the camera vertically aligned
with the string of your bow with both the Jam Nut tight against
both the Riser and the Rubber Isolator.
With the camera properly positioned and secured you are ready
to get out and use the Roscoby Riser Cam in the field.
Jam Nut tight against the
Riser and Rubber Isolator.
Properly positioned, you will
see the camera controls on top
as you look down.


