Galaxy HDX4 RAID Quick Install Guide
-
17 -
Contact Rorke Tech Support 800 328 8147
Step 6 Installing the RAID Bezel
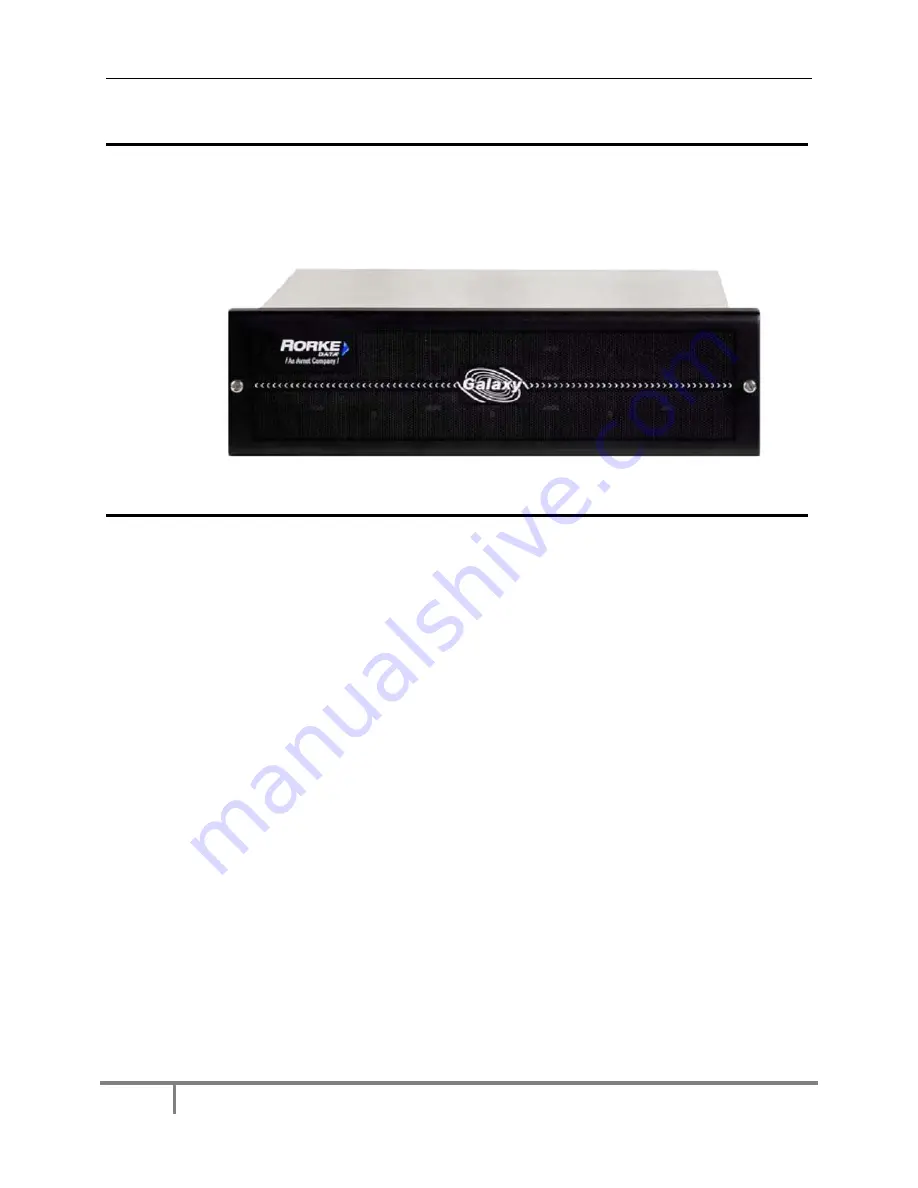
The Galaxy comes with a bezel that protects the front of the RAID. Simple use the
thumbscrews on each side of the bezel and screw them to the rack mounted brackets
that were installed with the chassis.
Step 7 Opening Management Consoles
As we have stated, your Galaxy RAID has been configured and prepared for you, RAID
sets and LUNs already are prepared. All this is done in our effort to minimize the need
for any use of the management console during the installation. However, we know there
is going to be the need for you to use the management of the Galaxy so we have
included some basic information. Refer to the Web GUI and Galaxy Array Manager
manual for more details.
To use Web GUI through the management ethernet port, verify that the ethernet port on
the rear of the Galaxy RAID has a LAN connection cabled to it. Open a browser and key
in “http://192.168.1.129/index.html” . This will open the embedded Galaxy Web GUI and
you can view the statuses of the RAID, manage the RAID sets, partition the RAID, see
the status of the RAID and drives, etc.
To use Telnet through the management ethernet port, verify that the ethernet port on the
rear of the Galaxy RAID has a LAN connection cabled to it. Open a DOS prompt or
command shell and key in “telnet192.168.1.129” . This will open the embedded basic
Telnet session menus where you can view the statuses of the RAID, manage the RAID
sets, partition the RAID, see the status of the RAID and drives, etc.
To use any of the latest HDX4 advanced features such as replication, snapshots, and
thin provision, the java based Galaxy Array Manager [GAM] must be used. Refer to the
GAM manual for more details.


