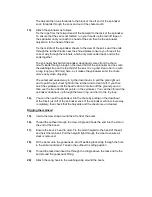
Rudder
21).
The rudder blade simply slots into the rudder stock after launching and can be
lowered progressively as water depth allows.
Launching
Individual launching areas vary and common sense will determine the best order of
proceedings when launching the K6. The boat launches from it’s trolley just like a
dinghy, and can be launched from a crane hoist, slipway, shore or beach with ease.
The boat will sail with just 0.5 metres of keel down, and although it is less stable in
this mode, it will not capsize.
Option 1.
The favourite option is to launch the boat from a slipway, with a convenient
pontoon nearby. Put the boat in the water once the jib and spinnaker have been
rigged. Tie it head to wind to a pontoon, lower the keel and then hoist the mainsail.
Option 2.
If option 1 is not possible, rig the jib and spinnaker, launch the boat, walk it
into deep enough water to lower the keel half down, sail the boat off under jib alone,
then drop the keel and hoist the mainsail in deeper water.
Option 3.
If the wind is in the right direction, it is often easier to hoist the mainsail
with the boat ashore, then launch and lower the keel half down prior to sailing away.
IMPORTANT
When you are ready to launch, pull on the keel lift purchase from behind the
block on the port side of the keel case capping, until the keel bulb has lifted
slightly from the trolley cradle. If slipway conditions are such that the boat will
float off the cradle without lifting the keel, then ensure that the keel rope is
cleated tight before launching.
The rig tension must have been applied before you lift the keel from the trolley.
Failure to do this may result in breaking the mast
.
Always ensure the keel lift purchase blocks are not “capsized” and that there
is no slack or any “loops” caught in the purchase that may pull out and allow
the keel to drop unexpectedly.
Keep your fingers and feet and all ropes and controls away from the keel slot
and the top of the capping until the keel is fully lowered.
The boat will feel less than stable until the keel has been lowered at least half
way down.
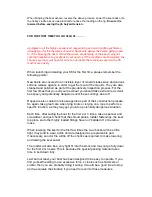
22).
Put the boat in the water and float it off the trolley. When in deep enough
water, lower the keel making sure the chocks on the sides at the top of the
keel guide down into the corresponding slots in the keel case.
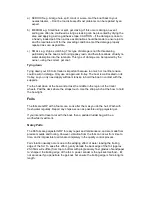
23).
Un-hook the keel hoist line and clip it to the fairlead over the mast gate control
line cleat. Take up the slack on the lift purchase.
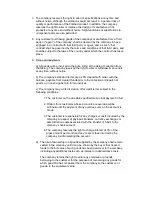
24).
Fit the velcro strap over the top of the keel, through the ring on the opposite
side of the case and velcro the ends together.


