Basic Operation
16
Chapter 1 Basic Operation
Chapter 1 Basic Operation
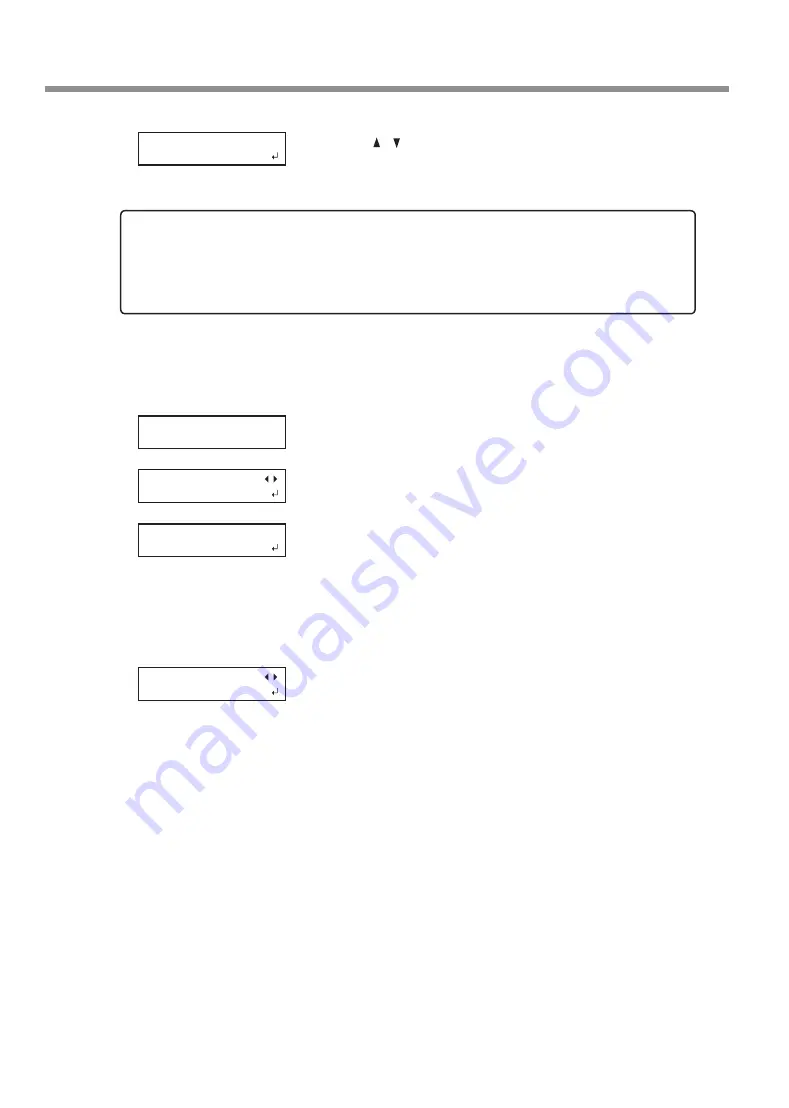
Press [ ] [ ] to select "YES" or "NO."
If you want to check that the height of the media is correctly adjusted,
select "YES."
Otherwise, select "NO."
Press [ENTER] to confirm your entry.
If you select "YES"
The flat table moves back and forth to check automatically that the
media is not touching the head gap sensor.
When the flat table stops moving, the screen shown on the left ap-
pears. Proceed to
P. 17, "Choosing How to Specify the Print Area"
When the media comes into contact with the head gap sensor, the
screen shown in the figure appears and the setup is canceled. If the
media position becomes misaligned after the setup or, if some parts
are more higher than the print surface position set, the media may come in contact with the head gap
sensor. Check and redo from Step
.
If you select "NO"
The screen on the left is displayed. Proceed to
CHECK TABLE
HIGHT
NOTE: If you select "YES," check the height of the media again.
If you select "YES," the following step moves the flat table rearward. Check again that the height of
the media has been adjusted so that the media does not come in contact with the head gap sensor.
If the media hits the head gap sensor, the media may be damaged or the head gap sensor may fail.
To re-adjust the height of the media, press and hold [SETUP] and redo steps from Step
.
NOW PROCESSING..
PRINT POS.TYPE
LOWER RIGHT
CHECK TABLE
HIGHT
PRINT POS.TYPE
LOWER RIGHT


