10
Installing the Editor/Librarian and Playlist Editor
The procedure for installing both the JUNO-Di Editor/Librarian
software and the Playlist Editor software is identical. The two
programs must be installed separately, and no restart is required after
either installation.
The Editor/Librarian and Playlist Editor come with their own
documentation, so we’re just going to discuss their installation here.
In the Editor folder, double-click the JUNO-Di Editor Installer.mpkg or
1
the Playlist Editor file—the installer window appears.
Click Continue.
2
At the Software License Agreement window, click Continue, and then
3
click Agree when the licensing sheet comes down. (If you want to
read the agreement first, click Read License.)
In the Installation Type window, click Install unless you want to
4
change the installation location for some reason.
In the password authentication window, enter your password—the
5
Editor/Librarian or Playlist Editor is installed.
When “Install Succeeded” appears, click Close to exit the installer.
6
The programs you’ve installed can be found in the Roland folder within
your Applications folder, presuming you didn’t change their destination
location during installation. The Editor and Librarian programs are
located in the JUNO-Di Editor folder. The Playlist Editor’s in its own
folder.
About Using the JUNO-Di with a DAW
Setting Up MIDI Communication
Using the JUNO-Di as a MIDI Controller Only
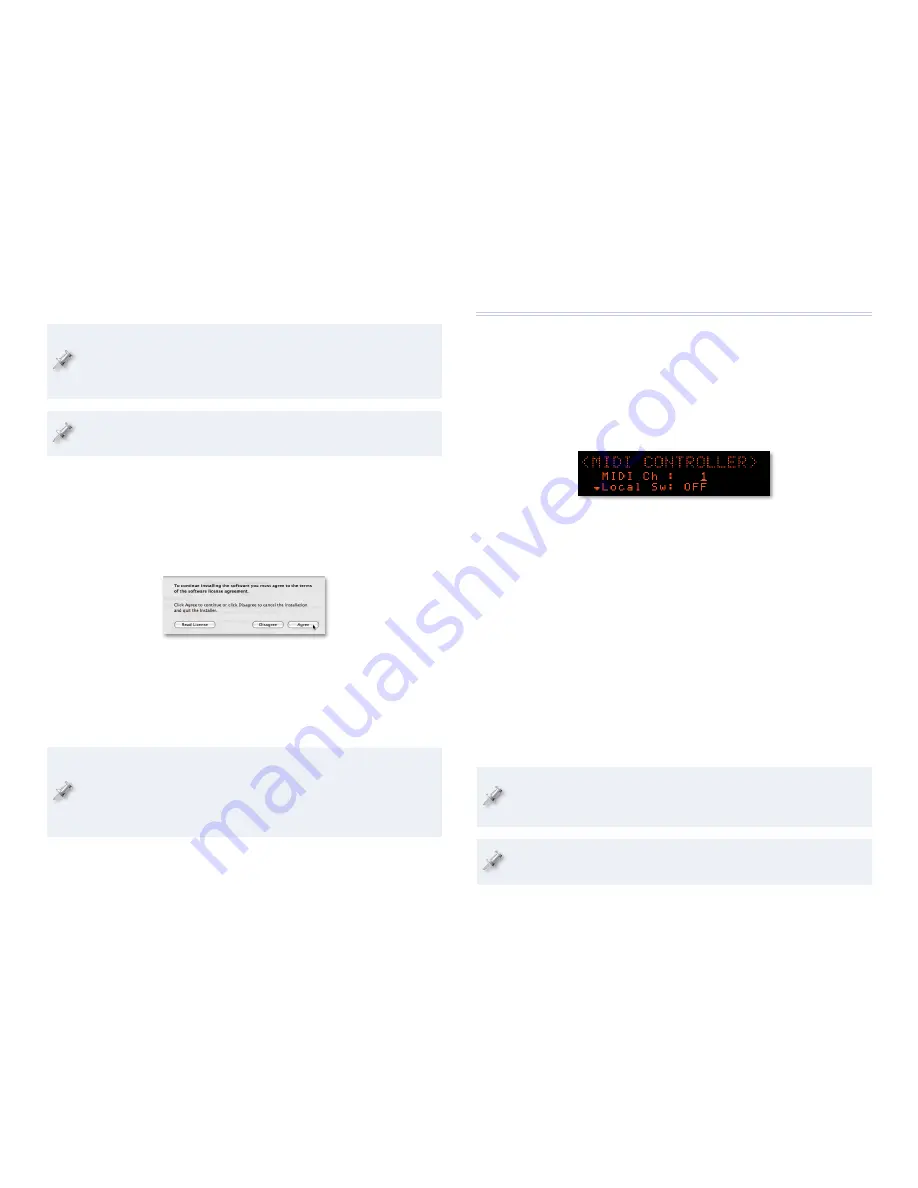
The JUNO-Di’s MIDI Controller mode makes it simple to configure the
JUNO-Di for use with a DAW. Press the JUNO-Di’s MIDI CONTROLLER button
to light it and display the MIDI CONTROLLER screen.
On this screen, you can set the JUNO-Di’s MIDI transmission channel.
Most
DAWs “re-channelize” the incoming data to the desired MIDI track, so there’s
seldom a need to match the JUNO-Di’s transmit channel to the DAW’s MIDI
receiving channel. However, if you do need to do this, this is where you can
see and set the JUNO-Di’s transmit channel for MIDI Controller mode.
The Local Sw determines whether or not the current JUNO-Di sound plays in
MIDI Controller mode. When you’re sequencing you’ll want to leave this set
to
Off
so notes you play go only to the DAW. This is because
you don’t want to hear doubled notes—
•
when a DAW track’s MIDI output
is being sent back to the JUNO-Di, each note would sound once when
you struck a key, and then again when the data had passed through the
DAW and back to the JUNO-Di (this is called a “MIDI loop”).
you want to hear what you’re actually sequencing—
•
when you’re
sequencing with DAW soft synths. If you’re also hearing a JUNO-Di
sound as you sequence, what you hear is not so much what you get.
When you’re using MIDI Controller mode to control external MIDI sound
modules, you may want to turn Local Sw on to combine JUNO-Di sounds
with those from your external modules.
The MIDI CONTROLLER screen offers some other interesting tools,
explained on Page 81 of the
JUNO-Di Owner’s Manual
.


