13
TD-6V
Maximum contrast
fig.test12
3.
Holding down [DEC/-] button, and make sure that the LCD contrast
changes smoothly.
Holding down [DEC/-] and press [INC/+] button magnifies the values
being changed.
Minimum contrast
fig.test13
4.
Press [ENTER] button, and make sure that the entire LCD lights.
fig.test14
5.
Press [ENTER] button, and make sure that the entire LCD goes dark.
fig.test15
By pressing [ENTER] button, you can change mode (contrast check, entire
LCD lights, entire LCD goes dark).
6.
If the result is ‘OK’, press [>] button to proceed to the next test.
6.Hi-Hat Pedal Test
1.
Press the hi-hat control pedal.
Make sure that the display indicates a value of 0--127, and that you hear
the corresponding sound.
fig.test16
2.
If the result is ‘OK’, you will automatically proceed to the next test.
fig.test17
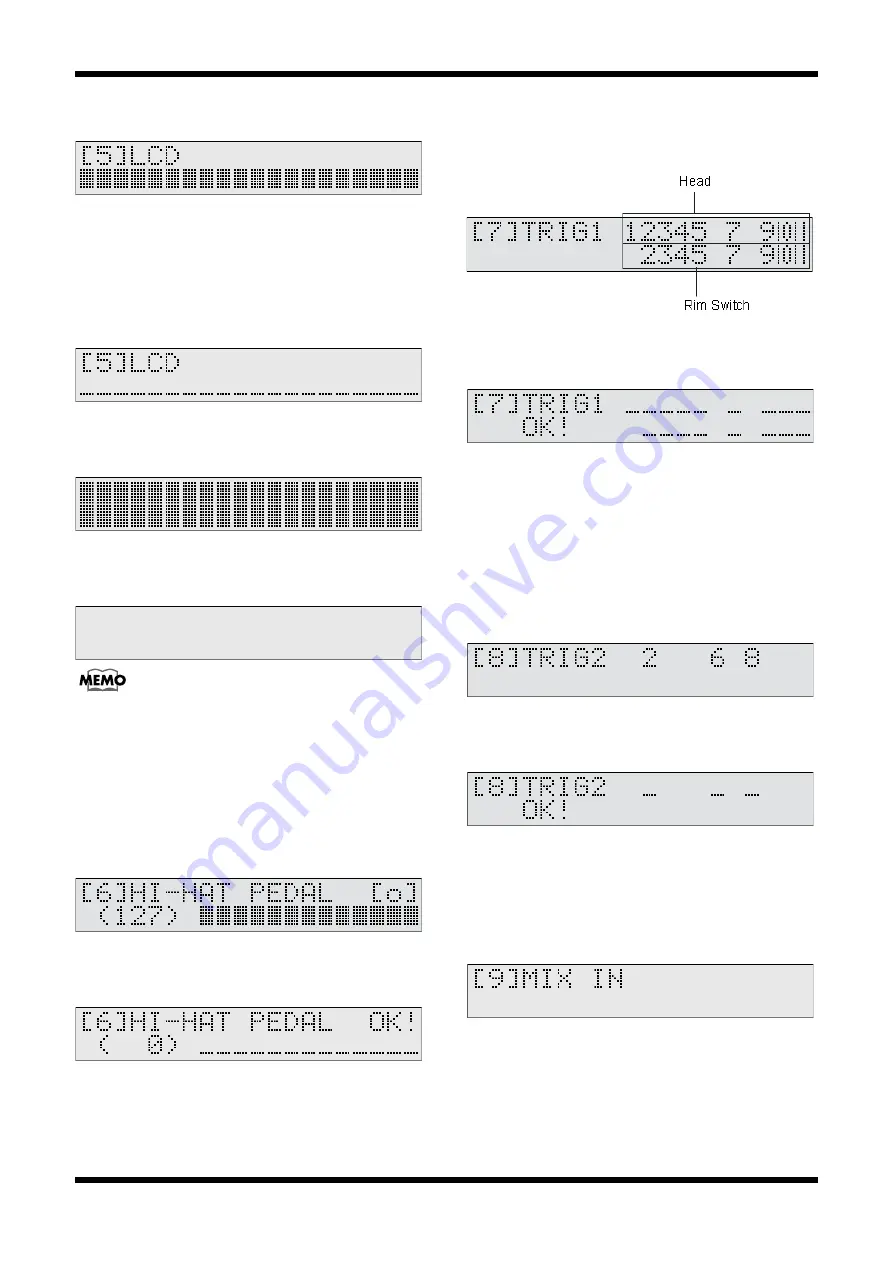
7.Trigger Test 1 (Head Piezo & Rim Switch)
1.
Connect a pad with a rim switch to each trigger input jack, and strike the
head, and press (grasp) the rim section.
Make sure that the corresponding number disappears, and that the
corresponding sound is heard.
Check items
. Strike Head (1--5, 7, 9--11)
. Operate the Rim Switch (2--5, 7, 9--11)
fig.test18
2.
If the result is ‘OK’, you will automatically proceed to the next test.
fig.test19
8.Trigger Test 2 (Rim Piezo)
1.
Connect the PD-120 or PD-80RW to “2 SNARE”, and strike the Head and
Rim.
At this time, make sure that the corresponding number disappears, and
that the corresponding sound is heard.
Check items
• Rim (2, 6, 8)
fig.test20
2.
If the result is ‘OK’, you will automatically proceed to the next test.
fig.test21
9.Mix In Test
1.
Connect the output of an oscillator or audio device to MIX IN.
2.
Make sure that the input from the oscillator is output from both OUTPUT
and PHONES.
3.
Rotate the [VOLUME] knob, and make sure that the volume changes.
fig.test22
4.
If the result is ‘OK’, press [>] button to proceed to the next test.
Summary of Contents for TD-6V
Page 3: ...3 TD 6V...
Page 4: ...4 Feb 2004 LOCATION OF CONTROLS fig panel 1 2 3 4 12 5 6 7 8 9 11 10...
Page 6: ...6 Feb 2004 EXPLODED VIEW fig bunkai...
Page 17: ...18 Feb 2004 CIRCUIT BOARD MAIN fig main comp View from components side...
Page 18: ...19 TD 6V fig main foil View from foil side...
Page 24: ...30 Feb 2004 CIRCUIT BOARD PANEL fig panel comp View from components side...


