S-4000 Digital Snake Owner’s Manual
67
6—Using the S-4000 System
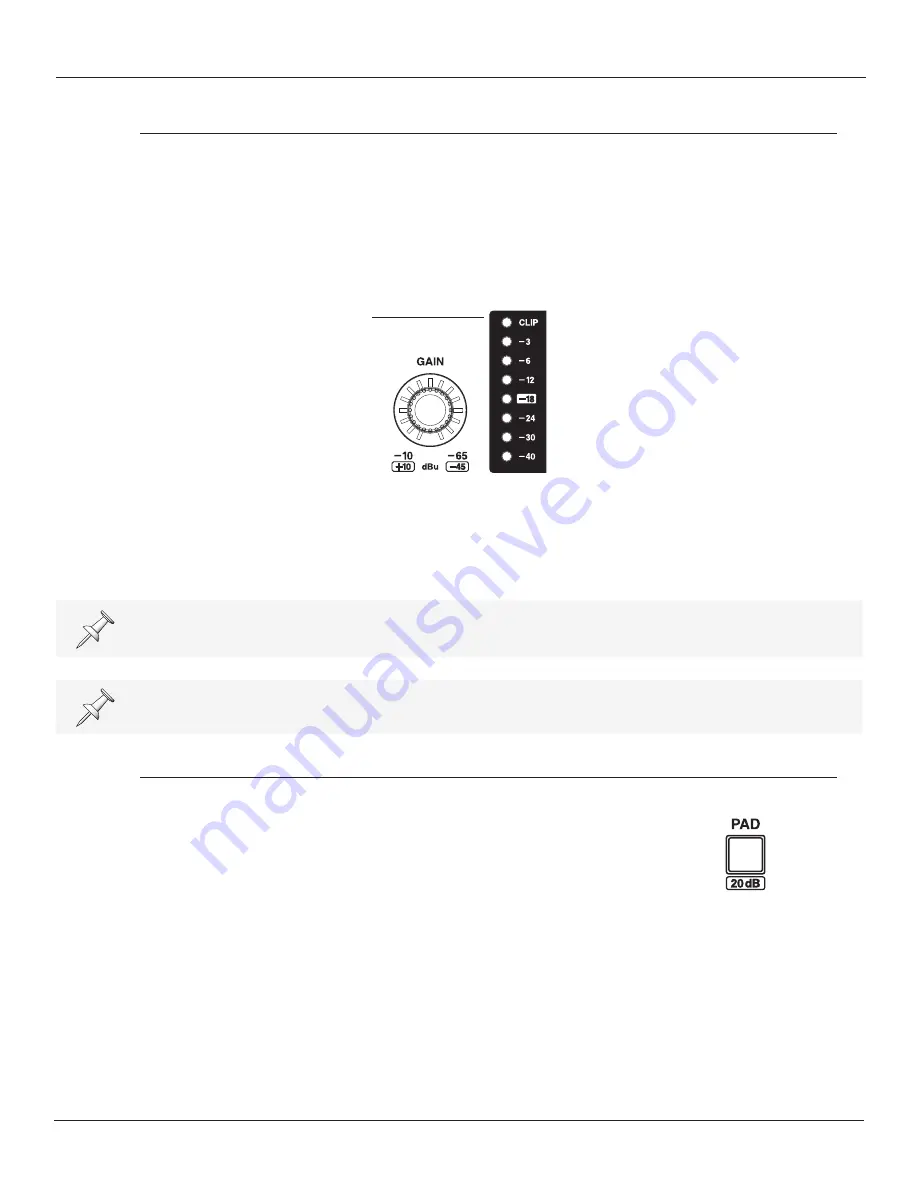
Setting the Preamp Gain
Use the following procedure to set the preamp gain on an S-4000S input channel:
1.
Select the desired channel (1-32) with the CHANNEL knob.
2.
Send an input signal to the selected channel.
3.
While viewing the input level on the LED input meter, use the GAIN knob to adjust the preamp
gain to the desired level.
If the signal level exceeds 0 dB, the CLIP indicators on the LED input meter and signal status
indicators will light and distortion will occur. For the best audio quality, set the preamp gain so
the meter reads between -18 and -3 dB on the input signal’s loudest peaks.
4.
Repeat Steps 1-3 to adjust other channels’ preamp gain.
The indicator lights surrounding the GAIN knob show the currently selected channel’s gain
setting.
To adjust the input level on an S-4000H input, adjust the level at the sending device.
Input Pad
Each S-4000S input channel features a switchable input pad. When
the pad is engaged, the channel’s input sensitivity is reduced by 20
dBu.
Use the pad when connecting a “hot” audio source to an S-4000S
input—one whose signal exceeds 0 dB (and causes the clip indicator
to light) even when the channel’s GAIN knob is at its lowest setting.
Summary of Contents for RSS Digital Snake S-4000
Page 2: ... ...
Page 6: ...Using the Unit Safely 6 S 4000 Digital Snake Owner s Manual ...
Page 16: ...1 Introduction 16 S 4000 Digital Snake Owner s Manual ...
Page 32: ...4 Panel Descriptions 32 S 4000 Digital Snake Owner s Manual ...
Page 80: ...8 Applications 80 S 4000 Digital Snake Owner s Manual 32x8 System with 32 Channel Split ...
Page 81: ...S 4000 Digital Snake Owner s Manual 81 8 Applications 64x16 System ...
Page 82: ...8 Applications 82 S 4000 Digital Snake Owner s Manual 64x16 System with 64 Channel Split ...
Page 91: ...S 4000 Digital Snake Owner s Manual 91 Appendices OUTPUT 17 24 OUTPUT 25 32 ...
Page 100: ...Appendices 100 S 4000 Digital Snake Owner s Manual ...
Page 104: ...Index 104 S 4000 Digital Snake Owner s Manual ...
Page 105: ......
Page 106: ......


