


42
3 Dr.METAZA2 Guide
3-2 Trimming an Image
This specifies the range of the image to import into Dr.METAZA2.
You can trim an original image to leave just the required portion.
1
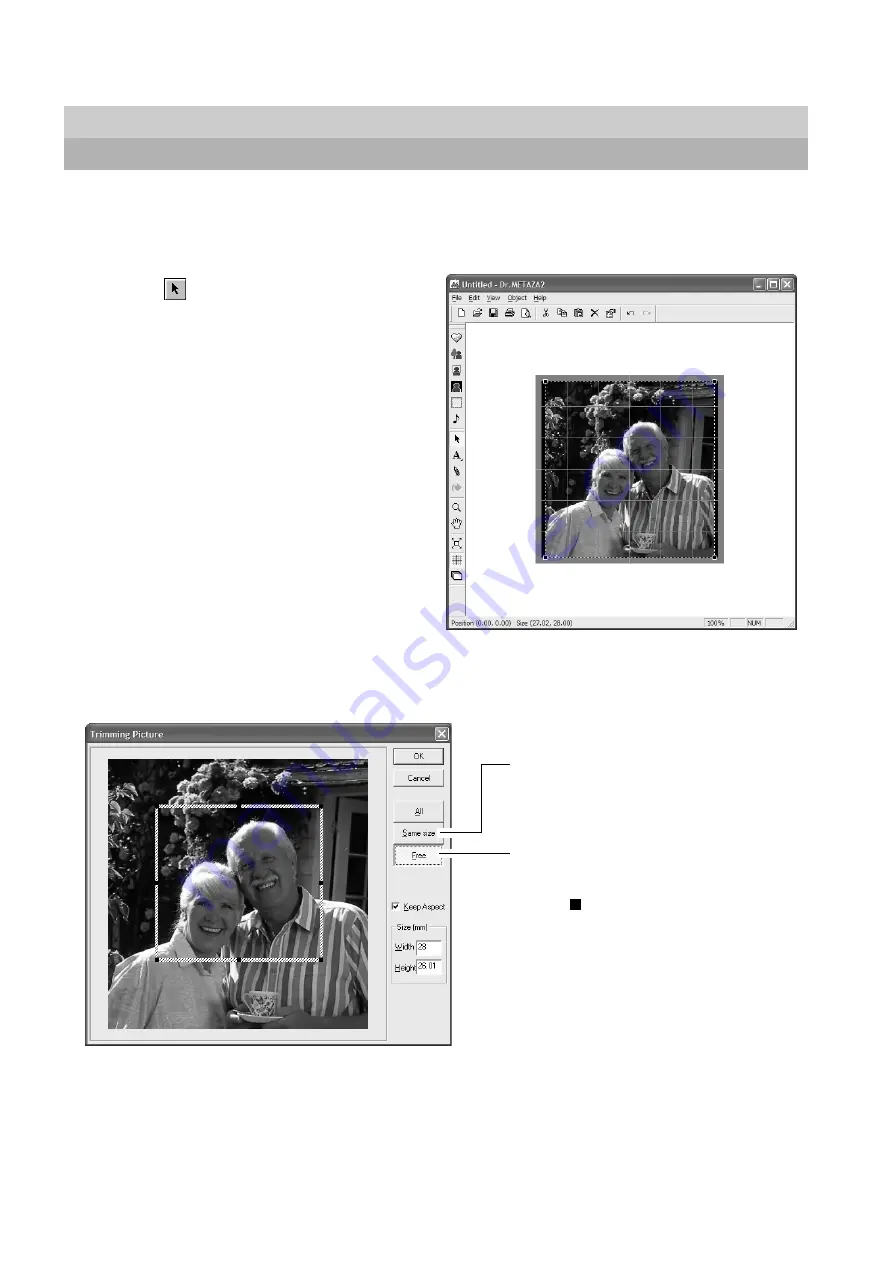
Click
and click the image.
2
From the [Object] menu, click [Trimming].
The [Trimming Picture] dialog box appears.
If you're not satisfied with the trimming area, you can do it over as many times as you like.
However, you can only redo the operation after importing the image until you quit Dr.METAZA2. To change the trimming area after
that, reimport the original image.
Trim an area of the same size as the workpiece.
To change the trimming location, drag the inside of the
shaded frame.
Trim the area you want.
To change the trimming location, drag the inside of the
shaded frame. To change the trimming size, drag the
pointers ( ).
Summary of Contents for Metaza MPX-60
Page 67: ......


