background image

18

2. Using the Heater Unit

2-3 Printing and Cutting

Printing

Before performing printing, set the preset temperature to 45 to 50˚C (113 to 122˚F) and wait until media becomes
sufficiently warm.
For information on how to perform printing, refer to the user's manual for the printer.

1

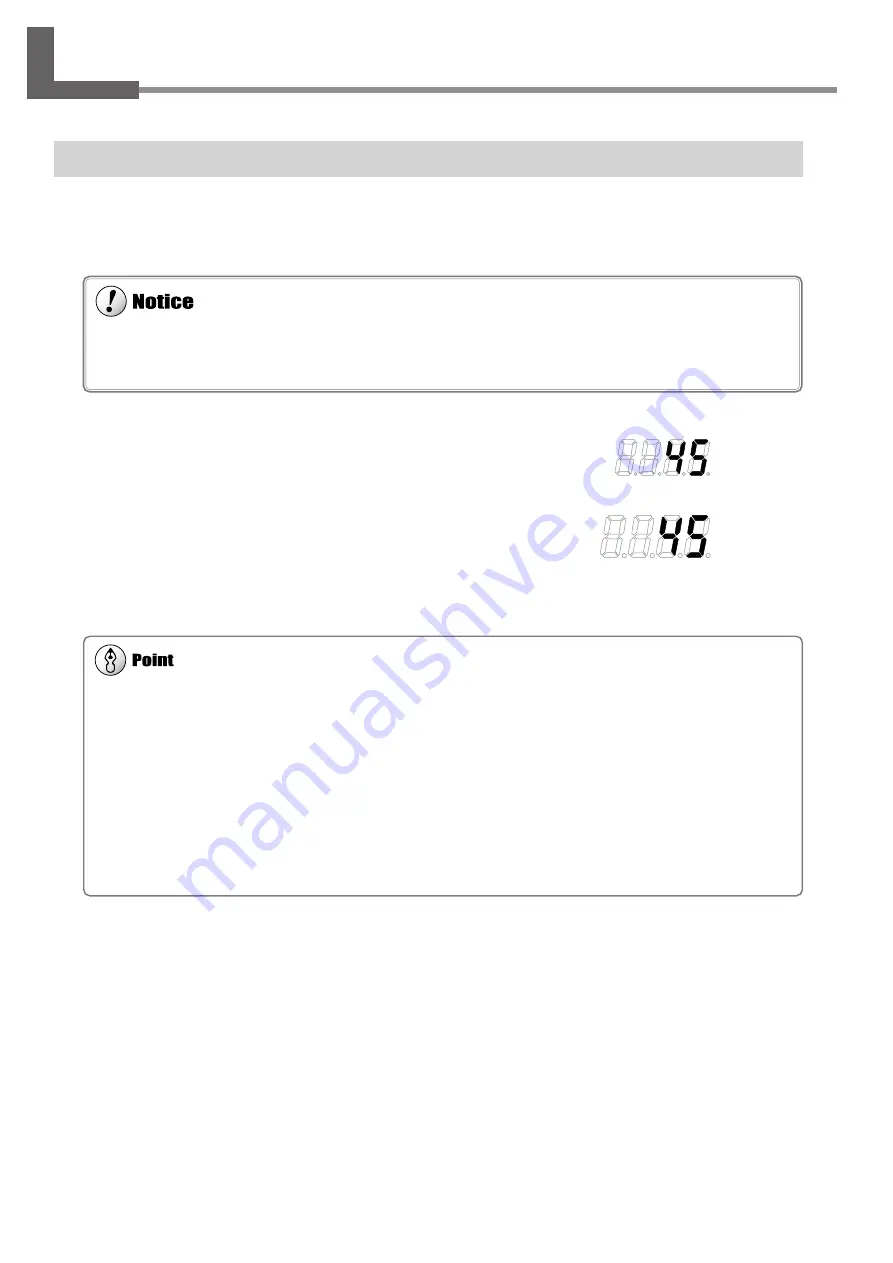
After loading media, set [SV] on the controller to 45 to 50˚C.

2

After the controller's [PV] setting (heater temperature) reaches
the preset temperature, wait for an additional ten to 30 min-
utes or so to allow the media to warm up sufficiently, then
begin printing.

The recommended ambient temperature for ensuring acceptable quality when performing printing is 20 to 32˚C  (68 to 89.6˚F).
When the ambient temperature is less than 20˚C, the media doesn't heat up enough to ensure acceptable quality.  In such cases,
set the preset temperature to higher value.

The setting range of preset temperature by the controller is 30 to 50˚C  ( 86 to 122˚F).

The media is not yet warm enough at the time immediately after the heater temperature reaches the preset temperature. Per-
forming printing before the media has warmed up sufficiently may result in coarse printing.

The actual temperature of the media is 5 to 10˚C lower than the controller's displayed [PV] setting (heater temperature). For this
reason, we recommend making the controller's [SV] setting (temperature setting) at a value higher than the actual target tem-
perature for the media.

When the heater reaches the preset temperature, the [C1] indicator goes dark and the heater stops operating. The heater is
switched on and off automatically to maintain the preset temperature. Meanwhile the [C1] indicator lights up and goes dark to
indicate the status of the heater.

SV

PV

Summary of Contents for HU-500

Page 1: ...tions of this product are subject to change without notice The operation manual and the product have been prepared and tested as much as possible If you find any misprint or error please inform us Rol...

Page 2: ...are designed to provide reasonable protection against harmful interference when the equipment is operated in a commercial environment This equipment generates uses and can radiate radio frequency ener...

Page 3: ...nk 10 1 2 Installation and Transport 11 Installing the Heater Unit on the Printer 11 About the Power Supply 11 When Moving the Printer 11 1 3 Part Names 12 2 Using the Heater Unit 15 2 1 Switching the...

Page 4: ...thin the circle The symbol at left means the power cord plug must be unplugged from the outlet Do not disassemble repair or modify Doing so may lead to fire or abnormal op eration resulting in injury...

Page 5: ...not allow liquids metal objects or flammables inside the machine Such materials can cause fire Do not hang on to the hose Do not hang anything on it Doing so may cause the unit to tip over lead ing to...

Page 6: ...gures describe the location and content of these messages In addition to these symbols the symbols shown below are also used Indicates information to prevent machine breakdown or malfunction and ensur...

Page 7: ...ent l utilisateur sur ce qu il doit faire La chose sp cifique faire est indiqu e par le dessin l int rieur du cercle Le symbole gauche signifie que le fil lectrique doit tre d branch de la prise Pour...

Page 8: ...nsigne peut cr er un risque de d charge lectrique ou d lectrocution ou provoquer un incendie cause de la d t rioration de l isolant lectrique Pour d brancher l appareil saisir la fiche et non le fil l...

Page 9: ...est possible de se br ler Toujours utiliser un support d au moins 500 mm Le chauffage risque sinon de trop chauffer ce qui peut entra ner un incendie Ne pas appuyer sur la touche SEL de la commande C...

Page 10: ...l es sur l appareil Ces tiquettes sont coll es l ext rieur de l appareil Les dessins suivants indiquent l endroit et le contenu des messages Commande tiquette des caract ristiques lectriques Utiliser...

Page 11: ...9 1 Getting Started This section describes the features part names and the like of the HU 600 500 501...

Page 12: ...ou to adjust the heater temperature to match the media Installable Combinations The HU 600 500 501 can be installed on the following printers HU 600 SJ 600 HU 500 SJ 500 HU 501 SC 500 In this manual t...

Page 13: ...trical loads on a single electrical outlet Low or unstable voltage may result in inadequate heater performance If the temperature of the heater fails to rise adequately even when used correctly check...

Page 14: ...with the heater and temperature sensor Controller This is equipped with the heater and tempera ture sensor Hose The power cord and other cables are inside the hose Do not hang on to the hose Do not ha...

Page 15: ...or lights when the heater is switched on PV Heater temperature This shows the current temperature of the heater It displays error messages in the event of a problem in the heater unit SV Preset temper...

Page 16: ...14 Chapter 1 Installation MEMO...

Page 17: ...15 2 Using the Heater Unit This section describes how to print and cut while using the heater unit and the like...

Page 18: ...When the display shows characters other than numerical figures such as UUUU or LLLL immediately switch off the heater and contact your authorized Roland DG Corp dealer or service center When switchin...

Page 19: ...Width of about 1 m 40 in or More We recommend using media having a width of about 1 m 40 in or more Media of narrower width may take a long time to heat or may fail to reach the preset temperature Al...

Page 20: ...to ensure acceptable quality In such cases set the preset temperature to higher value The setting range of preset temperature by the controller is 30 to 50 C 86 to 122 F The media is not yet warm enou...

Page 21: ...nment accuracy for printing and cutting when reloading media To Perform Cutting Only Before performing cutting switch off the controller to turn off the heater and allow the platen to cool sufficientl...

Page 22: ...Additional Menus on the Printer Media wrinkles when performing printing Never continue to heat media for 30 minutes or longer without performing printing Depending on the type of media wrinkling may...

Page 23: ...21 3 Other Information This section describes daily maintenance additional menus on the printer and specifications...

Page 24: ...roller Use a cloth moistened with water then wrung well and wipe gently to clean Wipe the control panel and display gently with a clean soft cloth Periodically clean the platen Buildup of grime may so...

Page 25: ...nt of ink applied to the media Depending on the media the printed results may be coarse or smudged If this occurs set the value to LIGHT Installing the heater unit adds the following menus to the prin...

Page 26: ...2 W x 14 3 4 D x 14 1 4 H in 19 3 kg 42 6 lb SJ 600 500 to 1625 mm 19 11 16 to 64 in 2500 W x 758 D x 1302 H mm 98 7 16 W x 29 7 8 D x 51 5 16 H in 134 6 kg 297 lb Installable printer Setting range fo...

Reviews: