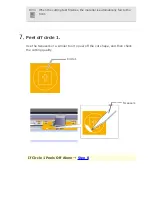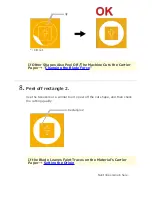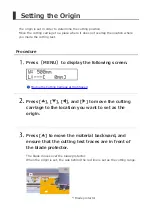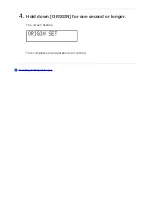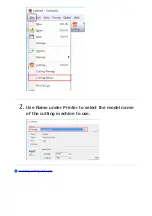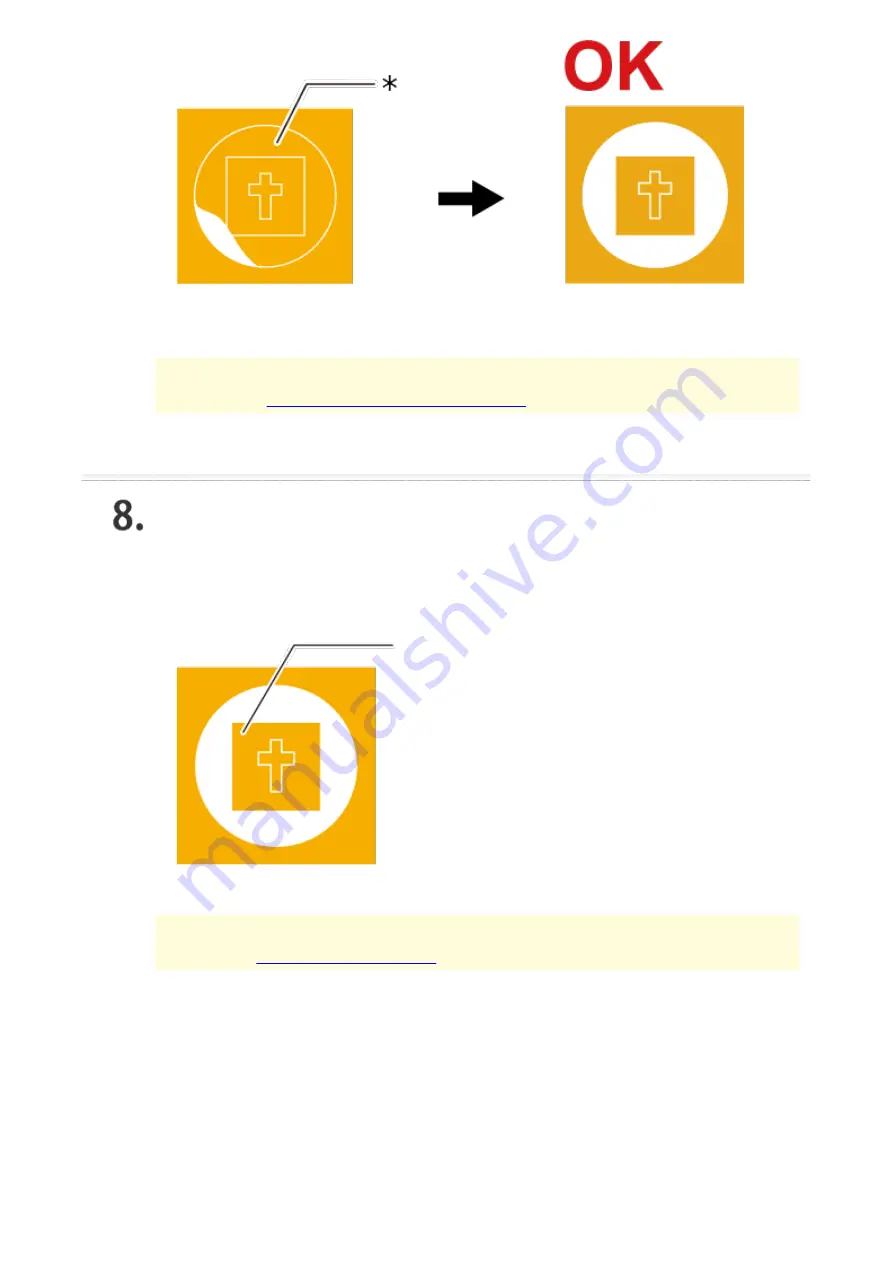
*: Circle 1
If Other Shapes Also Peel Off/The Machine Cuts the Carrier
Paper
→
"
Peel off rectangle 2.
Use the tweezers or a similar tool to peel off the cut shape, and then check
the cutting quality.
Rectangle 2
If the Blade Leaves Faint Traces on the Material's Carrier
Paper
→
Faint lines remain here.
Summary of Contents for GR-420
Page 47: ...loaded the cutting area must be set again from the Cut Setting menu Performing Cutting...
Page 54: ...Select the Auto Update check box in the palette With SALE selected click An outline is created...
Page 55: ...Use Illustrator s rectangle tool to draw a frame around SALE Save the data Performing Cutting...
Page 61: ...Removing the Material...
Page 64: ...After the material is cut the cutting carriage returns to the new origin...
Page 72: ...Improving the Finish...
Page 80: ...Improving the Finish...
Page 82: ...1 Grit pattern 2 Pinch roller Improving the Finish...
Page 89: ...CAUTION Never touch the tip of the blade Doing so may result in injury Remove the old blade...
Page 92: ......
Page 100: ...Click OK...
Page 103: ...Click the View tab Select the Hidden items check box...
Page 105: ...Click the View tab and then select the Show hidden files folders and drives option...
Page 106: ...Click OK...
Page 119: ...http startup rolanddg com...
Page 127: ...Installation Procedure...
Page 133: ...Installation Procedure...
Page 139: ......
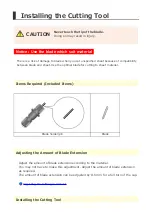
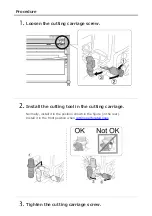
Page 146: ...Installing the Cutting Tool...
Page 147: ...Menu Flow Chart...
Page 148: ......
Page 149: ......
Page 160: ...Viewing Help Illustrator Procedure On the Roland CutStudio palette click and then click Help...
Page 166: ...Viewing Help CorelDRAW Procedure On the Roland CutStudio palette click and then click Help...
Page 176: ...Click Printer Setup...
Page 191: ...Step 7 Perform Cutting Sensor Mode...
Page 198: ...On the palette click Crop marks are inserted in the artboard...
Page 211: ...Step 7 Perform Cutting Sensor Mode...
Page 213: ...Click CutStudio starts and the cutting data is sent to CutStudio...
Page 220: ...On the palette click Crop marks are inserted in the document...
Page 233: ...Step 7 Perform Cutting Sensor Mode...
Page 235: ...Click CutStudio starts and the cutting data is sent to CutStudio...
Page 256: ...From the Layout Points list select 3...
Page 257: ...Click OK After setting the values check that the crop marks are within the printing area...
Page 259: ...CorelDRAW Procedure Click and then click Crop marks From the Point list select 3 Click OK...
Page 260: ...Setting the Margins and the Distance between Crop Marks...
Page 267: ...Cutting in Tool Mode 2...
Page 276: ...Step 3 Set Perforated Cutting Conditions...
Page 284: ...Click Select Output Perforated Cut Lines...
Page 286: ...Perform cutting Performing Cutting...
Page 289: ...Click Select Output Perforated Cut Lines...
Page 291: ...Perform cutting Performing Cutting...
Page 295: ...Check the size of the material to be used Step 2 Load the Material...
Page 299: ...The segment size is updated...
Page 300: ...Select the Tiled Output check box and then enter the number of tiles...
Page 305: ...Step 6 Perform Cutting...
Page 317: ...Press ENTER Operation is normal if the figure shown below is cut Other Things That You Can Do...
Page 322: ...Press ENTER Other Things That You Can Do...
Page 325: ...Press ENTER Press MENU to return to the top screen Other Things That You Can Do...
Page 329: ...Press ENTER Press MENU to return to the top screen Other Things That You Can Do...
Page 335: ...Press ENTER Press MENU to return to the top screen Other Things That You Can Do...
Page 340: ...Other Things That You Can Do...
Page 351: ...Press ENTER Press MENU to return to the top screen Other Things That You Can Do...
Page 358: ...Select the Fine adjustment check box and then click Adjust...
Page 359: ...The Crop Mark Adjustment dialog box appears...
Page 363: ...Back to Adjusting the Cutting Position...
Page 376: ...Click OK...
Page 379: ...Click the View tab Select the Hidden items check box...
Page 381: ...Click the View tab and then select the Show hidden files folders and drives option...
Page 382: ...Click OK...
Page 397: ...Select the model name of the machine on hand and then click Cut The cutting data is output...
Page 398: ...Viewing Help Illustrator Procedure On the Roland CutStudio palette click and then click Help...
Page 418: ...Step 7 Perform Cutting Sensor Mode...
Page 422: ...Removing the Material...
Page 429: ...Select the object that you want to apply perforated lines to Click...
Page 430: ...Select Output Perforated Cut Lines On the Roland CutStudio palette click Update...
Page 445: ...Press ENTER Operation is normal if the figure shown below is cut Other Things That You Can Do...
Page 450: ...Press ENTER Other Things That You Can Do...
Page 453: ...Press ENTER Press MENU to return to the top screen Other Things That You Can Do...
Page 457: ...Press ENTER Press MENU to return to the top screen Other Things That You Can Do...
Page 463: ...Press ENTER Press MENU to return to the top screen Other Things That You Can Do...
Page 468: ...Other Things That You Can Do...
Page 479: ...Press ENTER Press MENU to return to the top screen Other Things That You Can Do...


