


8/55
© 2022 ROHM Co., Ltd.
No. 64UG118E Rev.002
Feb.2022
User’s Guide
1.2.3
Some example cases of connecting the RKX-EVK-001
•
Attach an Evaluation Board (e.g., BU79100G-LA-EVK-001, KX132-1211-EVK-001 etc.) to the slot J5 of RKX-EVK-001 with the
provided ribbon cable or to the slot J6 of RKX-EVK-001 without the ribbon cable. For details refer to (
).
•
Connect the RKX-EVK-001 to the PC with the provided micro-USB cable (
•
Launch the ROHM EVK GUI SW application.
•
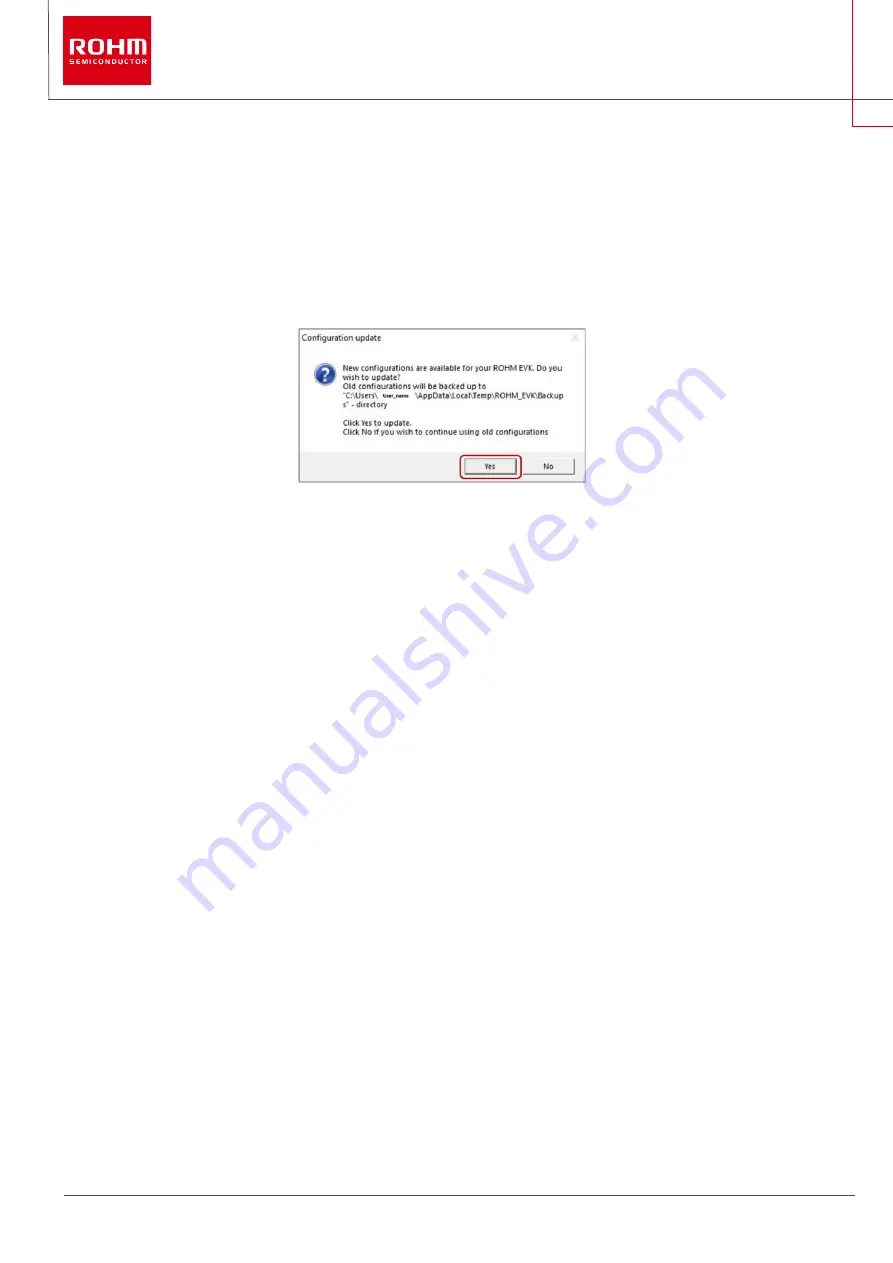
If a Configuration update pop-up window appears, click Yes to download the latest configurations from the server (
Figure 9. Configuration Updated Popup Window
1.2.3.1
An example for accelerometers:
•
Select the board configuration from the Board menu:
1.
e.g., RKX-EVK-001 / Accelerometer EVB / I2C
•
Select the desired configuration stream for the corresponding accelerometer sensor from the Stream menu:
2.
E.g., KX132-1211 / ADP data 1600Hz Band Pass 100Hz – 200Hz with RMS
NOTE:
I2C interface can be used for all digital sensors but the highest Output Data Rate (ODR) will be limited to ~3400Hz.
NOTE:
For sensors that support SPI interface (e.g., KX132-1211, KX134-1211), select the RKX-EVK-001 / Accelerometer EVB / SPI board
configuration that supports ODR up-to 25600Hz.
•
If the “Please enable streaming to activate Plotter movement!” – pop-up window appears on the screen, enable data streaming with
the “Streaming” button.
The plotter should now display real time output for ADPX, ADPY, and ADPZ also AccX, AccY and AccZ axes of the KX132-1211 sensor according
to its movement (


