3
Single Template Letters
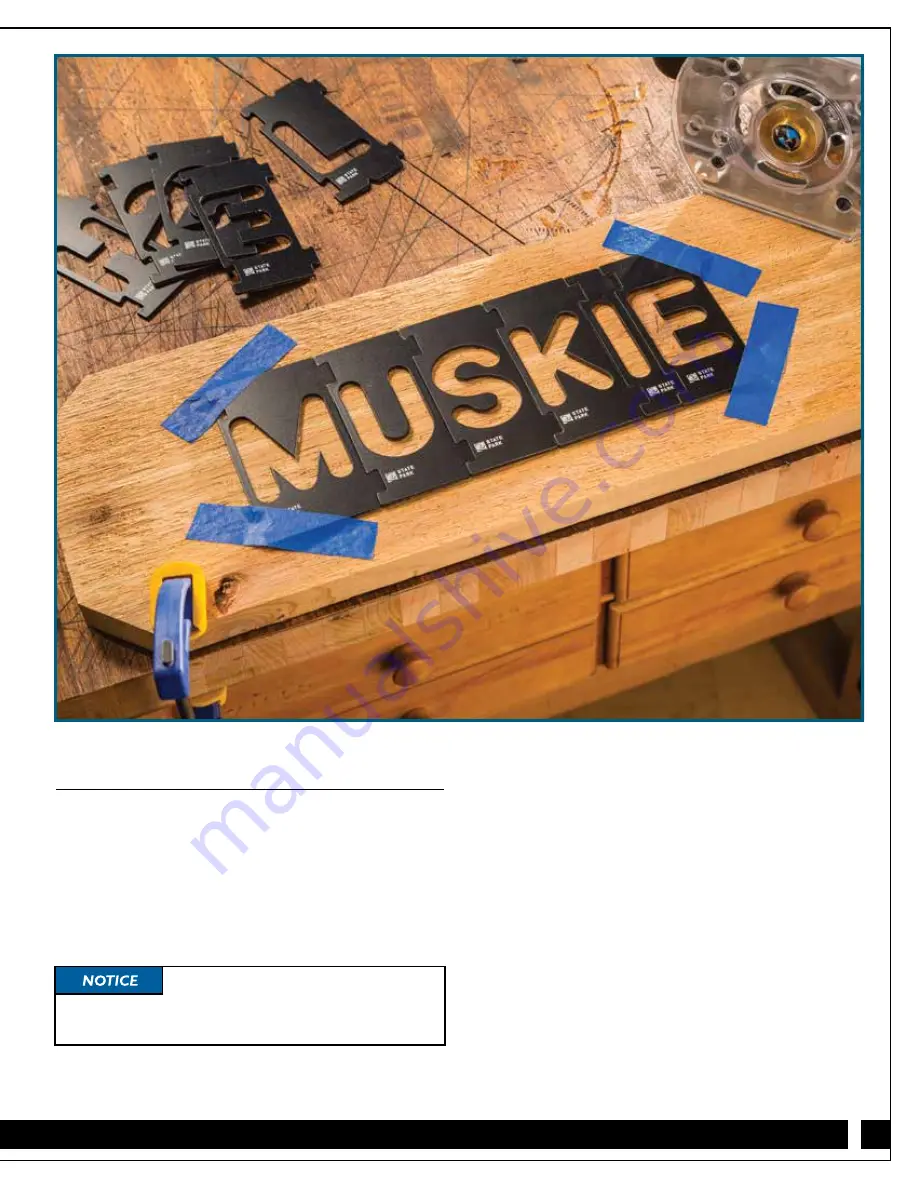
1. Connect all the letters, numbers, spacers or symbols
together to form your custom sign template.
2. Determine the placement of your template on your wood
piece. To hold it in place, you can either tape down
the top and bottom edges with painters or masking tape,
use sticky discs or double sided tape on the under side.
In special situations you could tack the templates to
your stock.
Fig. 1.
3. With your plunge router and appropriate guide bushing
and router bit, rout out each individual character.
For deeper cuts, it is best to make multiple passes,
increasing the depth each time. This will eliminate
dust build-up and clogging and will also prolong the
life of your router bits.
4. To finish your sign, seal it first with a sanding sealer.
To highlight the letters, paint them with a contrasting
color. Allow to dry and then belt sand any overlapping
paint outside the letters. Finish with a Spar Varnish,
urethane or oil.
Fig. 1
Do not lift the router off the template
while the motor is running. If you do, the bit may ruin
your template.


